Saturday, December 28, 2013

PaperCrafting.

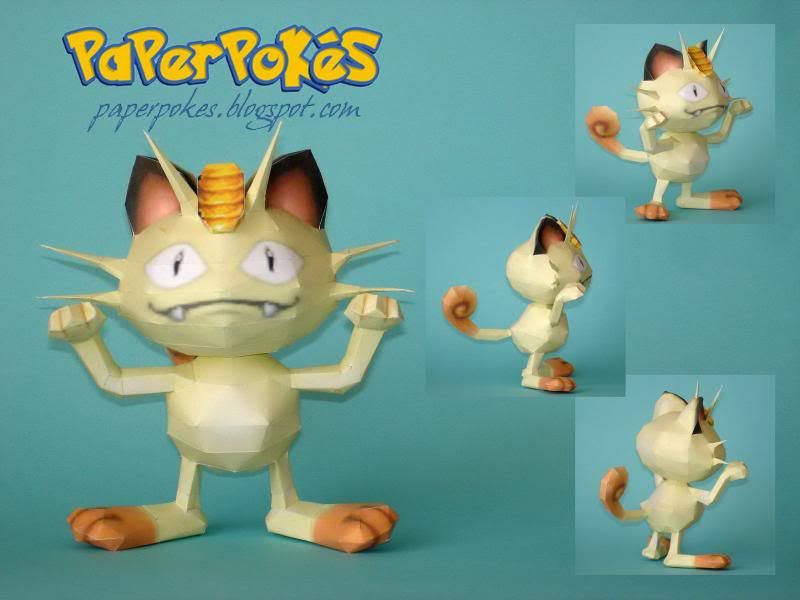
Did you know there is a different realm of paper crafting than men are into?

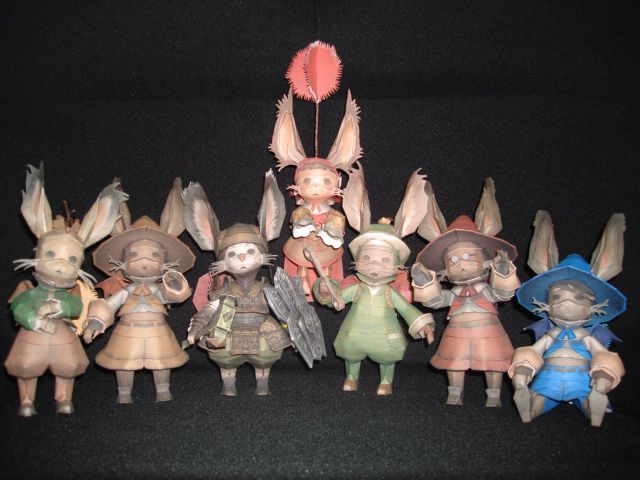
Yeah, mango. It's either called "Fold PaperCrafting" or "Smooth PaperCrafting", and the people make some SICK 3D stuff out of paper:

(the following techniques are Smooth PaperCrafting)

Source

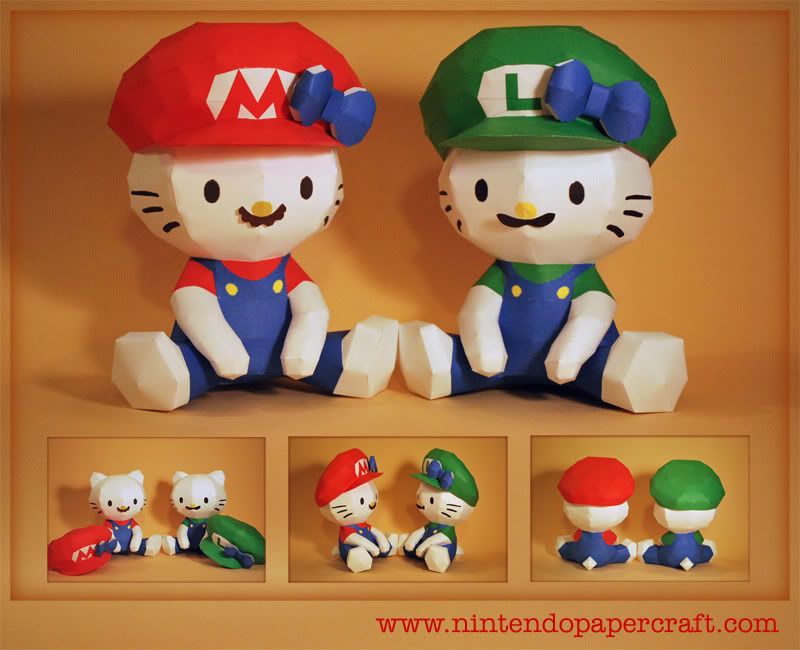
Source

And my favorite: 

YES. THIS IS ALL MADE OUT OF PAPER AND GLUE!!! 
not. even. lying.

My mind was really blown when I first saw these. I hope your's is too so I'm not alone in losing my head.

The paper is just high quality paper (usually NOT cardstock, from what I've read) and the images are printed from the computer. 

NOW. My brother wants me to make him some things using these techniques. I'm starting with the Folding PaperCrafting. And I'm scared. 

Source

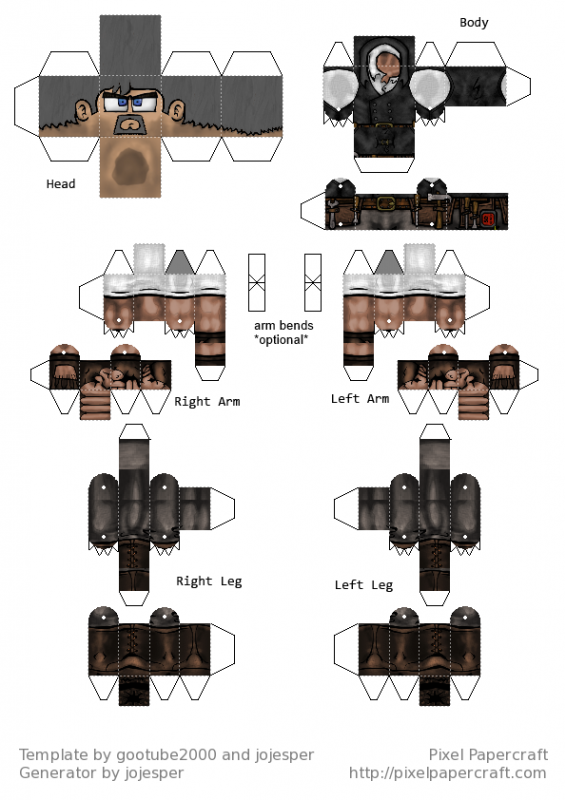
This is his character in Minecraft. There's an awesome guy who made a generator for characters - all you do is enter your character's name, and images of your dude are put on this printable image.

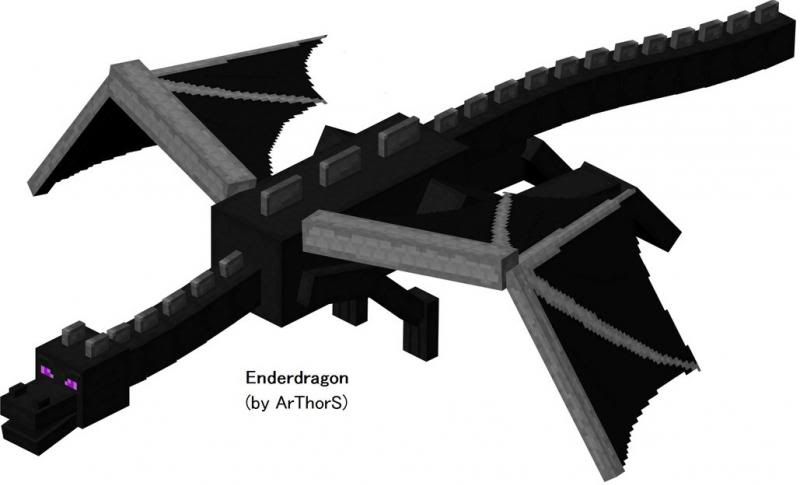
And then he wants me to make this dragon:

Source


Seriously. 

I need some encouragement. Please tell me that I can do this!!

In case you're like me and you are going to make one yourself, here's a link to a great tutorial.

If you want one, or know someone that wants one, contact me. Maybe I'll make one for you!

Friday, December 27, 2013

Coupons.

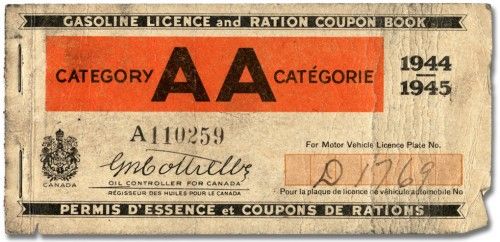
You know those cliche coupon books that you make for your hunny for their birthday or valentine's day?

No? Just Google Image search "Coupon Book" and you'll see a plethora of them. Most are pretty cute, some are professional, some people have templates so you can make your own.

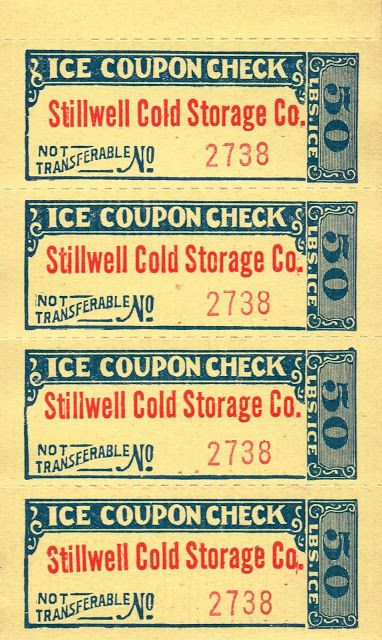
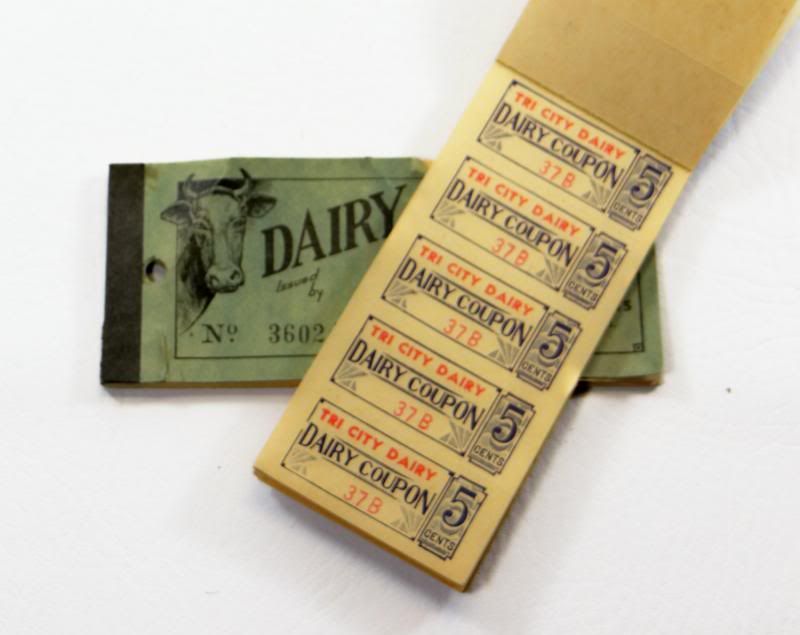
For me, I didn't like anything I saw. I had an idea in my head of how I wanted it to look, and I couldn't find anything similar online except something along these lines:


Of course! Vintage. Although I love modern and contemporary, I think vintage and antique are more of what I'm drawn to.

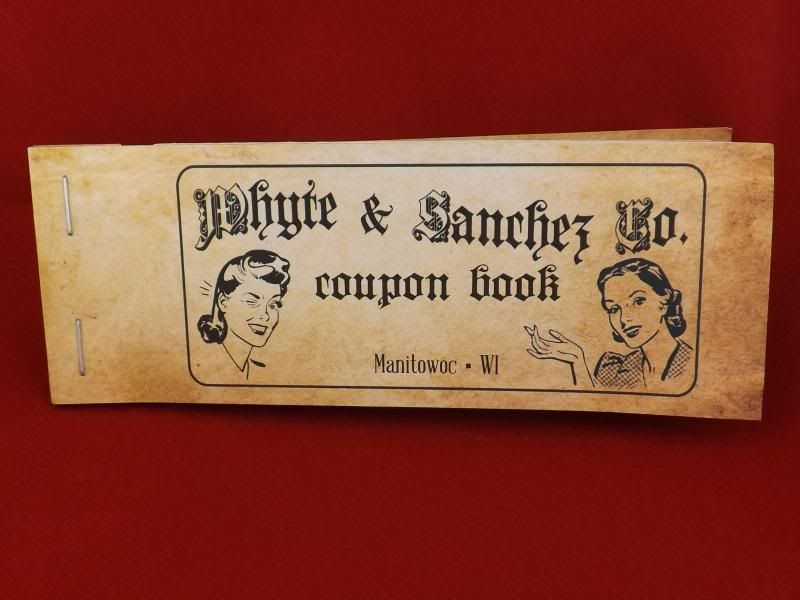
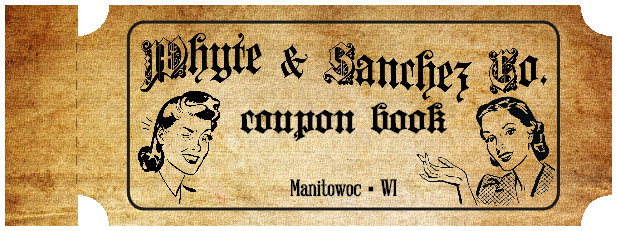
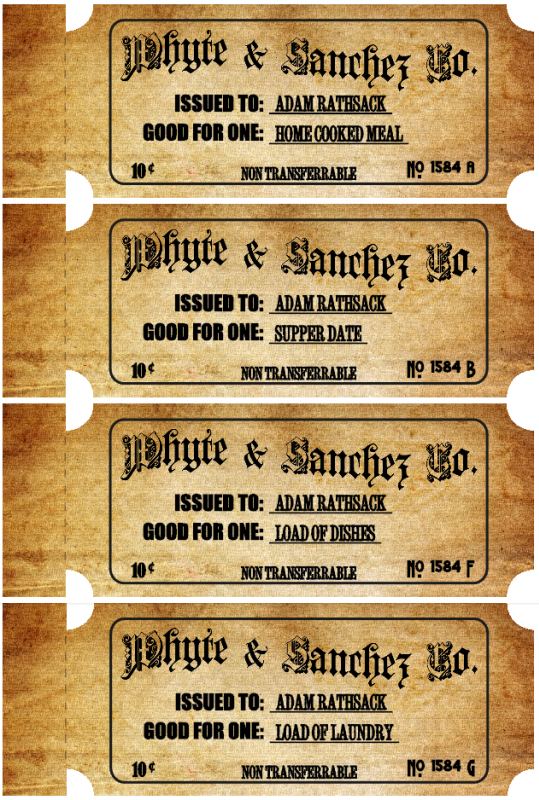
Now, again, there are people who have graciously given us freeloaders templates so we can make our own coupons in a time efficient and quite cute manner. However, even though I love free, I also love to create and do things myself. Naturally, therefore, I made my own:


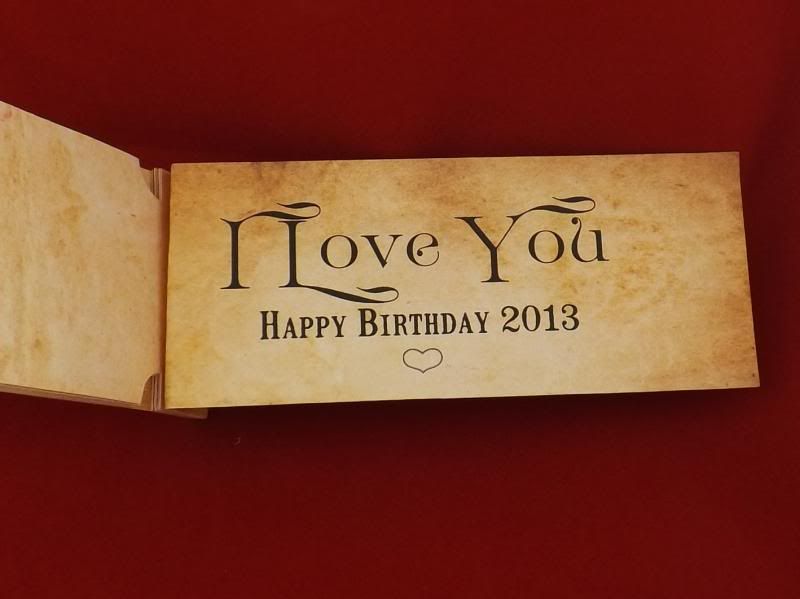
And of course, I added a message at the end:


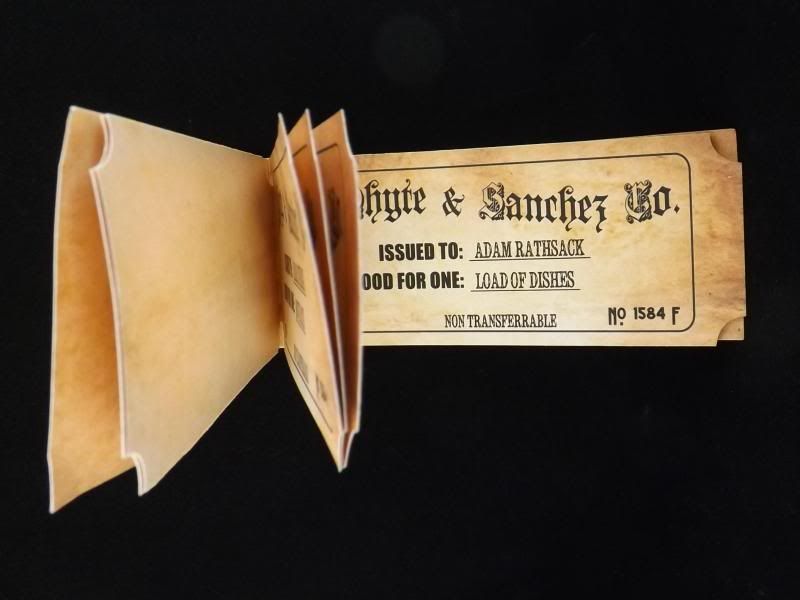
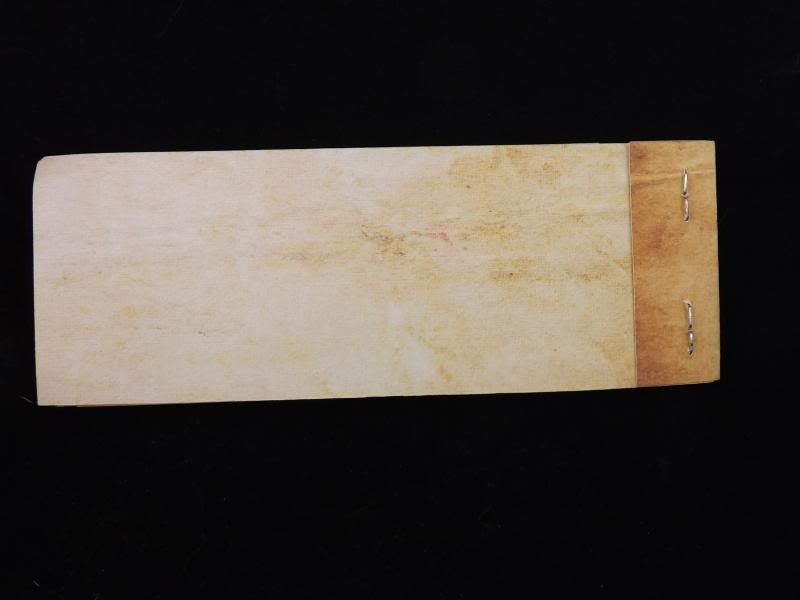
The book was adhered together with two heavy-duty staples that I stole from work. I wanted to have it look fairly authentic, so I wanted the back of each coupon to not be colored white. I simply printed the background image on the back of the paper before I printed the front.


The company name of "Whyte" and Sanchez" are just random names I came up with. I was trying to be funny. Adam didn't get it.

The background I found from Far Far Hill. This chica is crazy, I tell you. Nearly everything she makes is free and she posts new freebies daily. DAILY. FREE. Not even lying.

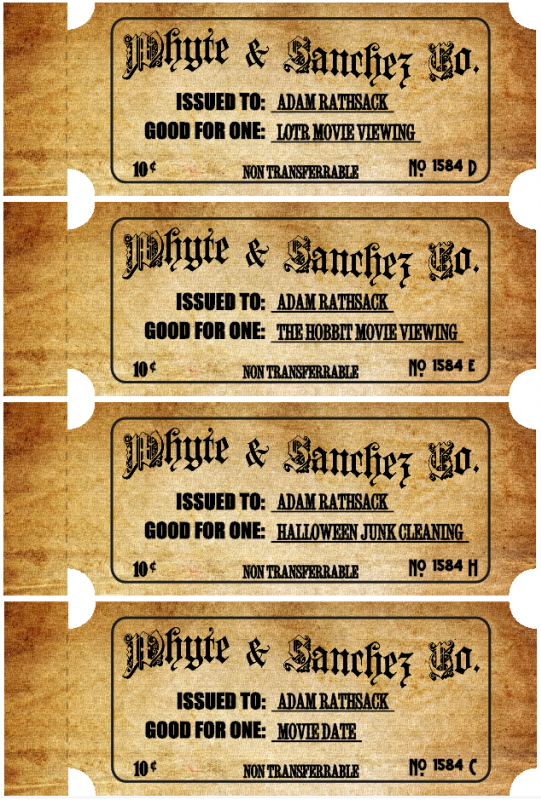
Here are screenshots:


Contact me if you're interested in something like this!
(see the widget on the right hand side)

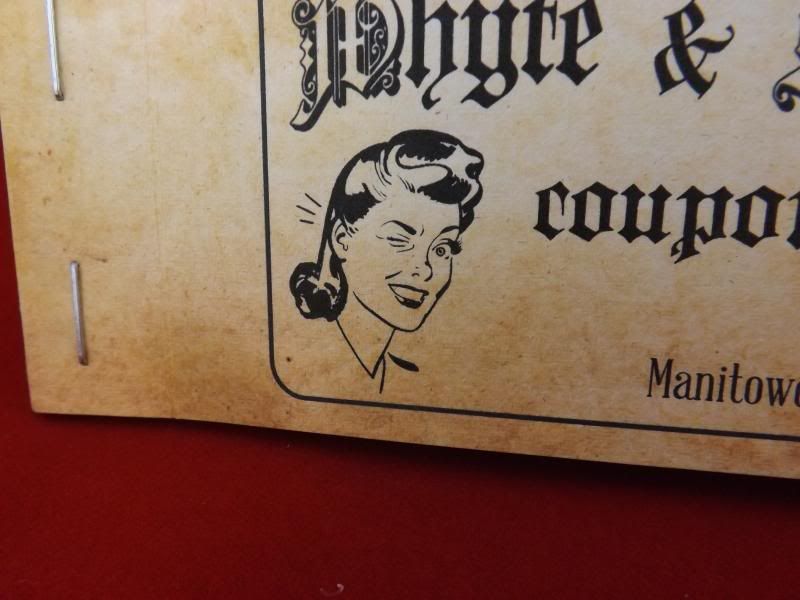
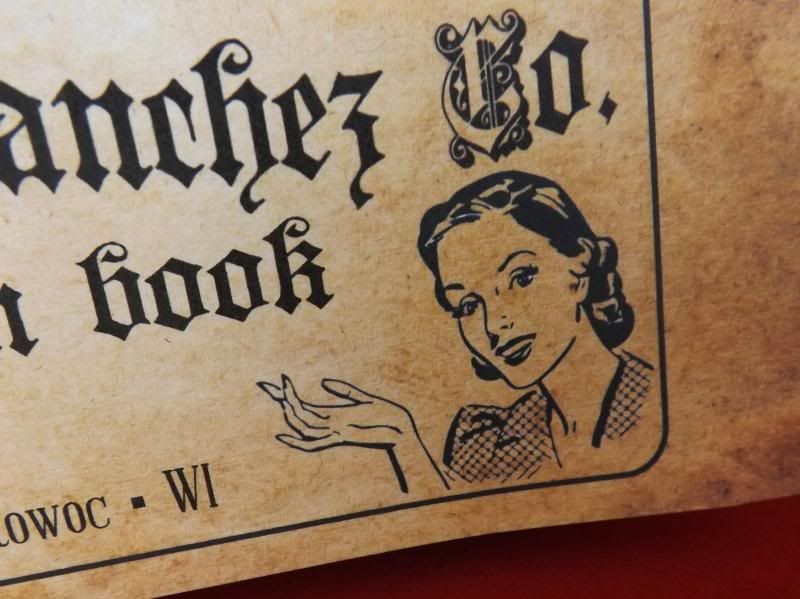
I learned so much in the process, and pretty much taught myself everything by trial and error.  I taught myself how to make the "Whyte & Sanchez Co." sign, which I actually ended up doing in Microsoft Publisher using the "WordArt" tool, how to cut the edges off of the corners of the coupons, and I learned from just a quick search how to take a .jpg (an image with a white background) and to use Photoshop to edit it appropriately with the magic wand tool to make it transparent, then obviously to save it as a .png to keep the transparency. With that done, I was able to use the precious (free) vintage women on the cover!

Side tracking for just a minute:

Adam learned in college that there's a "right way" to do everything in programming, even if another way may produce the same results. The "right way" is the easiest, simplest and most direct way to accomplish what you are trying to achieve. This concept was hard for him to understand, because if you produce the same results, what's wrong with your method?

Answer? I don't know, or at least I don't remember what my husband told me, but that's just the way it is.

The way I did this whole project was definitely not the "right way". I know that if it were, everything would have been done in Photoshop or a like program.  Obviously it was not.

I am shamefully able to admit that I used Silhouette Studio to perform my magic. Other than the tidbits I told you about above, with the help of Publisher and Photoshop for two elements, everything was done in Silhouette. But the good news is that I was able to cut everything out in two seconds! lol...

In the end, I had a ton of fun, even though it ended up taking me days upon days to tweak everything "just" right. Adam thought it was one of my coolest crafty projects ever, and still has not torn a single coupon out. He says he doesn't want to because it looks so cool!

Thursday, December 26, 2013

UPDATED: Kali.

UPDATED:

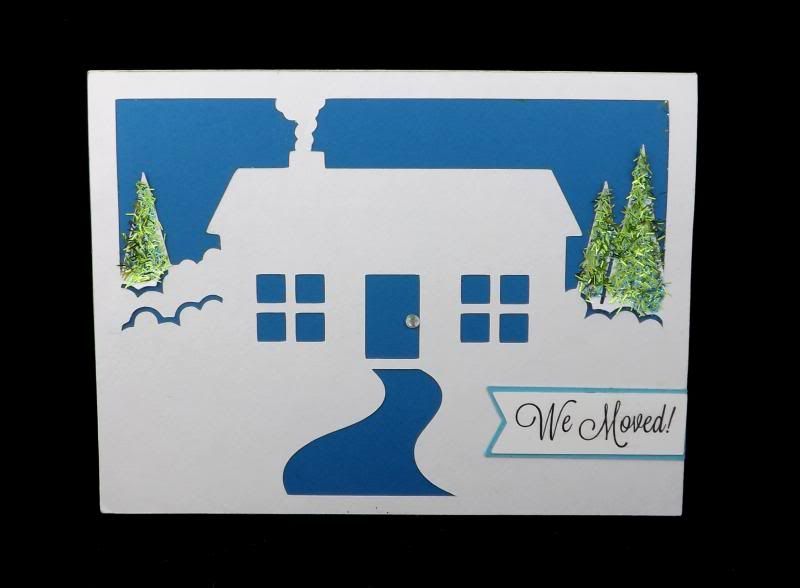
Kali sent me a card back, so I was able to take a picture of it! She added some stringy glitter (what is this called??) and some bling to make a cute doorknob!


Help support the Tessa-Wants-A-Baby Fund!
Contact me if you're interested in something like this (see the widget on the right hand side)

-----

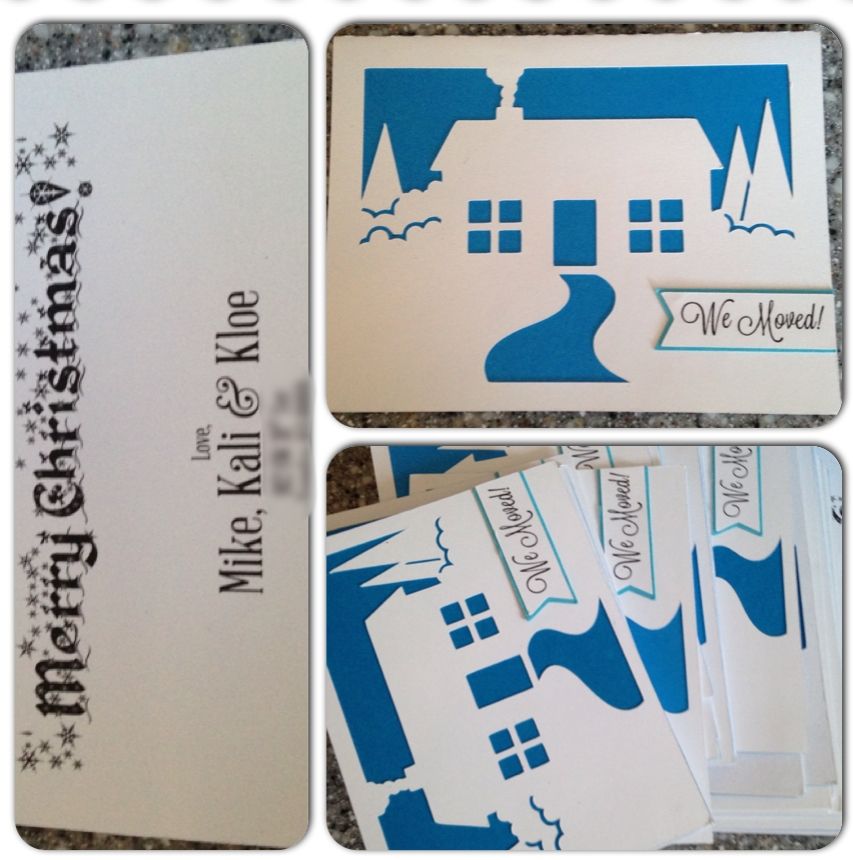
A few weeks ago I volunteered myself to make my cousin 75 "We Moved/Christmas" cards. It took a LOT longer than planned, as things always do.


Because I forgot to take pictures before I sent them to her, she was kind enough to send me this picture.

I used my Silhouette to cut out Bird's House Card, which she graciously allows everyone to use her files for any purpose entirely. Kali picked out the blue; she said it's her favorite color and she uses it all over her house for Christmastime.

I love the way the cards turned out, and so did Kali!!

Spoiled.

Tacky as it may be, I just have to take a minute and brag about how freaking SPOILED I am this year. Santa was super nice to me.

What's sad is that I got even more than this, these are just the big ticket items!! My photog skills are totally awesome, I know.

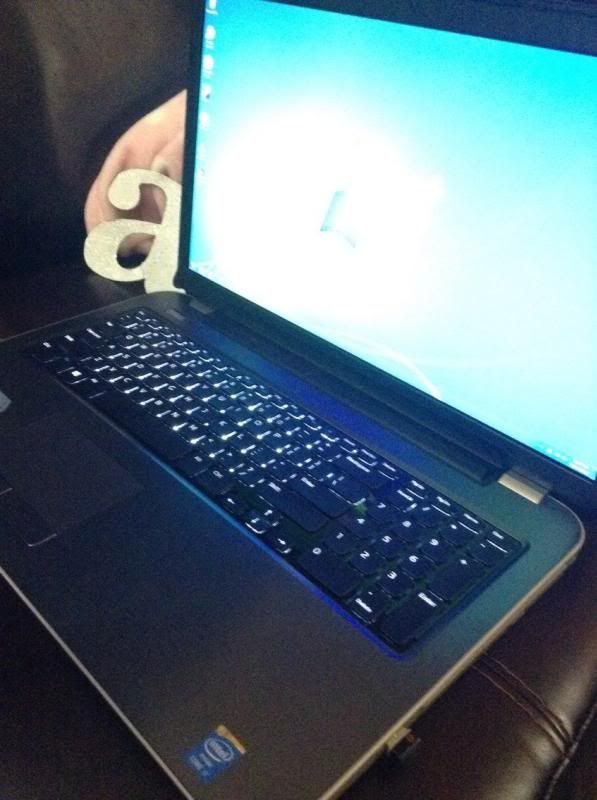
A BRAND SPANKIN' NEW LAPTOP!


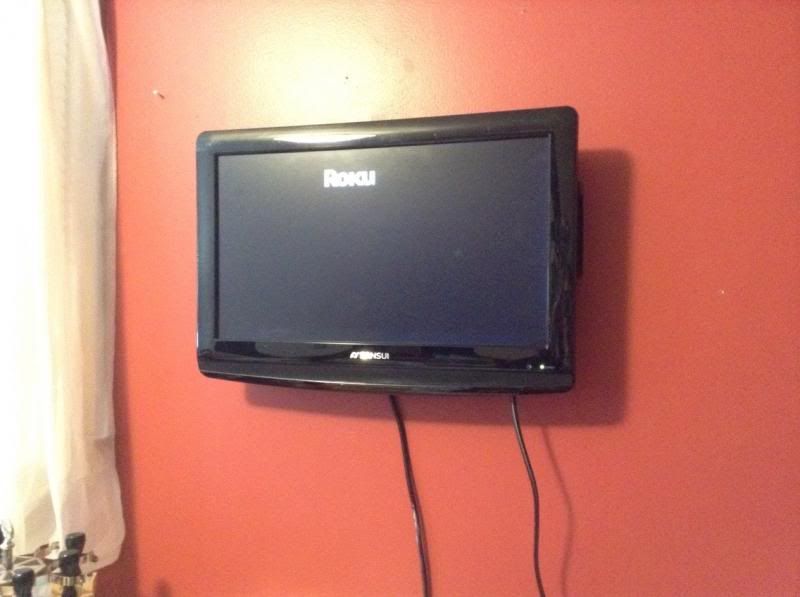
A TV (and wall mount) in my craft room!


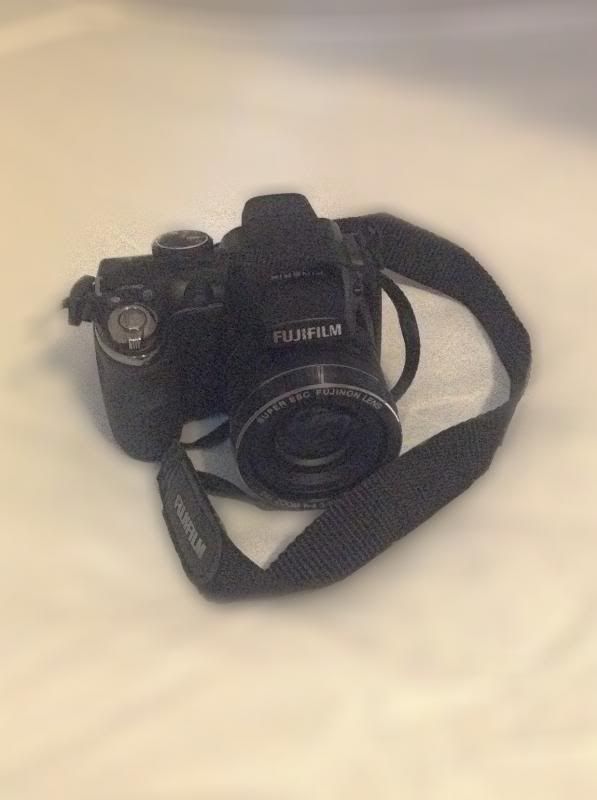
A Camera!


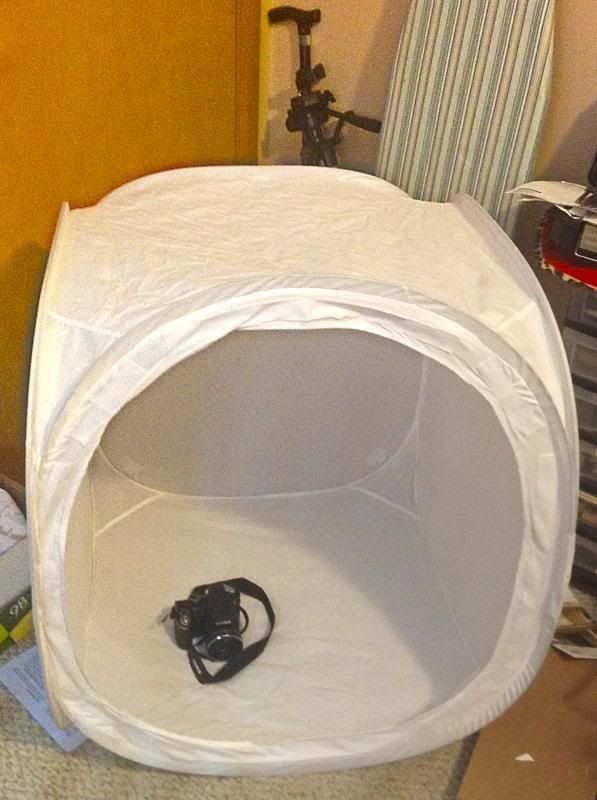
A Professional Photo [Cube] Booth!


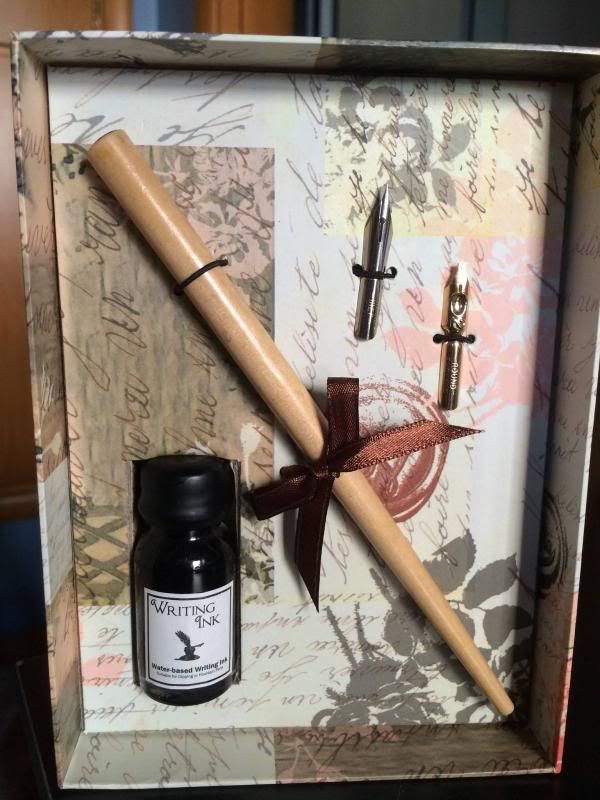
A Quill and Ink Set!


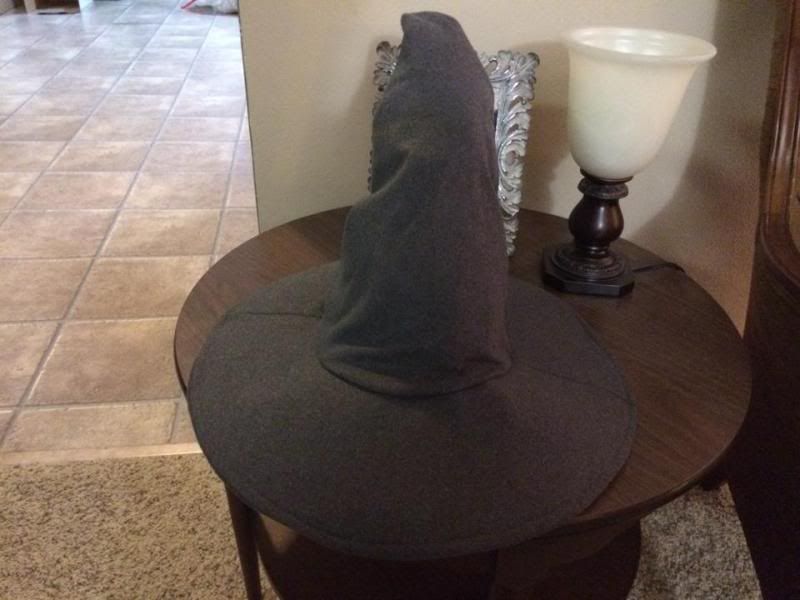
Adam's favorite gift was a Gandalf hat:


I got a bunch of smaller things too. I don't know how anyone afforded these things for me, especially my husband. I'm so spoiled. I'm so blessed. I'm so lucky. I'M SO EXCITED.

Tuesday, December 24, 2013

Newsletter.

UPDATED: I reposted this with some more photos that I found later HERE.

I have a lot of fun doing little things that end up taking a long, long time:

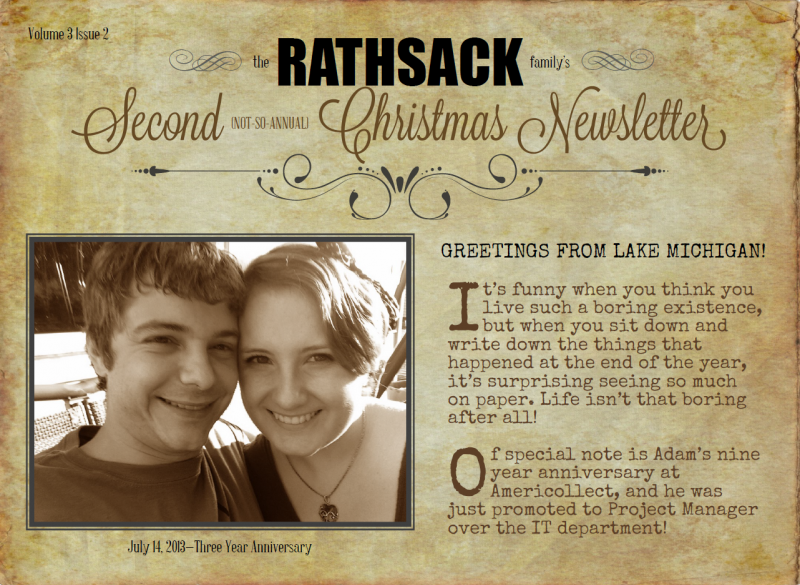
The Rathsack Family's Second (Not-So-Annual) Christmas Newsletter!

I did a newsletter in 2011, but not one in 2012 (it was a sad year), and decided to do one this year because so much happened!

They were printed on off-white paper so the print on the inside was not a stark difference from the backside.

Did you know that Office Max still charges you $.49 per color copy, even if you use your own paper? RIDICULOUS.

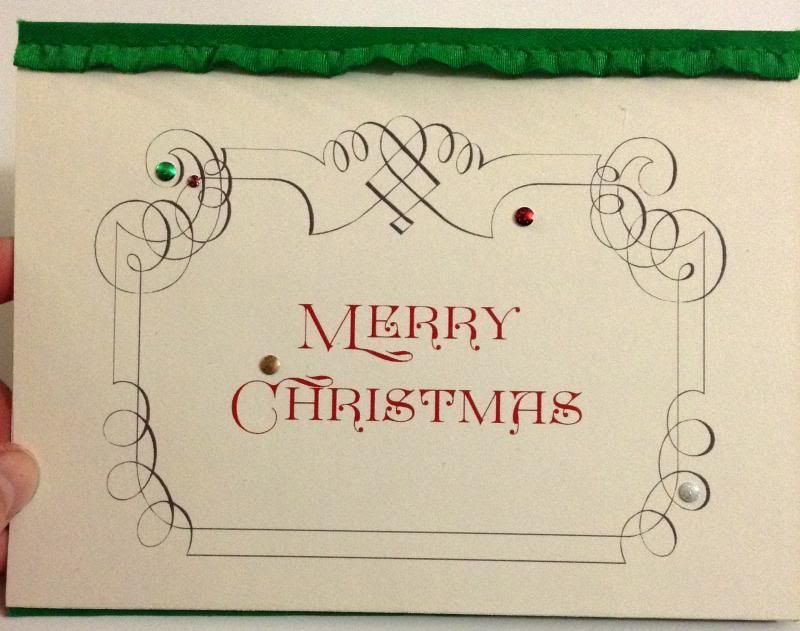
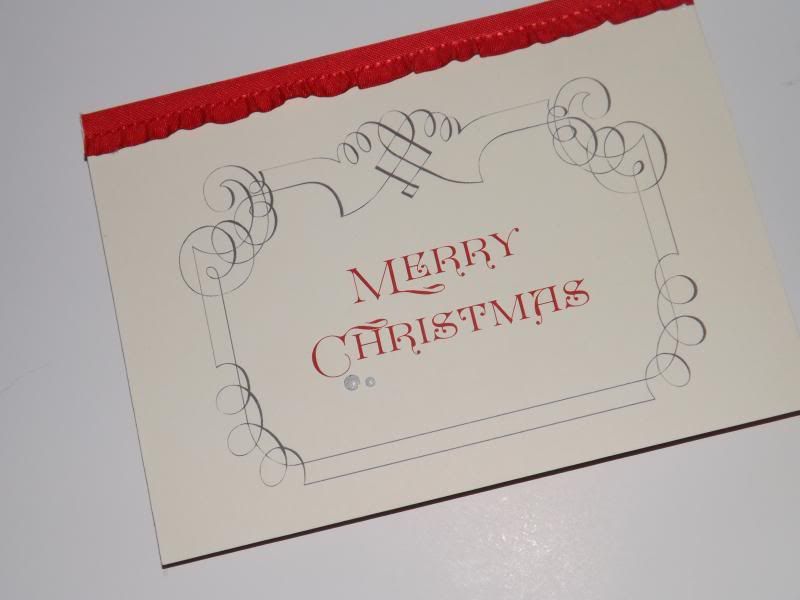
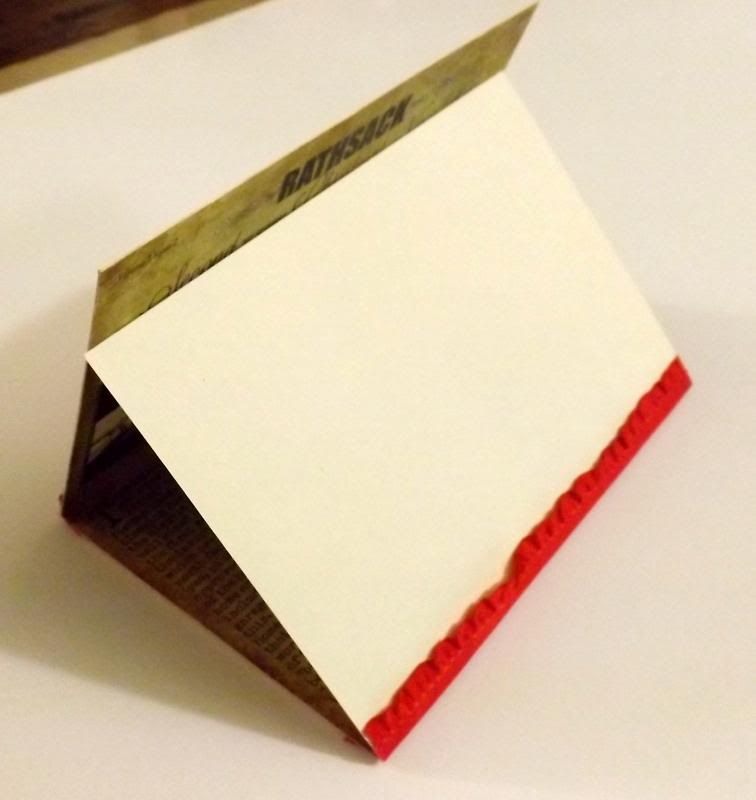
This is how the cover page turned out once printed with some AWESOME lighting... yes. it's awesome. You're jealous. Most of the covers ended up with dirty spots somehow, so I used some iRocks (SHINY!) to cover them up. They turned out pretty random on most, but I don't care. That's how I roll in the first place: Random.

Better Lighting, less bling.


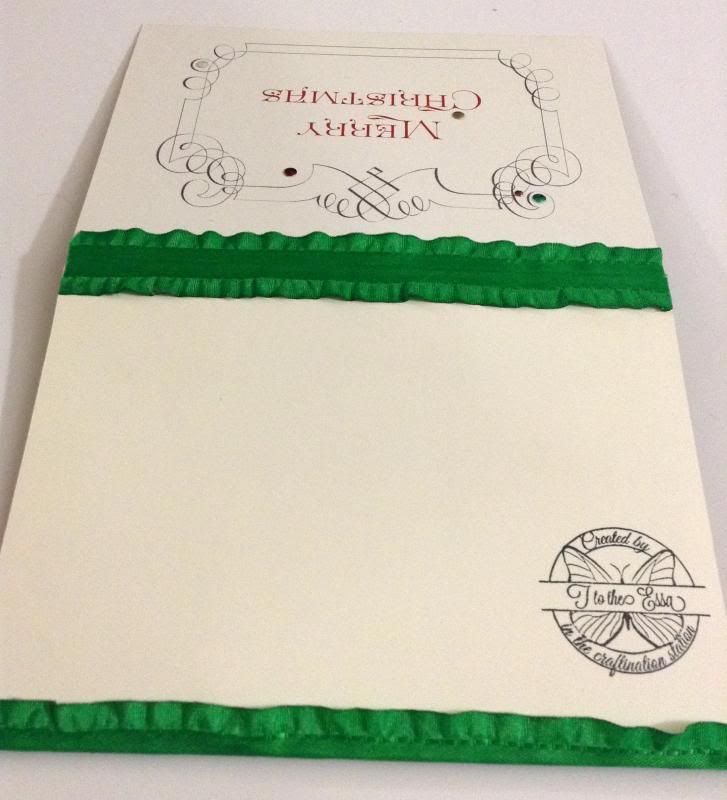
The newsletter was a tri-fold card, and because I like to mix things up to break the monotony, bound either by a ribbon across the folds or by tying the corners together with small ribbon, shiny silver string, or red baker's twine.

I shamelessly stuck my brand stamp that Erin purchased for me a long time ago that I don't really use. I really like the stuff I do, but if someone else doesn't like it, I bet they think "I TOTALLY wouldn't put my name on THAT piece of crap". You know what I have to say about that!? DEAL WITH IT! People are dealing with things now, Ted. (if you know what I'm referring to here, then you just made my day.)

Tri-fold in action.
I forgot to take pictures of the corner-tied cards. I liked these ribbon-on-the-fold cards (as pictured) better, but they were a lot more time consuming, so I didn't do a lot of them.

The first page of the newsletter!
CONGRATS a million times to Adam for his promotion ( and his raise :D )

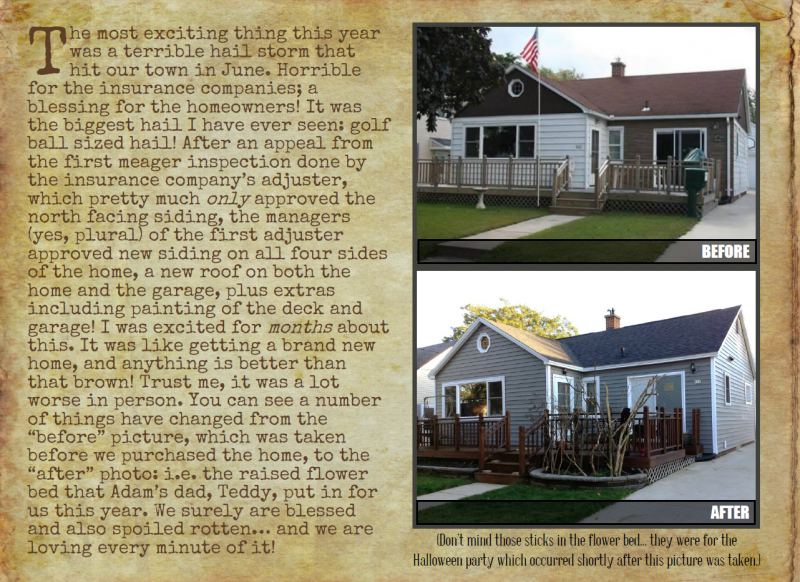
The second page! 
I posted about this story earlier.
It was like being on an HGTV or TLC show about a poor newlywed couple that got their house made over for free! We are truly blessed.

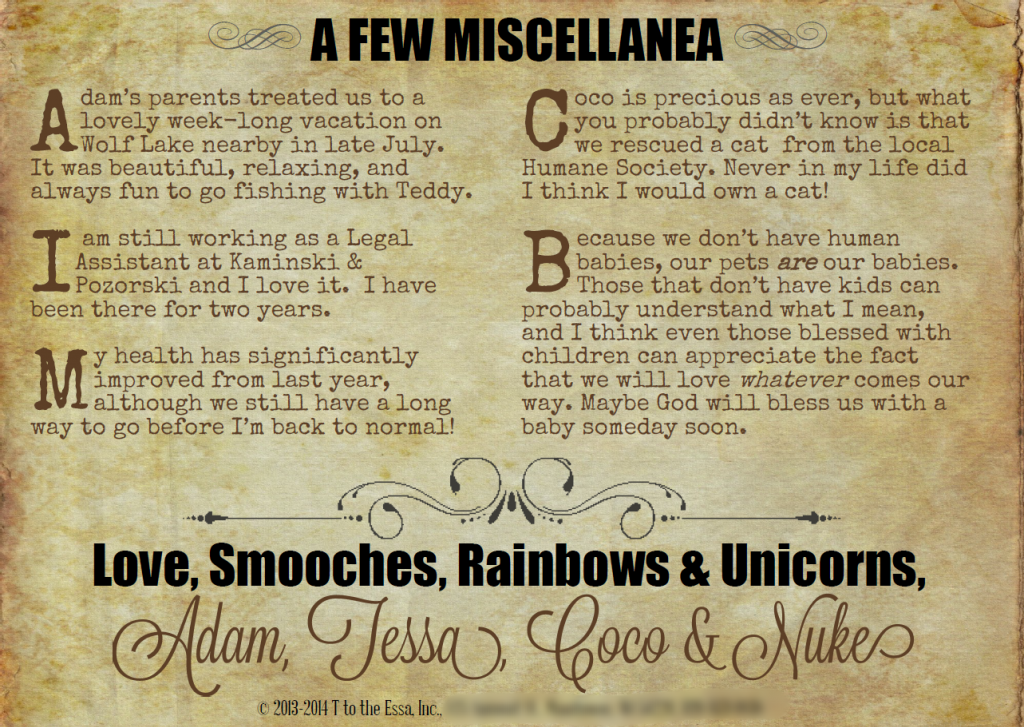
The third and last page!

It's hard to pick my most favorite part of the newsletter. I think I'm hilarious, so I'd probably have to pick the "© T to the Essa, Inc.", or the "Love, Smooches, Rainbows and Unicorns".

I love the way this project turned out. I had a really fun time making them, even though I stayed up until 2 AM a lot of nights adjusting, re-adjusting, tweaking, moving this or that an eighth of an inch here and there... then they took me hours upon hours upon hours to complete by hand once printed. I only had to make 65 of them.

<.< 
(looks left)

>.> 
(looks right)

So much fun!!

Monday, November 18, 2013

Thanks.

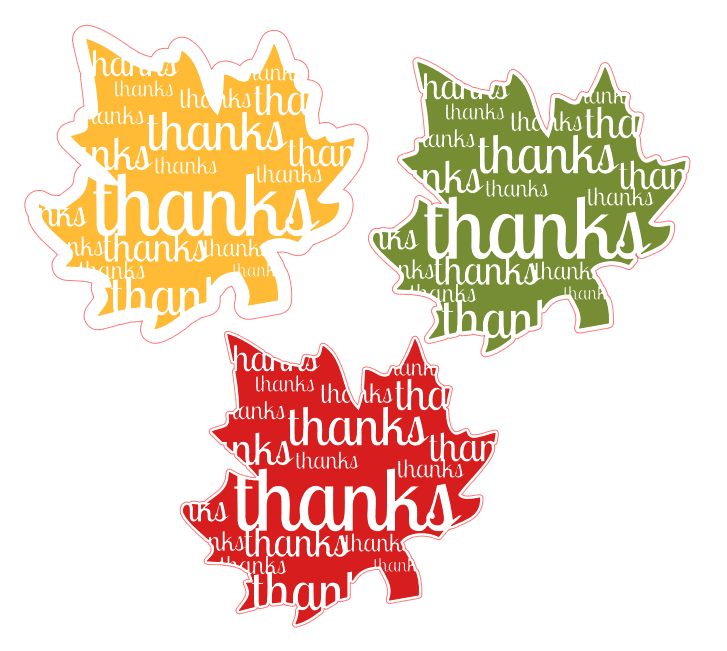
Just now I made a pretty cool image on my Silhouette and thought I should share! I think they turned out pretty dang cool!
Thanks Leaves from T to the Essa - Happy.


It's a print and cut file, because just cutting it just doesn't work. I tried it :) You can change the color of the leaf to whatever your heart desires. I made three different cut sizes, ranging from a far/thick offset, to medium, to a thin/small offset, meaning the thinner the offset, the closer the cut will be to the actual shape.  

Camera.

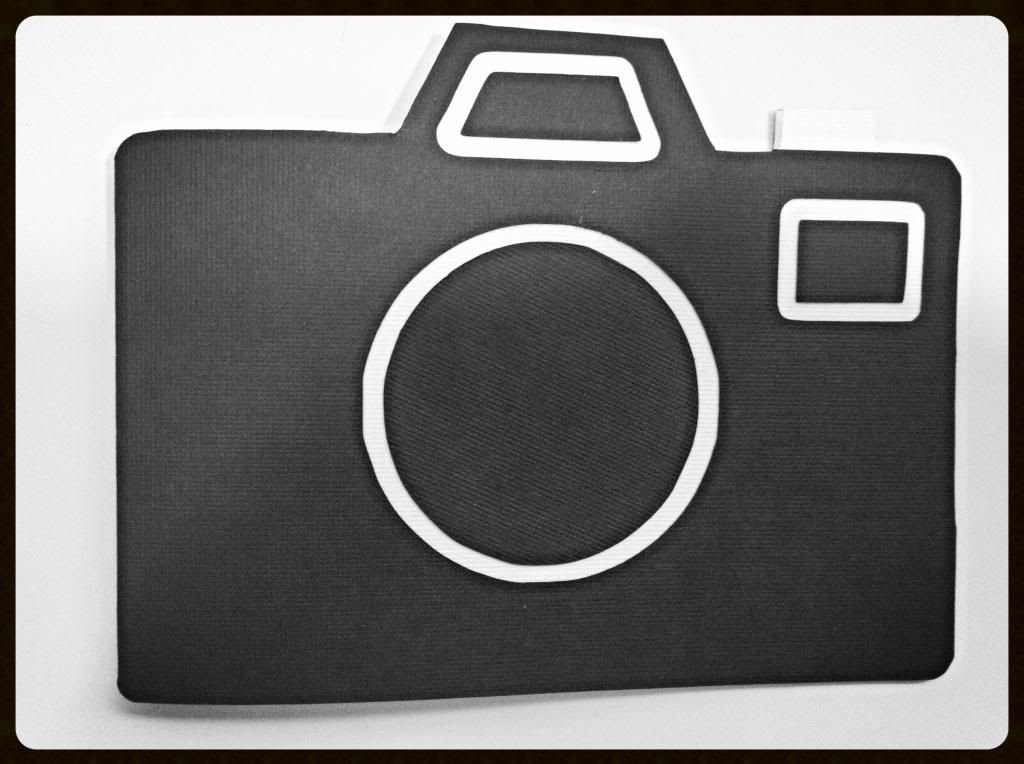
My really good friend, Tanya, had a birthday the same day as my brother, November 8th. I made her a card with my Silhouette and a free cut file that I found on the interwebs:


A camera!
Backstory: Tanya is a hoarder at heart. She admits this. She doesn't present her symptoms in the traditional sense. Let’s just say Tanya loves her pictures. She has thousands upon thousands of photographs from just the last three years. She doesn't print all of them, only the ones that she really likes, and then someday she’ll actually get around to scrapbooking them when she comes over to craft. Recently she’s been sewing when she comes over. Last week she came over and we made ADORABLE invitations for her daughter’s three year old daughter’s birthday party in a few weeks. Which I accidentally posted yesterday instead of scheduling it for tomorrow...

I digress. I wanted to make 1,000 camera cards as a joke, but I didn't. I made one huge one instead. I think she liked it!


Sunday, November 17, 2013

Clouds.

I'm trying to catch up posting a few cards that I made months ago before I go onto the awesome Halloween pictures.

I'm pretty sure I haven't posted these yet. If I have, oh well. DOUBLE FEATURE!

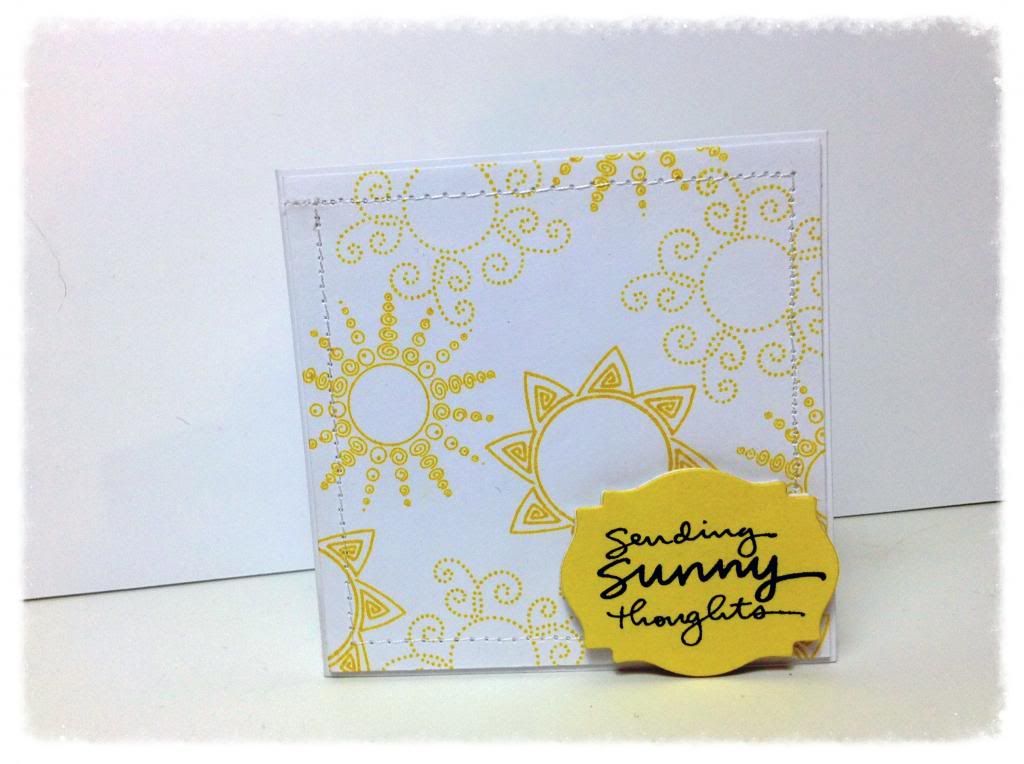
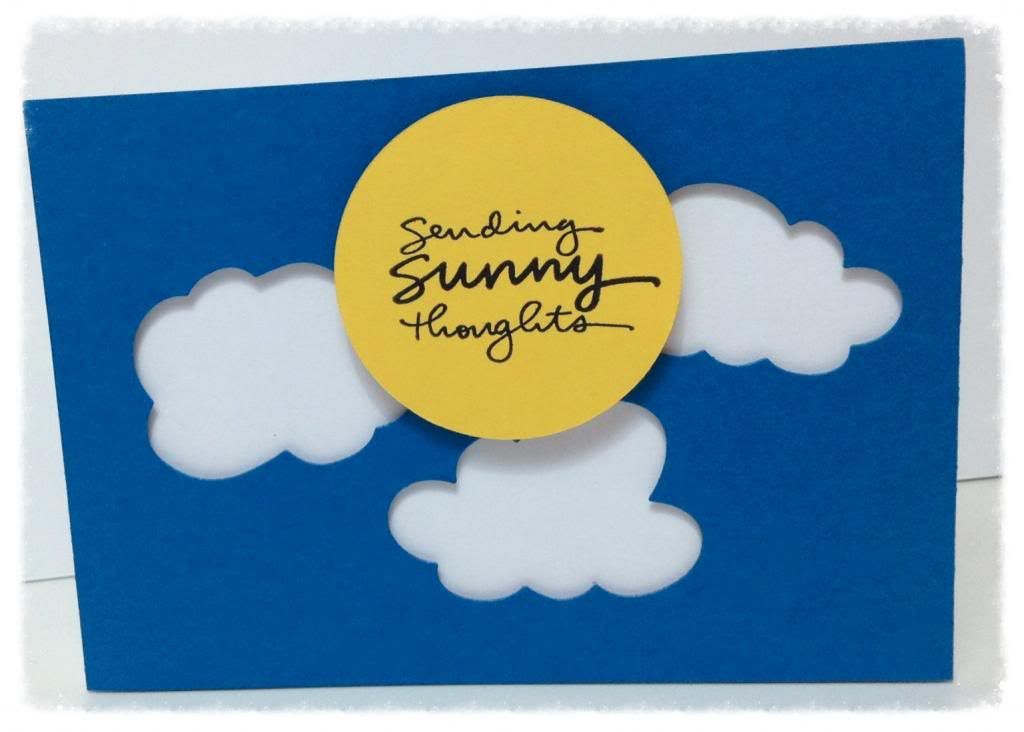
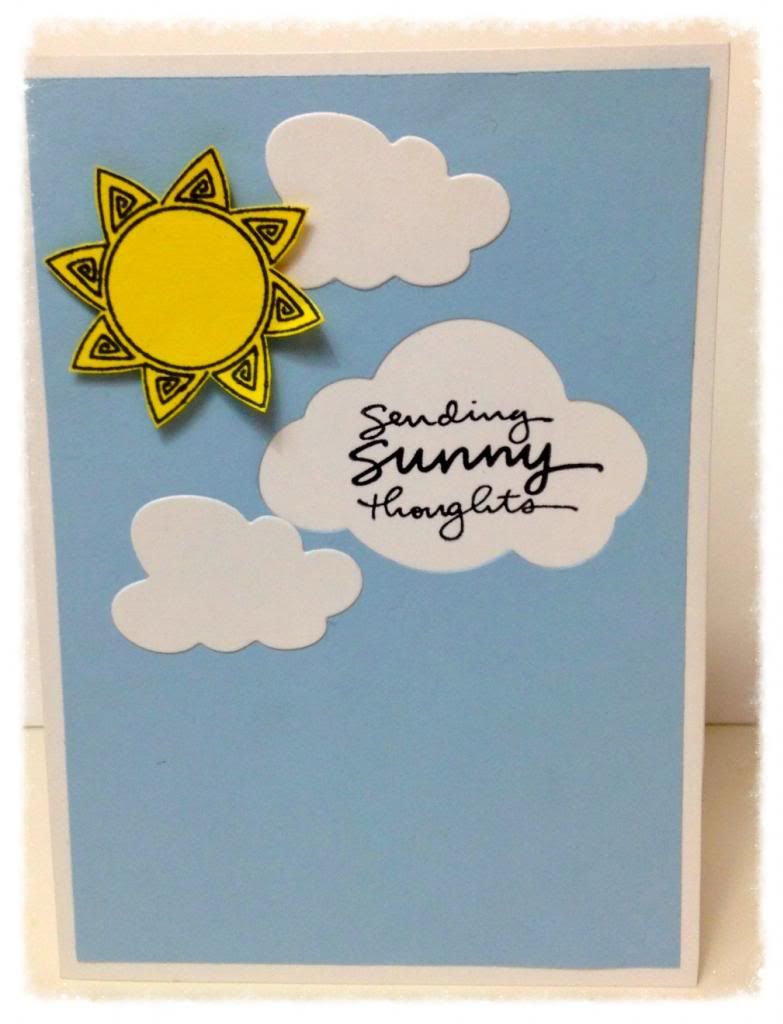
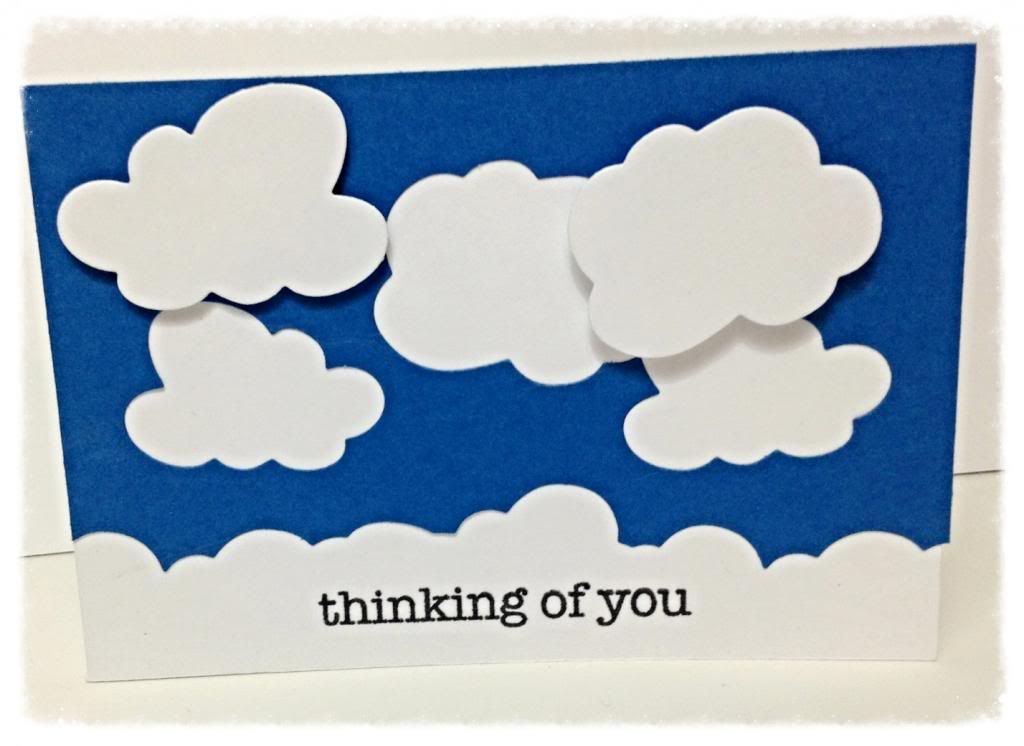
These cards were made a loooong time ago, probably even a year ago. I was on a cloud and sun kick because of some cloud dies that I bought. I should never spend that much on a product, especially something so simple and with such little product return. But I did, and I loved them.  Now I have a million free cut files for my Silhouette and I hope to never purchase another die cut again.  I've pretty much paid for my silhouette ten times over by not buying any more die cuts!


Some of these clouds are cut out of the blue card stock, and the others are adhered with foam adhesive for that lovely 3D effect that I’m addicted to.


This card was actually not made from the die cuts, but rather from a really old stamp set that I ordered years ago for my friend, Erin, for some baby shower invitations that we made. Also I stitched the edge of the card. I believe this card was one of the very first card that I tried my sewing machine on. Dang, it is SO hard to stitch a straight line, ESPECIALLY on paper! 


These clouds are a negative of what I cut out, so then I took the blue paper and adhered it to the base with foam adhesive for the ever beloved 3D effect.


The only 3D effect here is the sun. 


Aaaaand that's it. I still love my clouds and suns. They all feel to be about the same, but that was kind of my point. Same elements, same colors, different cards. I like the way they all turned out!

Friday, November 15, 2013

Leila.

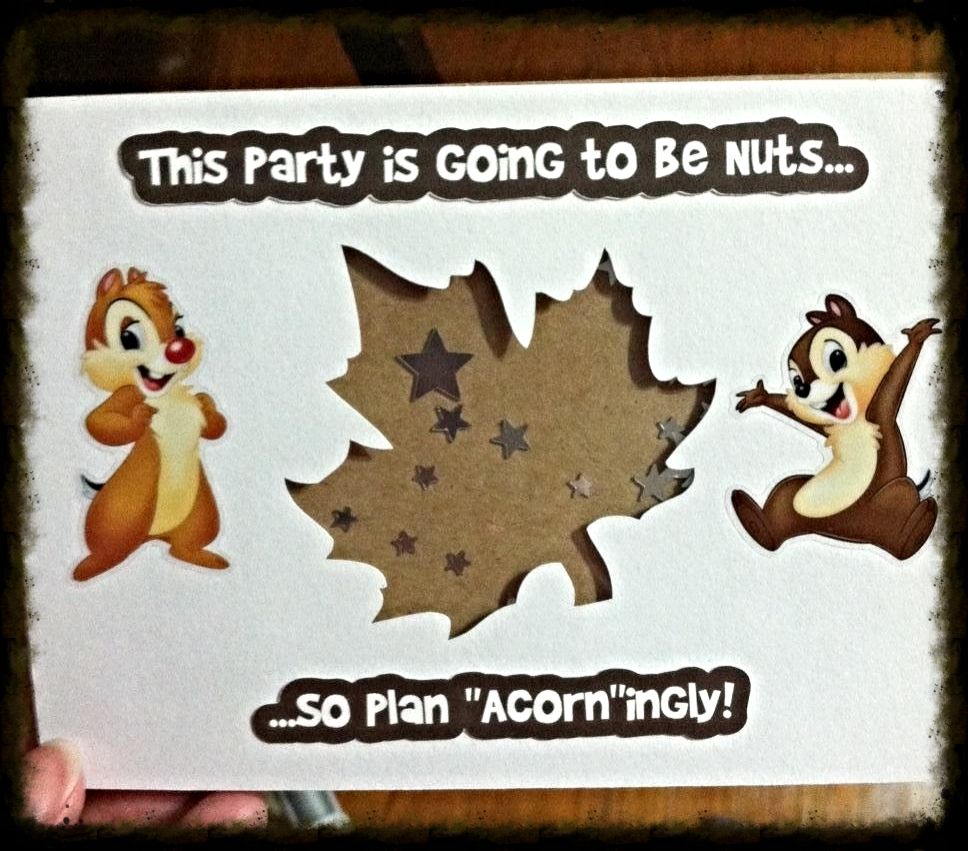
My friend, Tanya, and I made some invitations for her daughter's third birthday party the other day. This is how they turned out:


Can you tell the theme is Chip and Dale?

Adam came up with the pun. Tanya wanted something totally punny that had to do with Chip and Dale or acorns or leaves. Once he came up with that, I printed and cut the words on my Silhouette, along with 18 card faces with the leaf cutout.  The leaf is one of the free shapes that Silhouette gives you with your Silhouette! It was exactly what Tanya was looking for.

We made really easy shaker cards with silver stars as the confetti.  I can't find the tutorial that I used, but they're really popular. Just Google "shaker card" or visit this link for a bunch of cute cards! 


Thursday, November 14, 2013

Legoman.

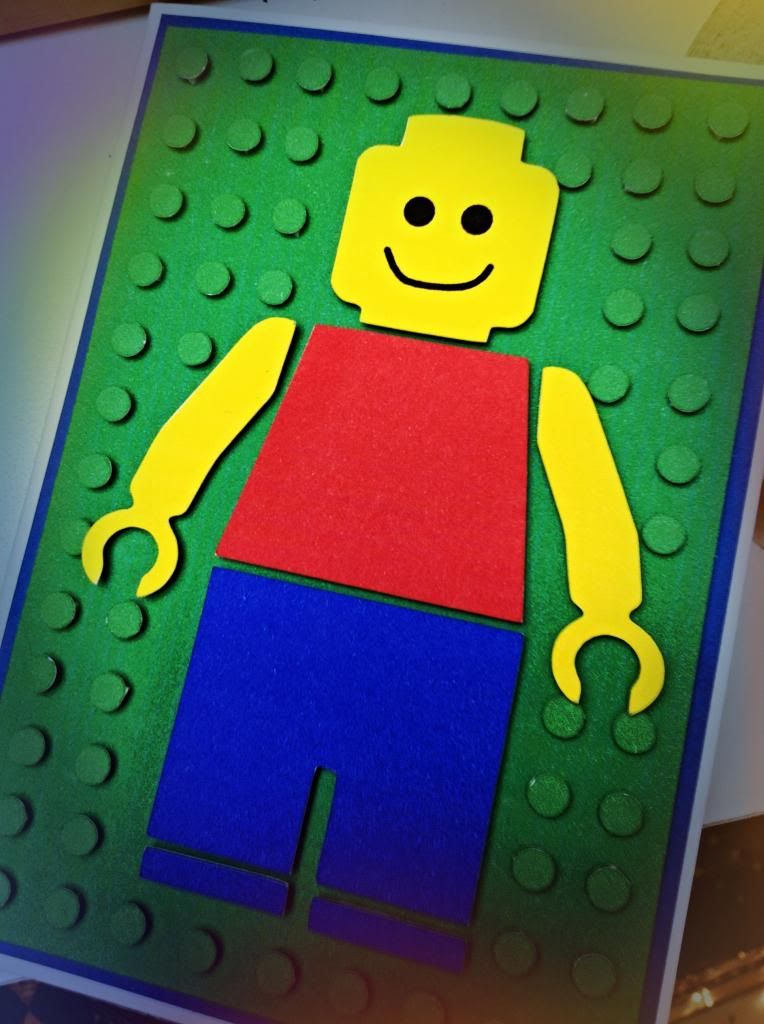
I have an AWFULLY photographed card for you today. I don't know why I could get these primary colors to look like primary colors. Probably because I used my iPod and I don't have a better camera. With failed attempts at properly editing the pictures, I decided to add an "effect" and purposefully change with (what I think) is called a filter.


I made this card for my brother, Drew, who is actually two years older than me: 29. He's not still into Legos, but when I think of a Lego, I think of him. He loved them as a kid. The cut file came from this link which I obtained through Pinterest. All I have is that link to the 4shared account - not a blog or anything!

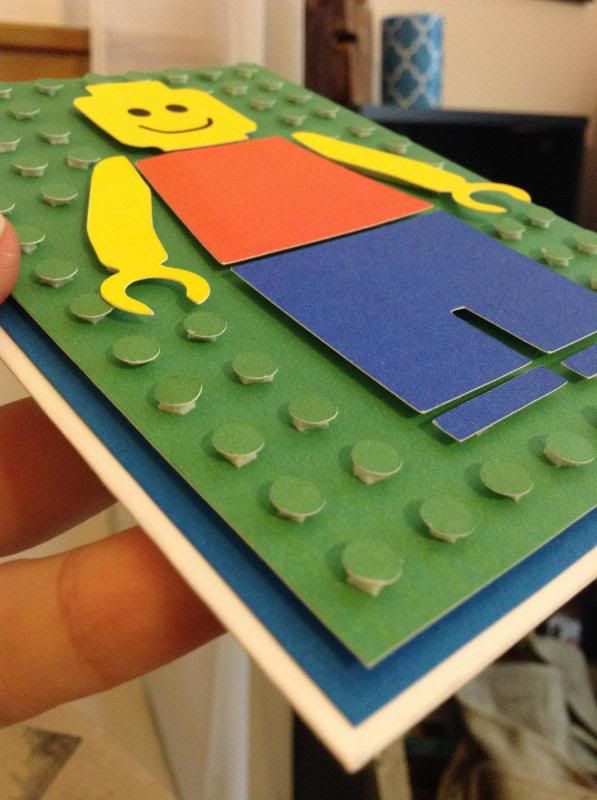
No picture filter - pretty close to the actual color

I had a lot of fun with this card! I cut everything out on my silhouette via print and cut, and I adhered each circle of the base individually with foam adhesive for dimension. It didn't take as long as it seems!

You wanna know something amazing? I drew on the face parts ALL.BY.MYSELF. That's saying something. Sometimes I can't even draw a rectangle. Joking. But the smile was hard! I'm proud of that accomplishment LOL!