
Happy.

Tuesday, December 25, 2012
Sunday, December 23, 2012
PostSecret.

I saw this email on PostSecret today. I desperately wanted to pin it to my "Sope Bocks" pinterest board (which is my phonetic spelling of "soap box"; see definition here), but apparently you can't pin an image with a long description anymore, which makes me sad. Because PostSecret doesn't keep secrets longer than a week, there will be no way for me to read the emailed secret again unless it remains somewhere else on the internet. Therefore, I'm posting the quote on my own blog so I can see the full message when I want to be uplifted again.
"I was at the PostSecret Event in London. I didn't find the courage to go up to the microphone, but if I had been able to, this is what I would have said.
I spent so long feeling guilty, feeling ashamed of my sadness, and you know what? It just made me sadder. You are allowed to be sad, you are allowed to be angry, you're allowed to be depressed. We all deserve to feel our own sadness in our own time.
Something you will have heard before - you deserve to be happy. That, of course, is not always easy to hear, especially in the depths of depression - so let me add something. You deserve to be happy - but you don't have to be happy right now or all the time.
It is okay to be sad, it's okay to not be ready to be happy yet. One day you will be ready to recover - that day doesn't have to be today or even tomorrow, as long as you know and trust me that it will come.
It's okay not to be okay.
Thanks for everything Frank,
Holly, London
P.S My secret is that I decided last night that I'm ready to recover and it's going to be incredible."
Tuesday, December 18, 2012
Pictures.
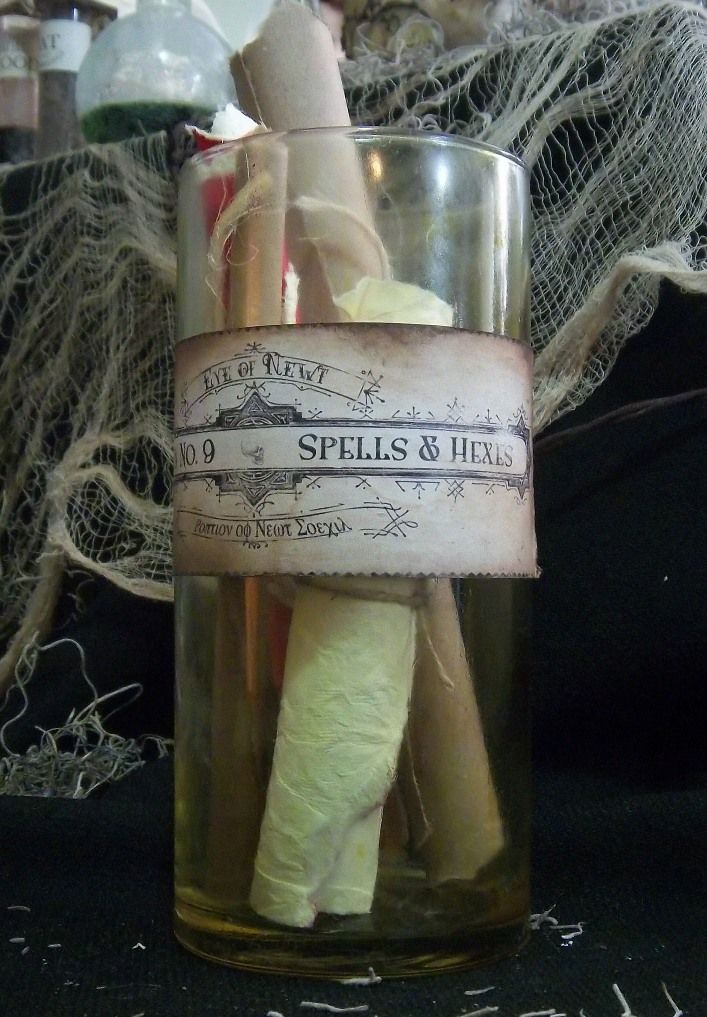
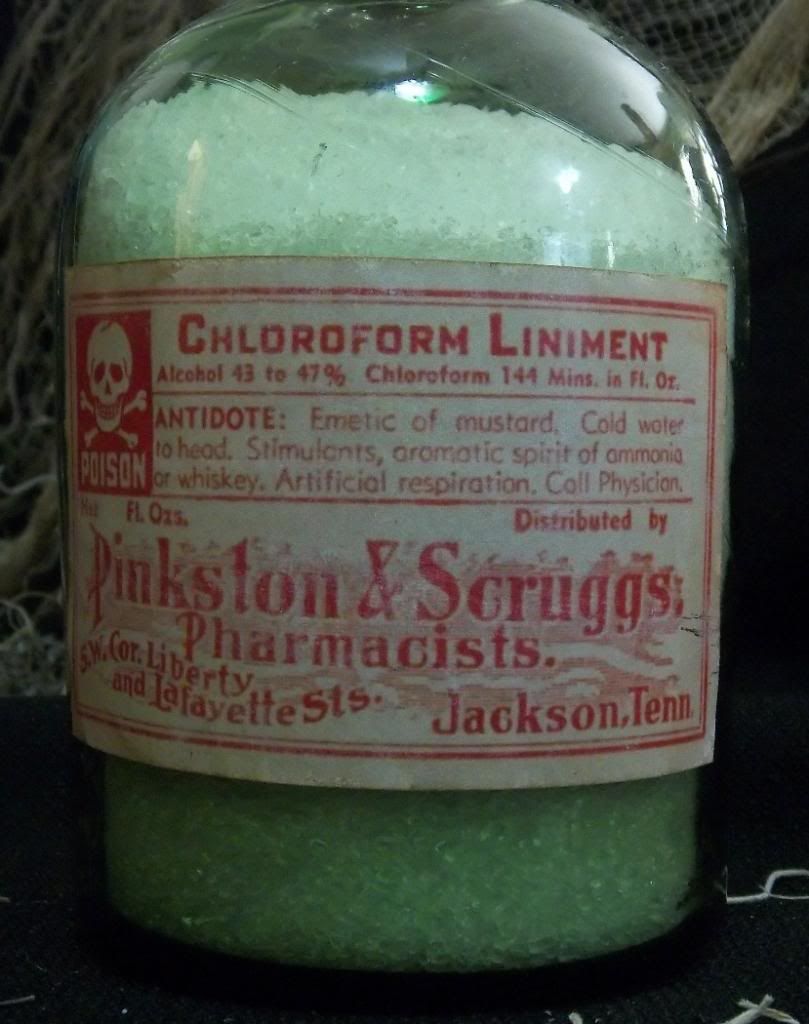
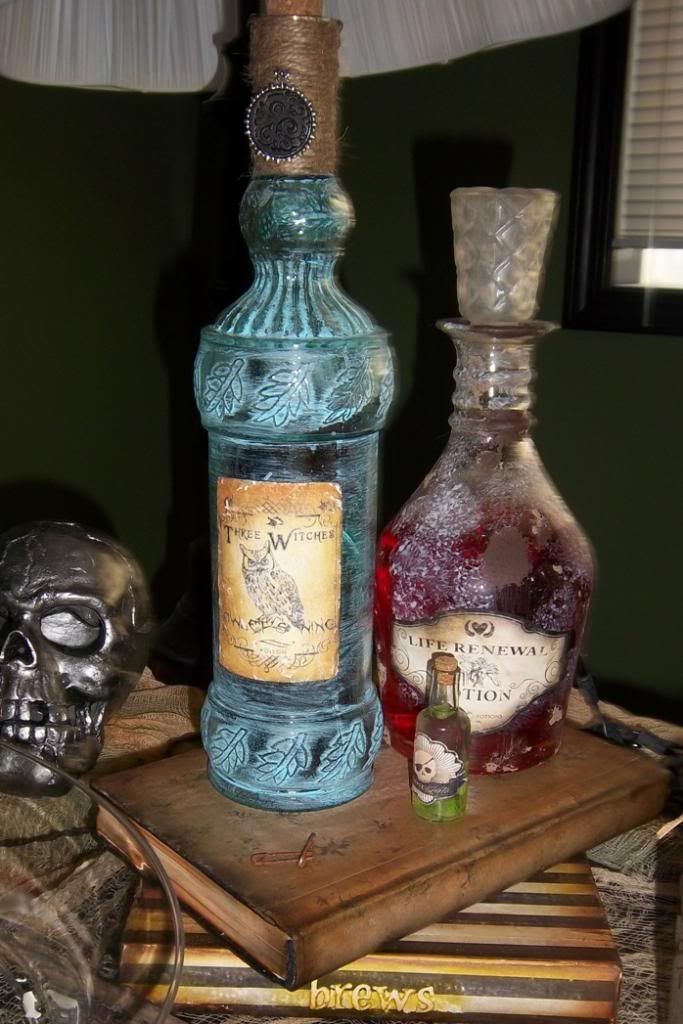
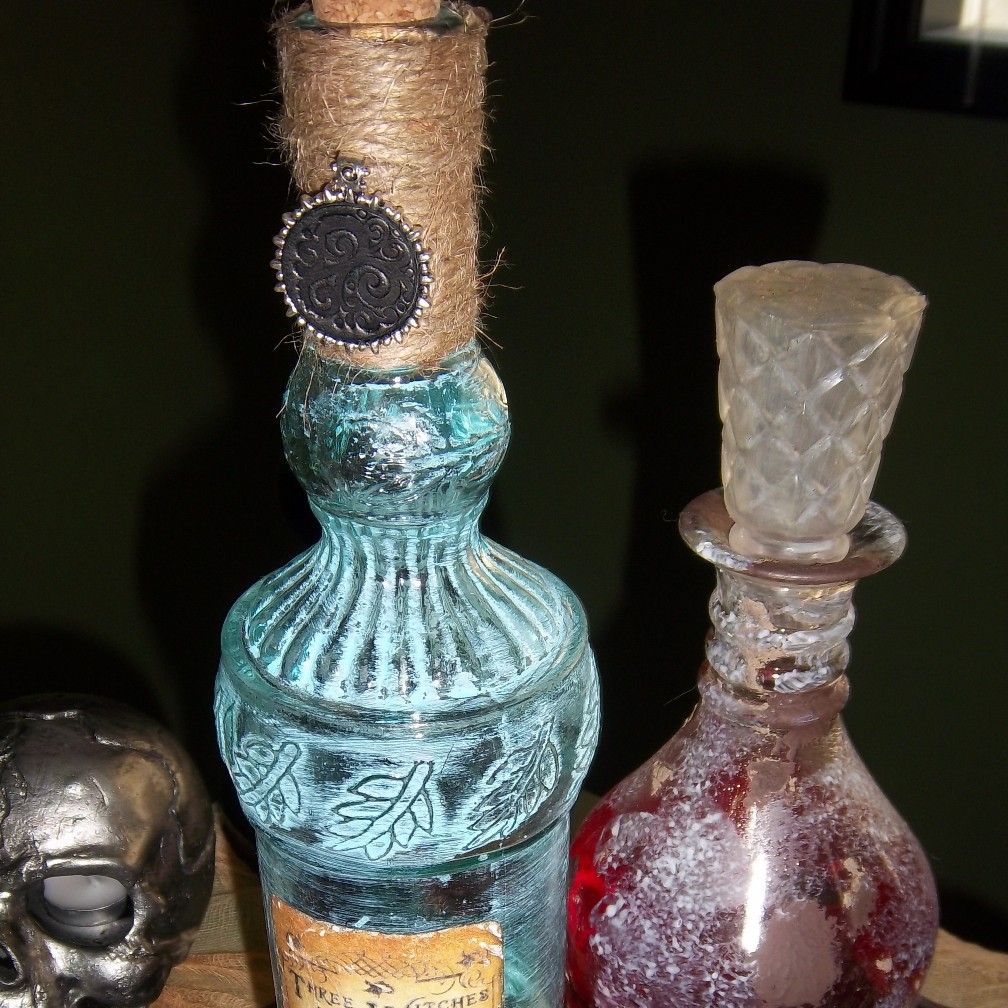
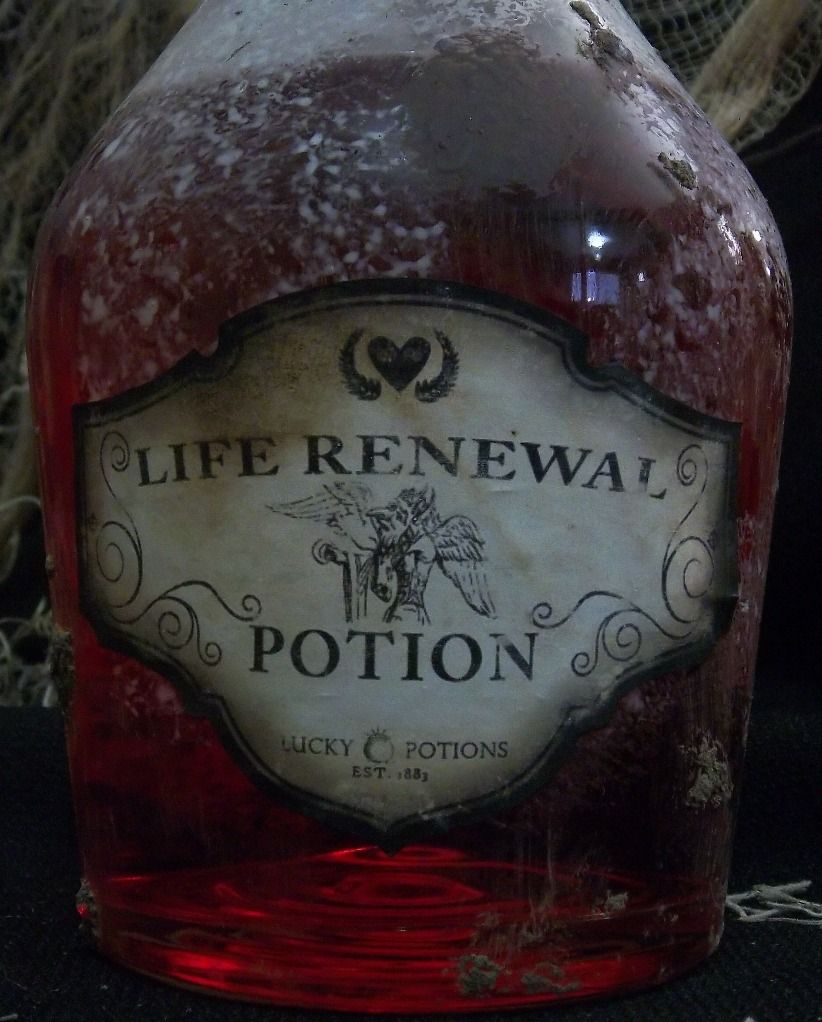
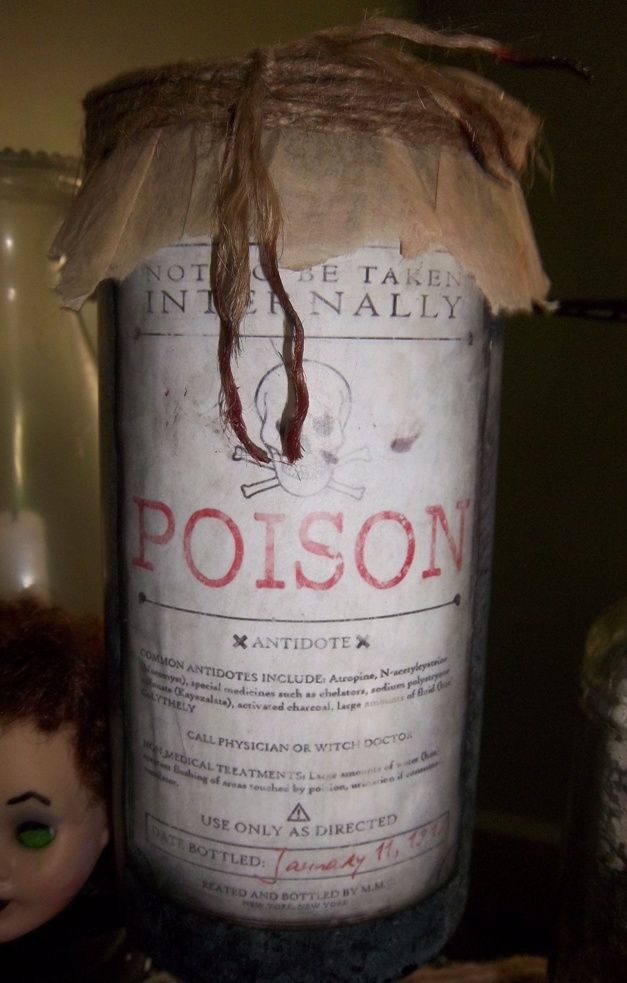
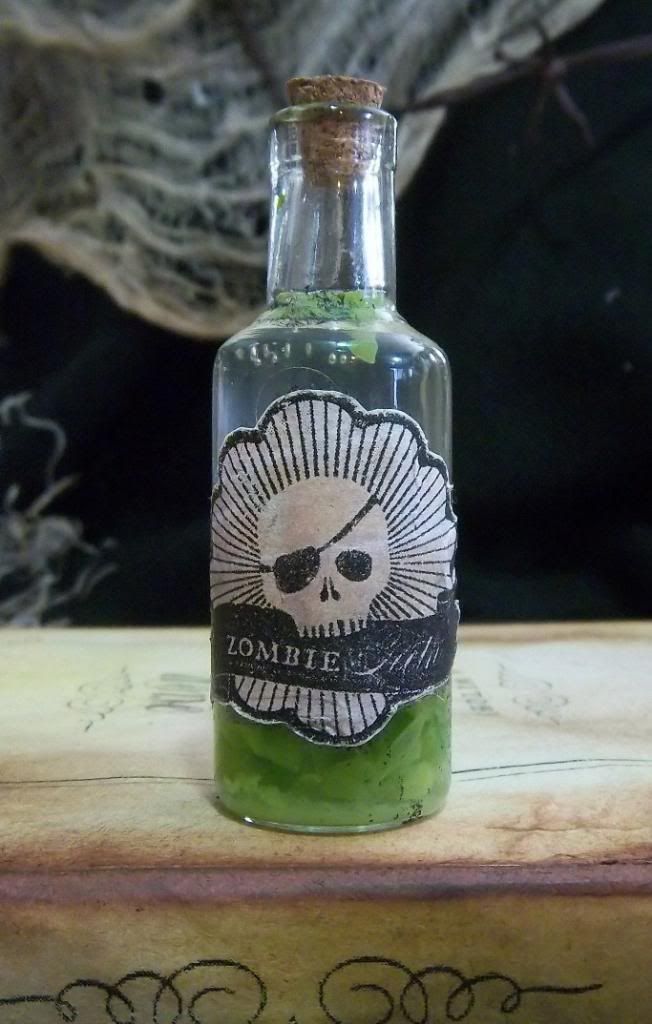
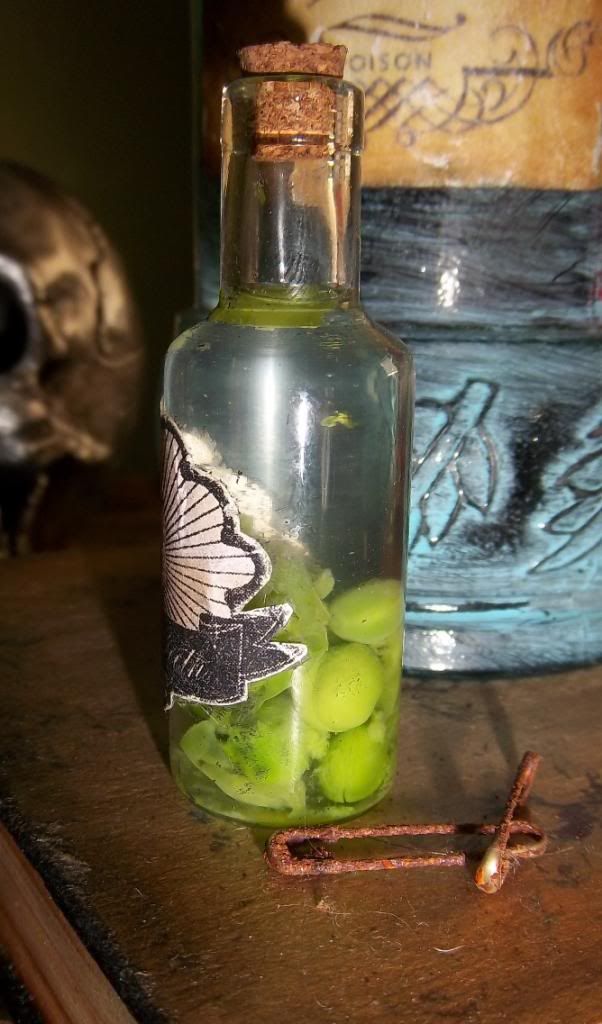
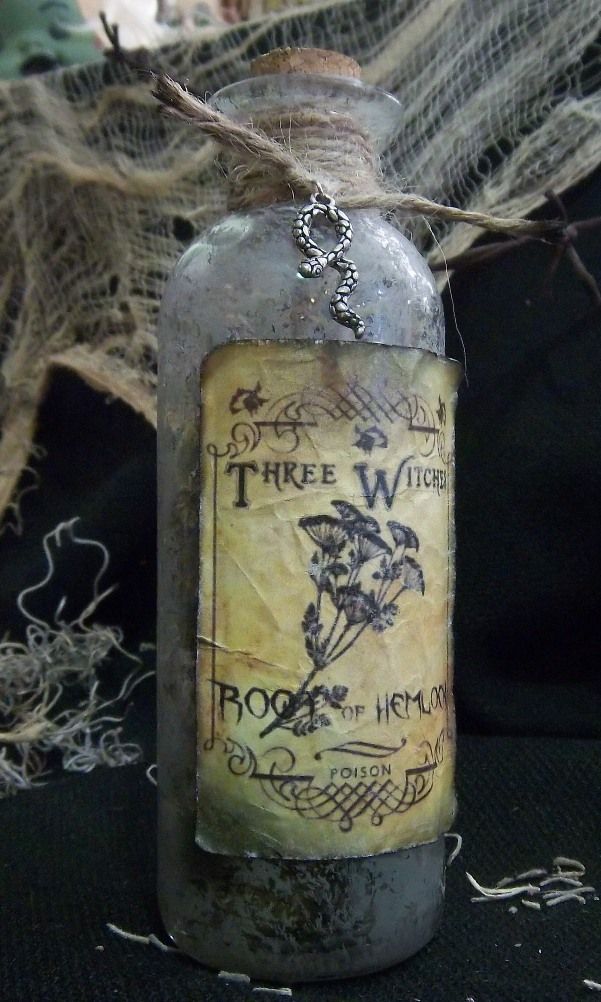
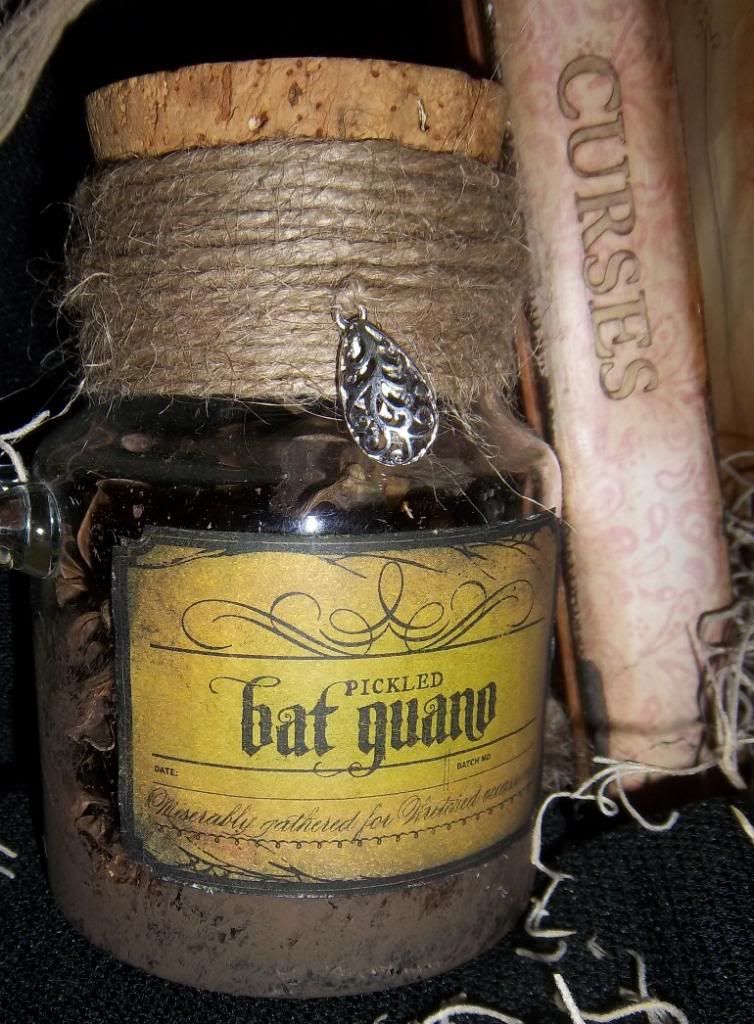
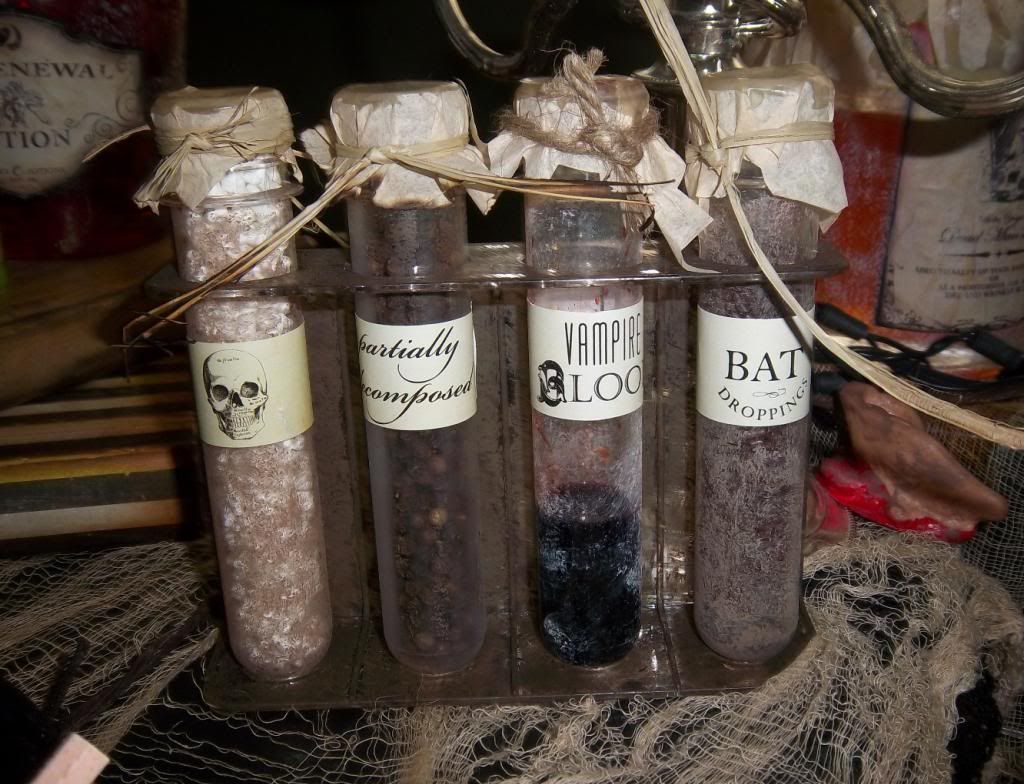
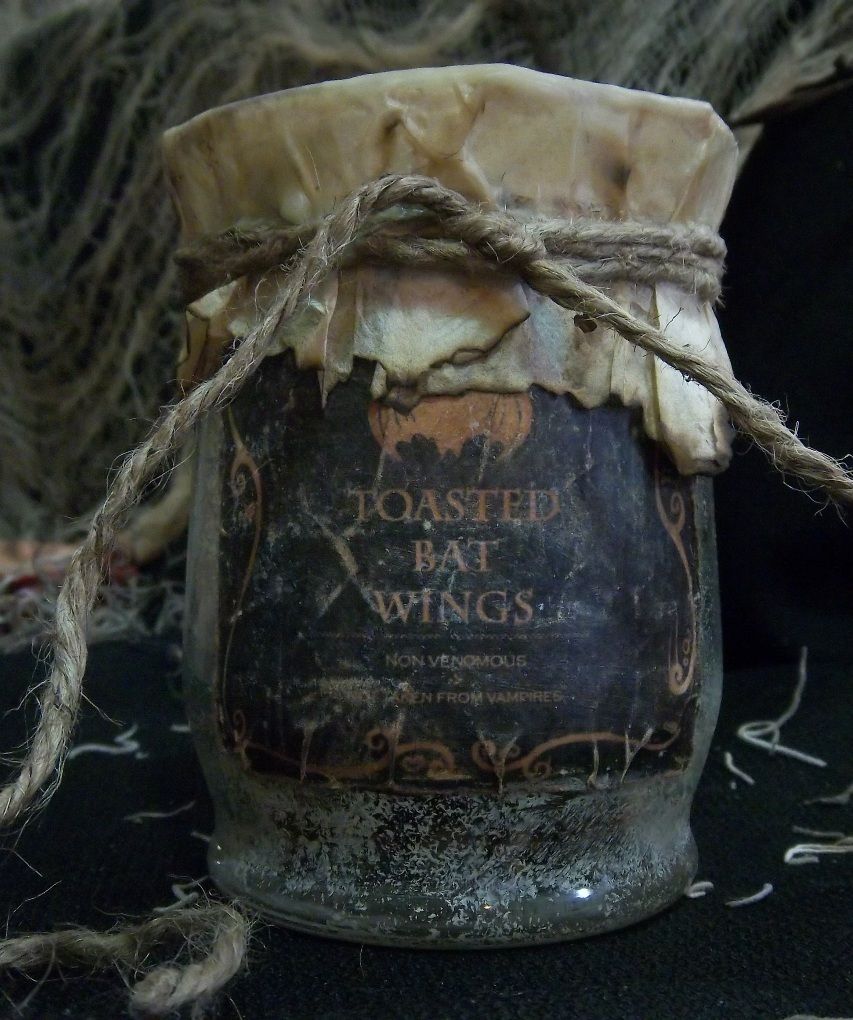
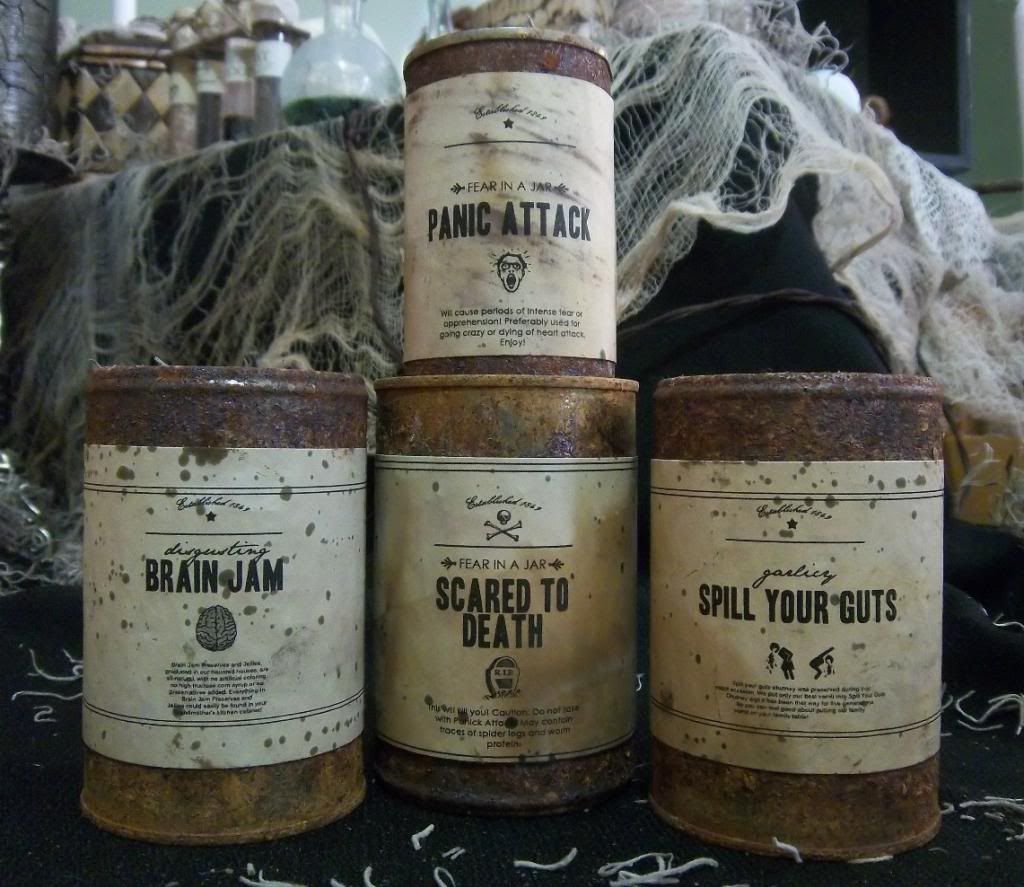
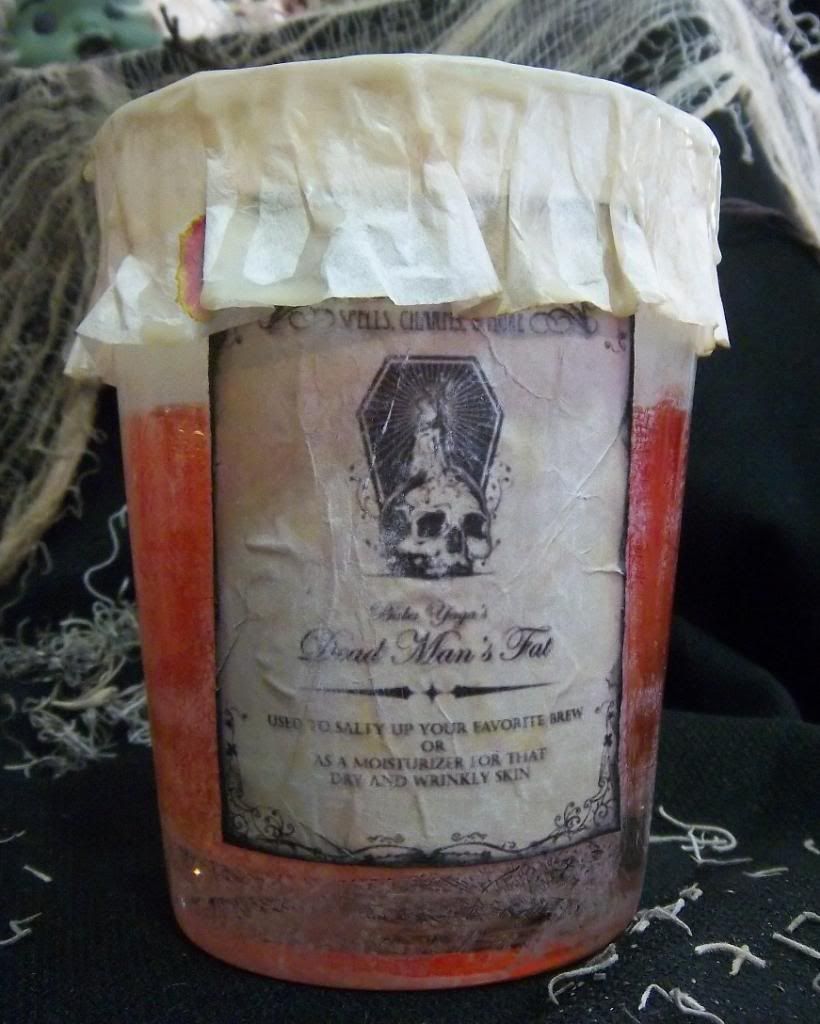
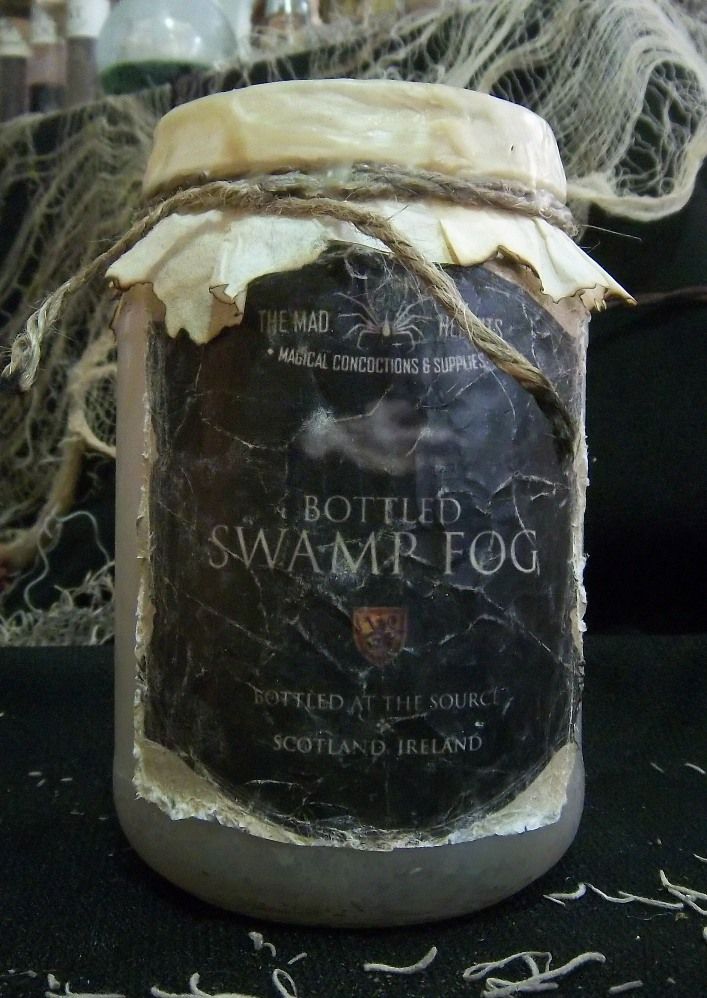
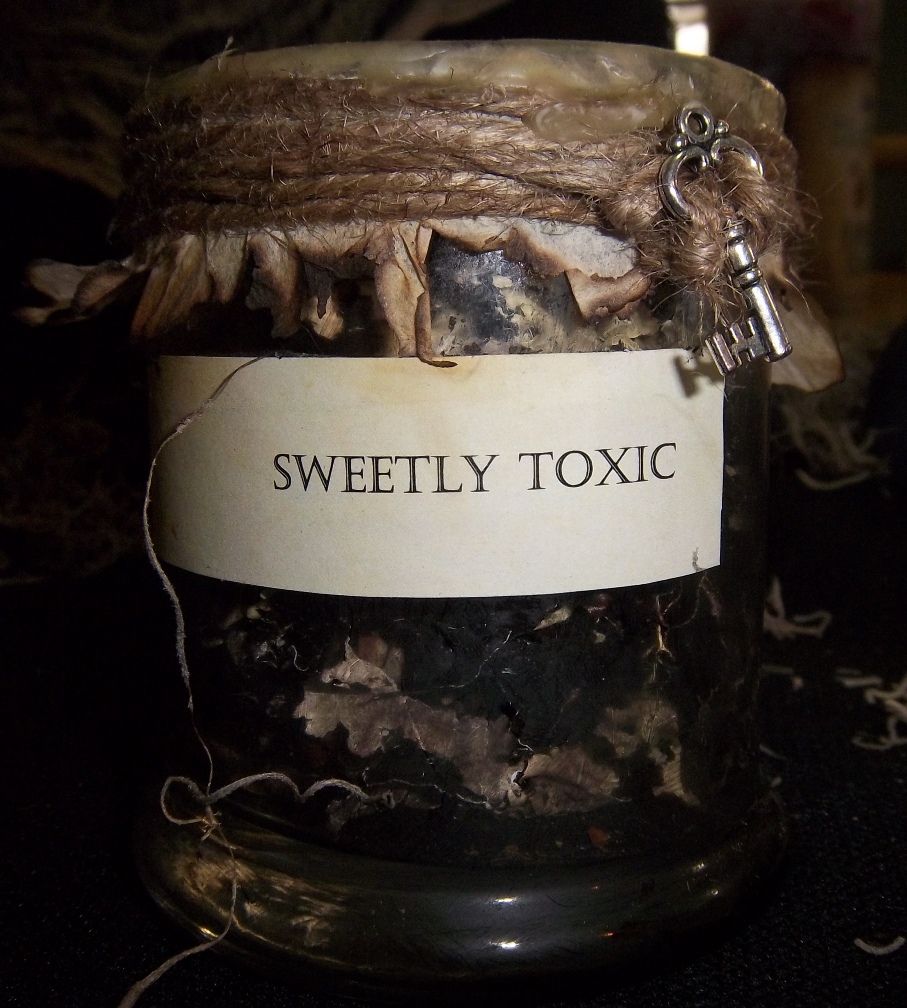
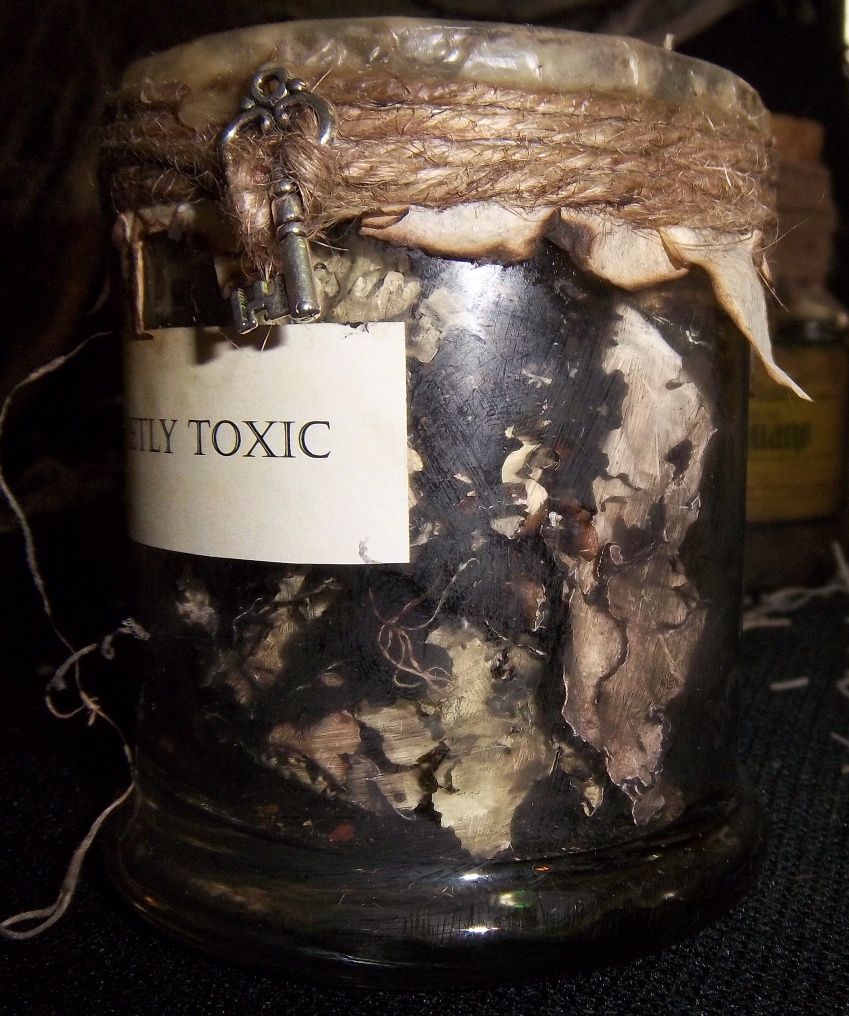
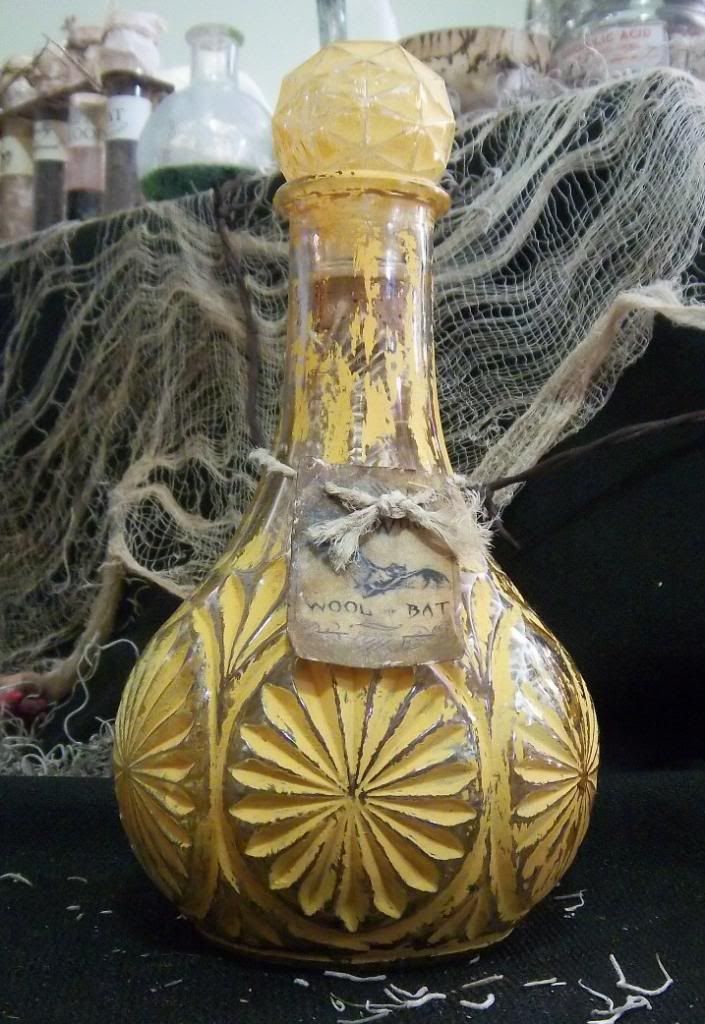
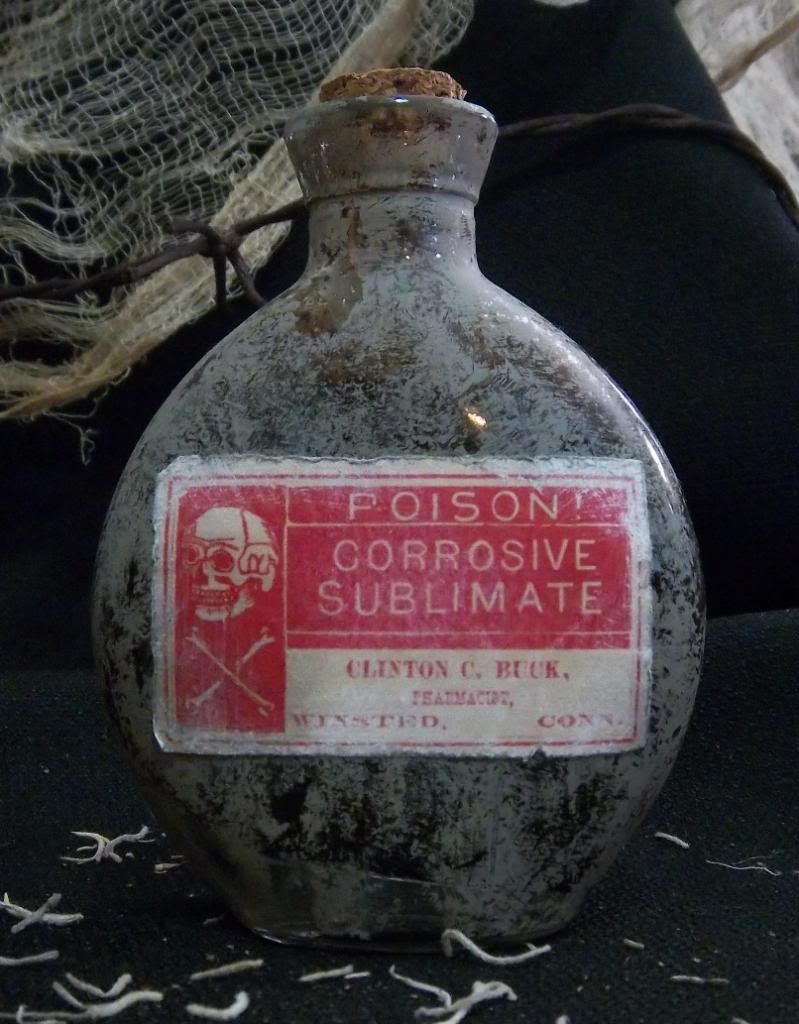
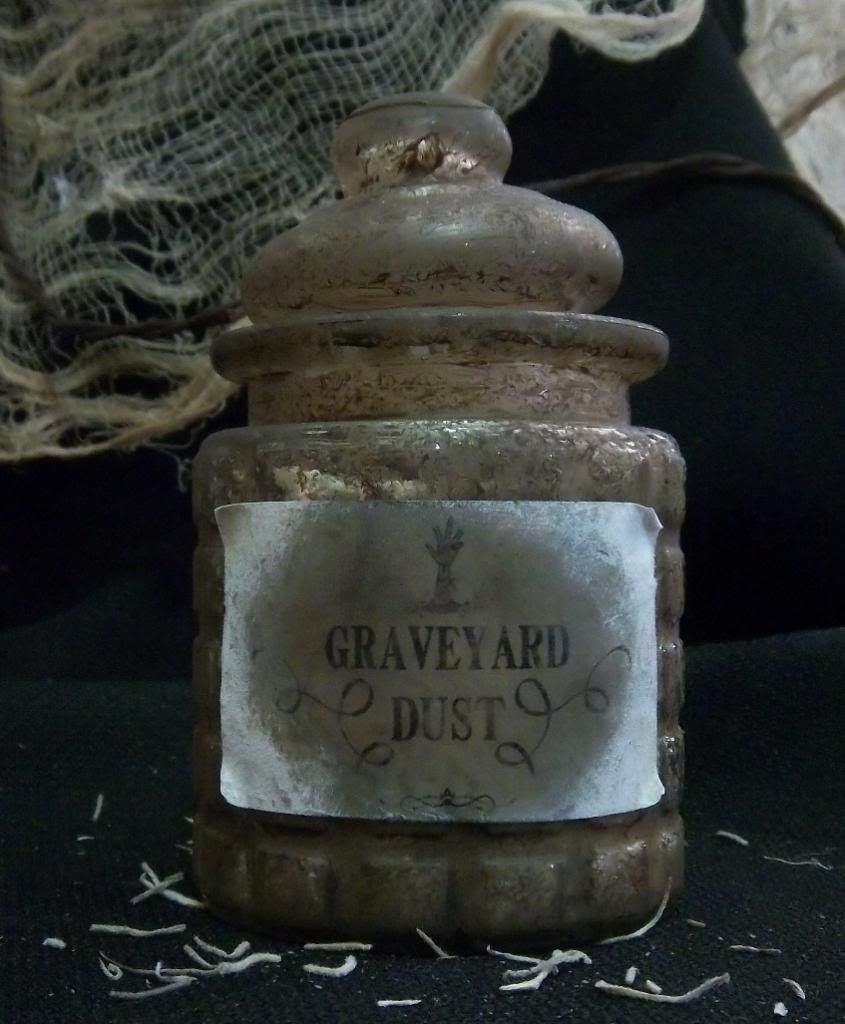
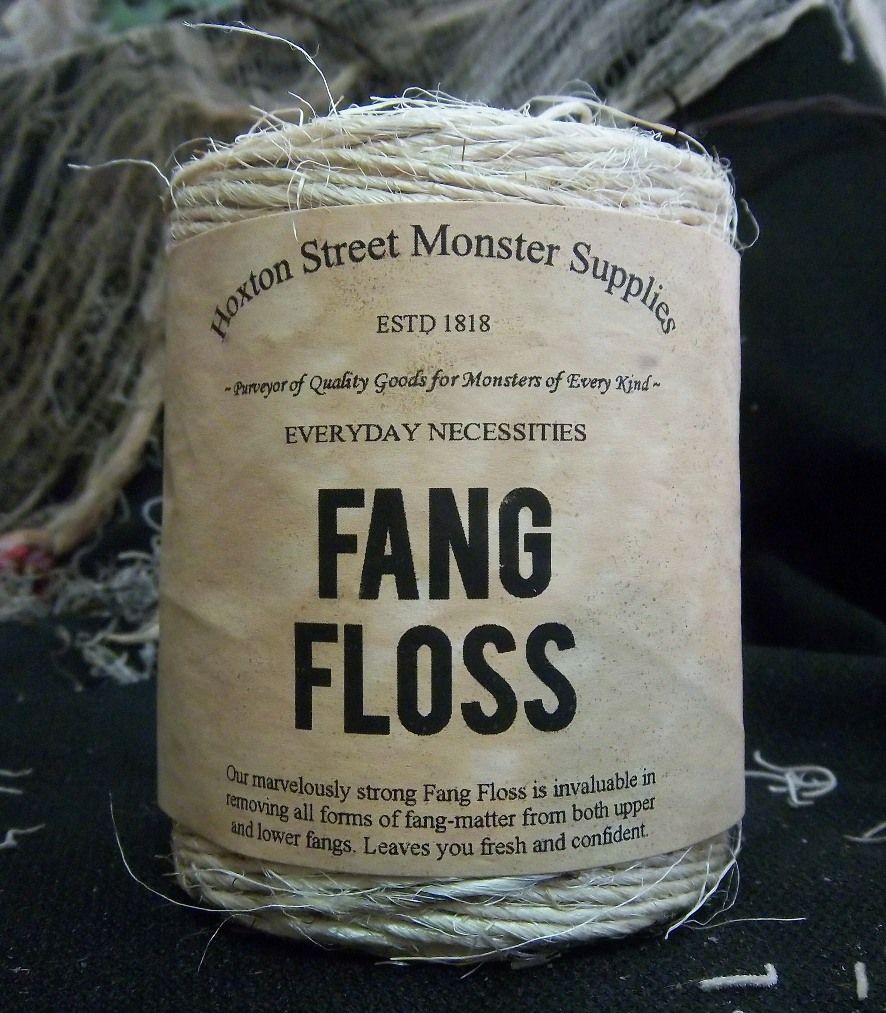
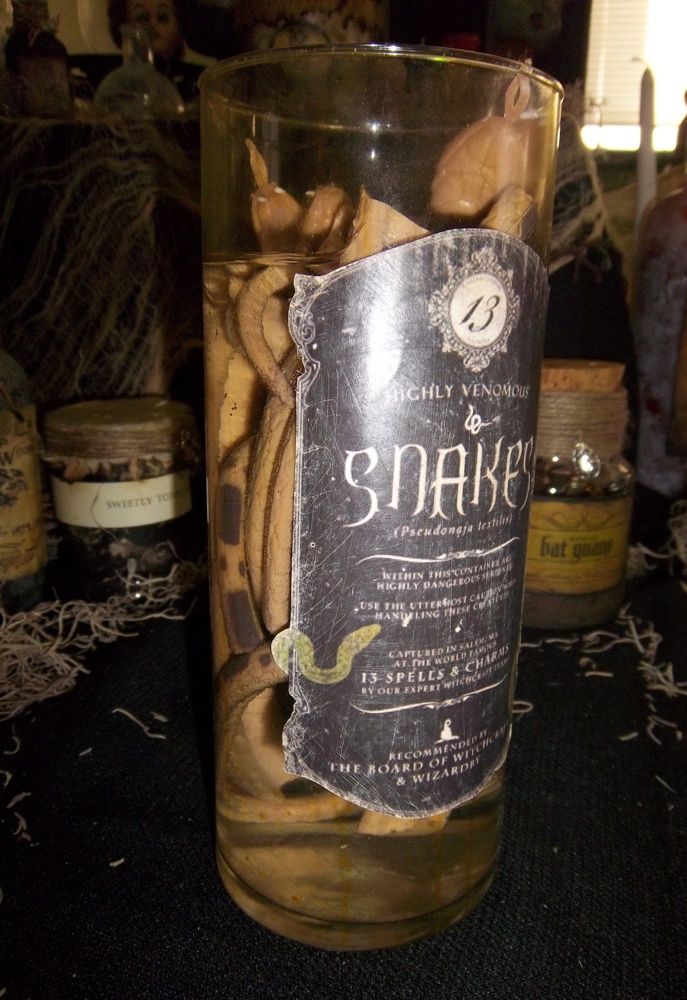
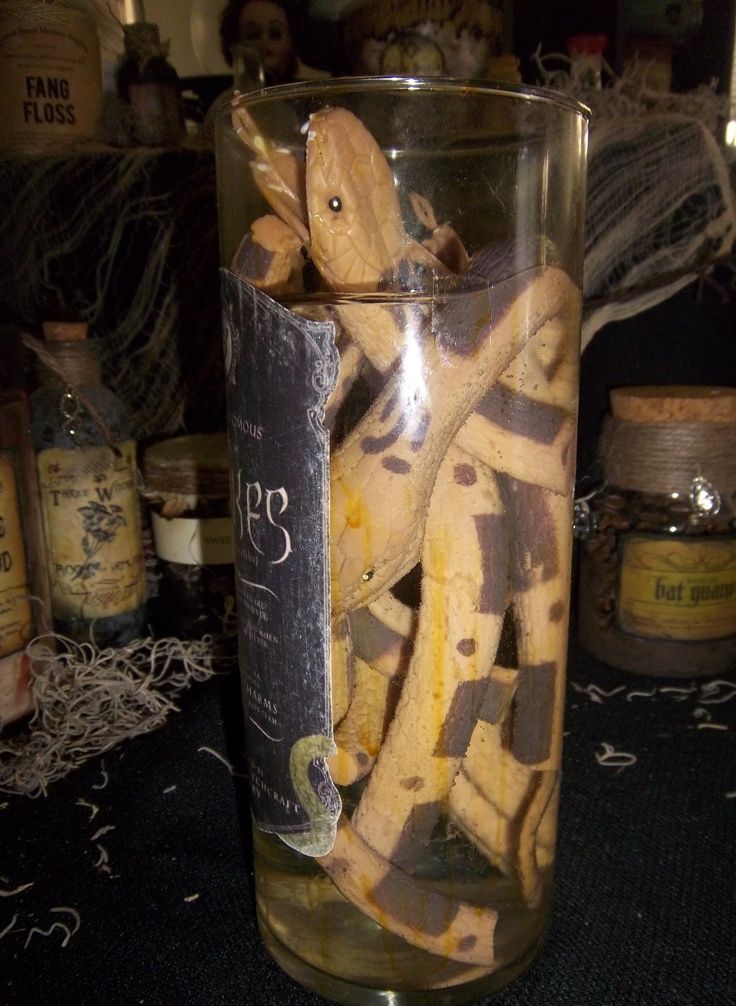
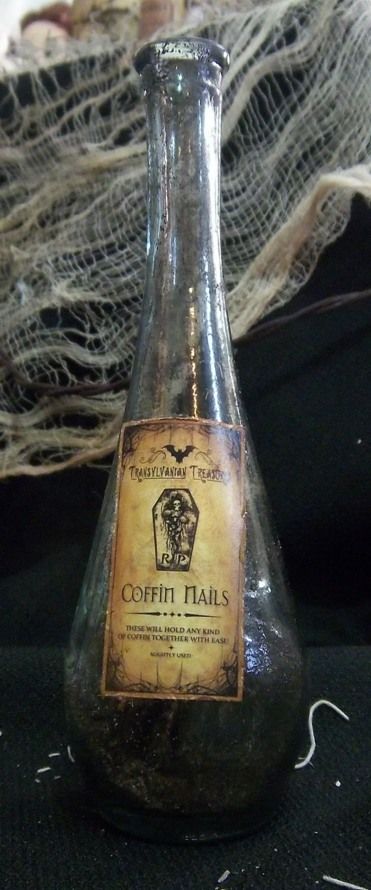
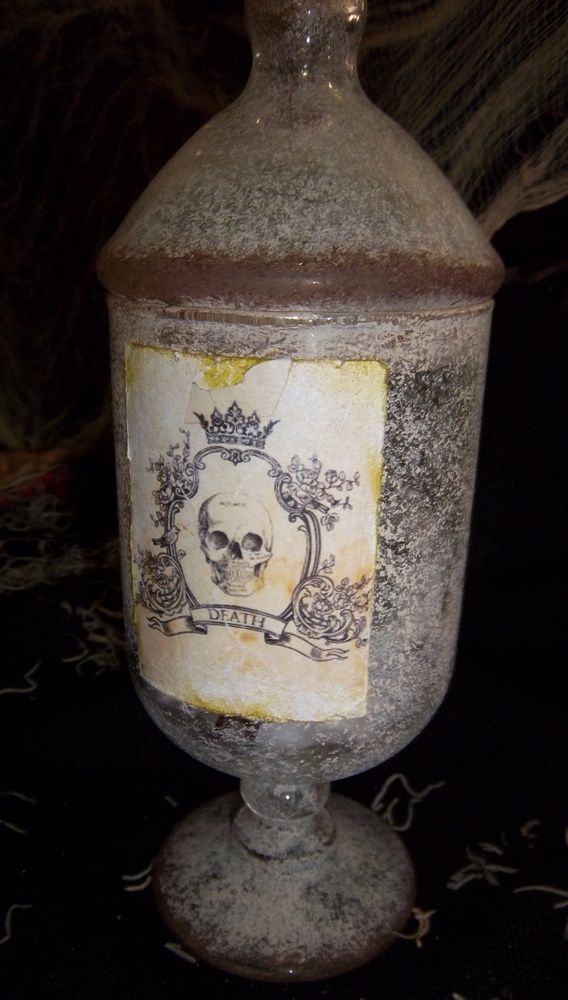
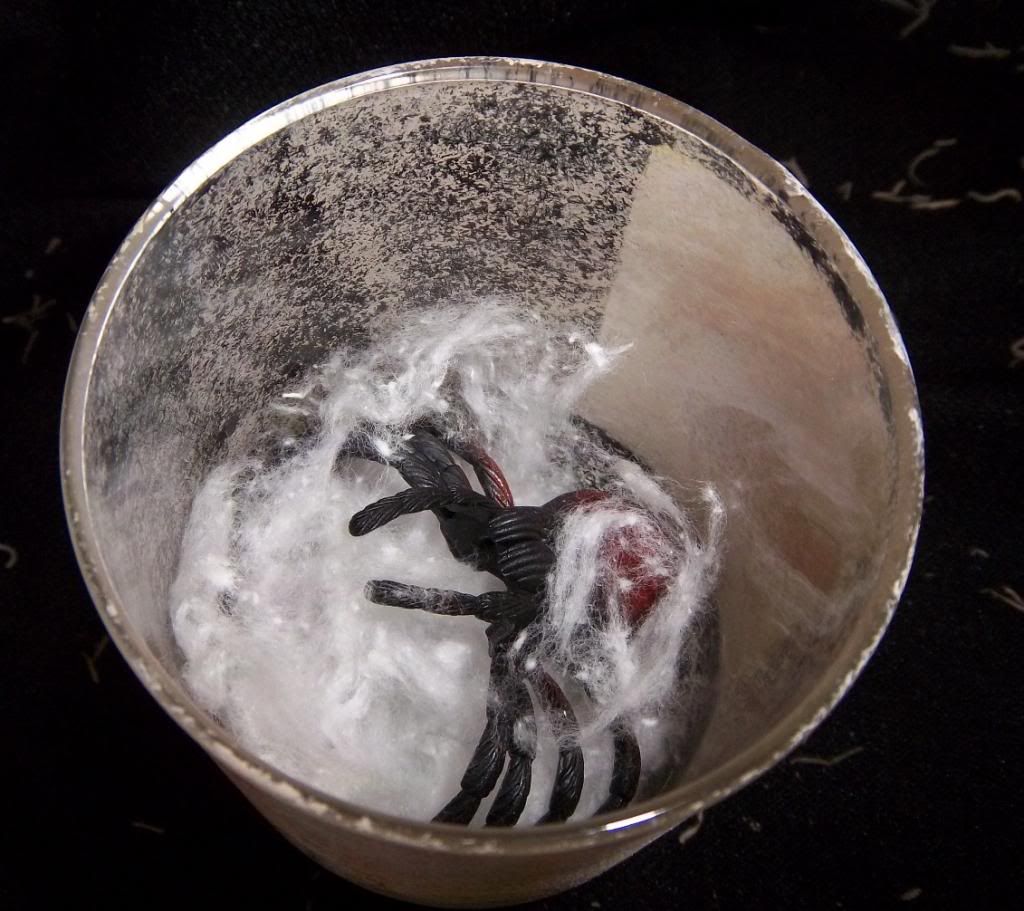
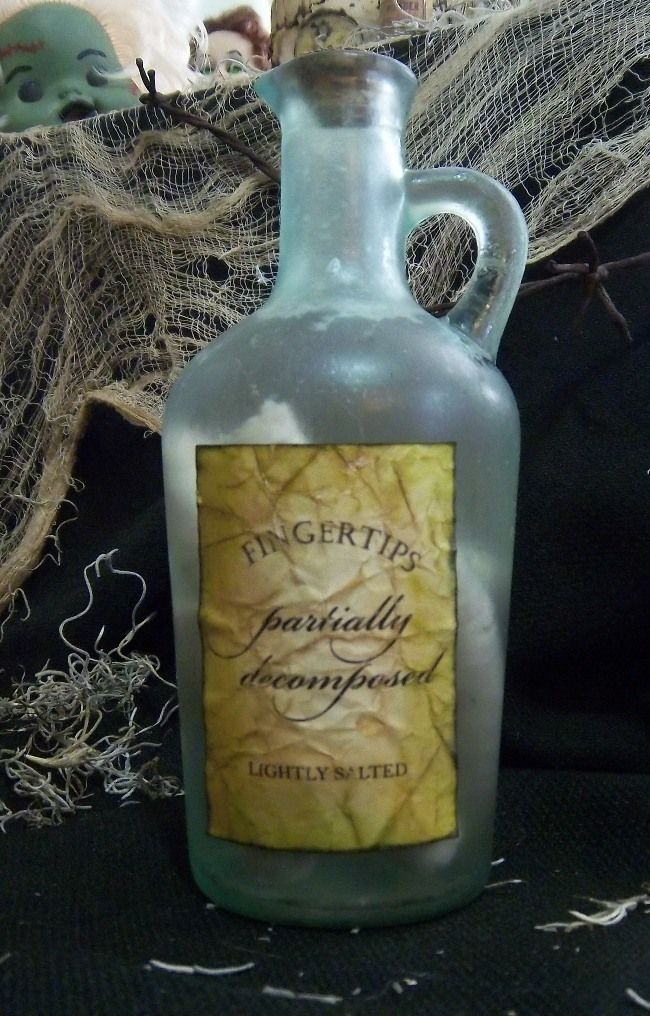
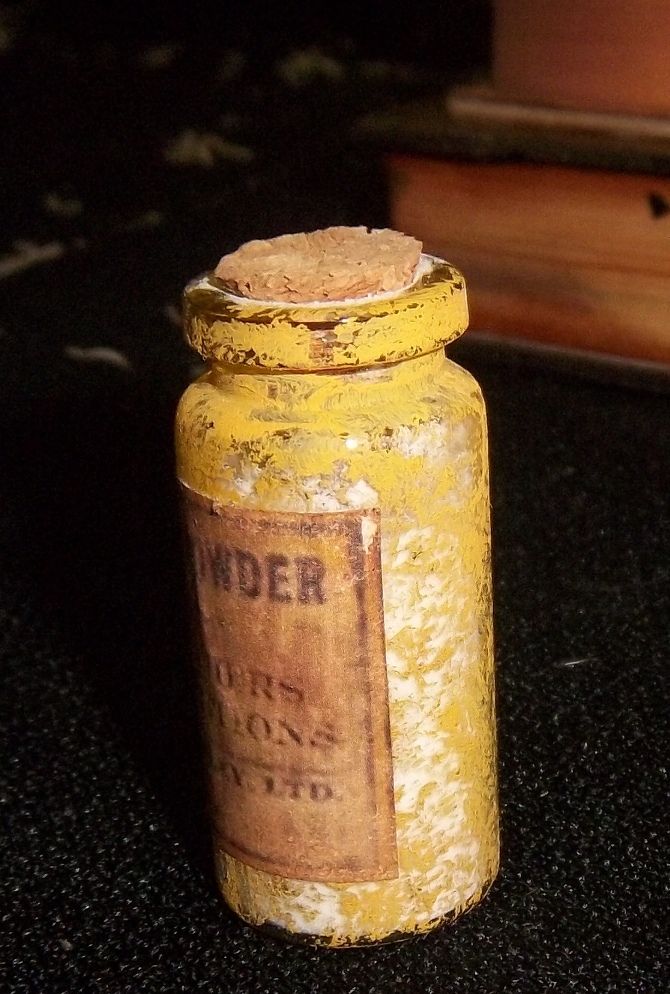
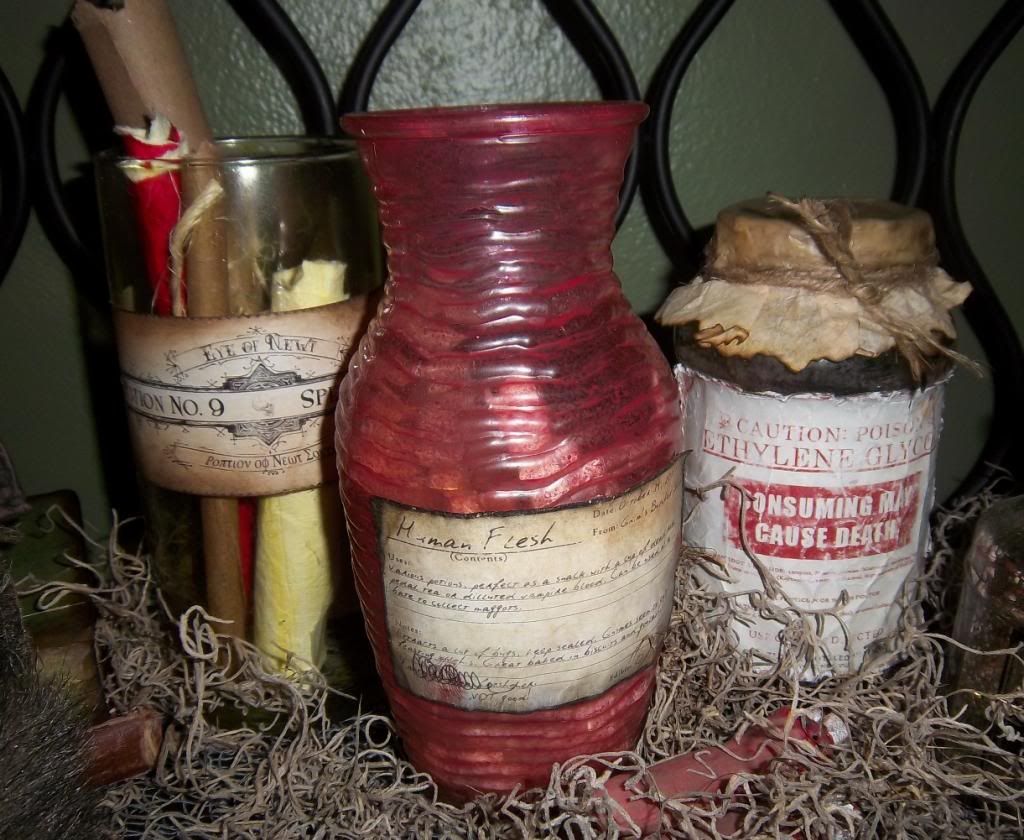
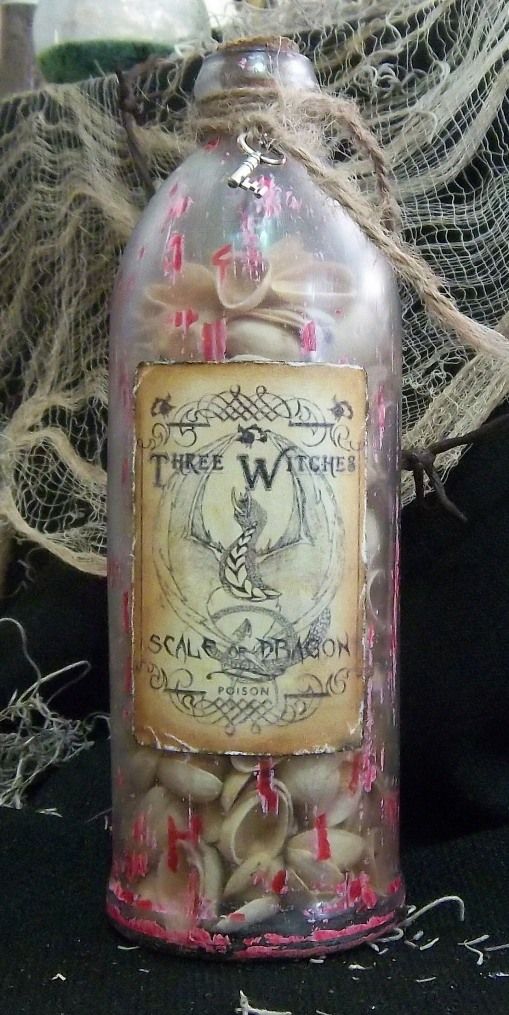
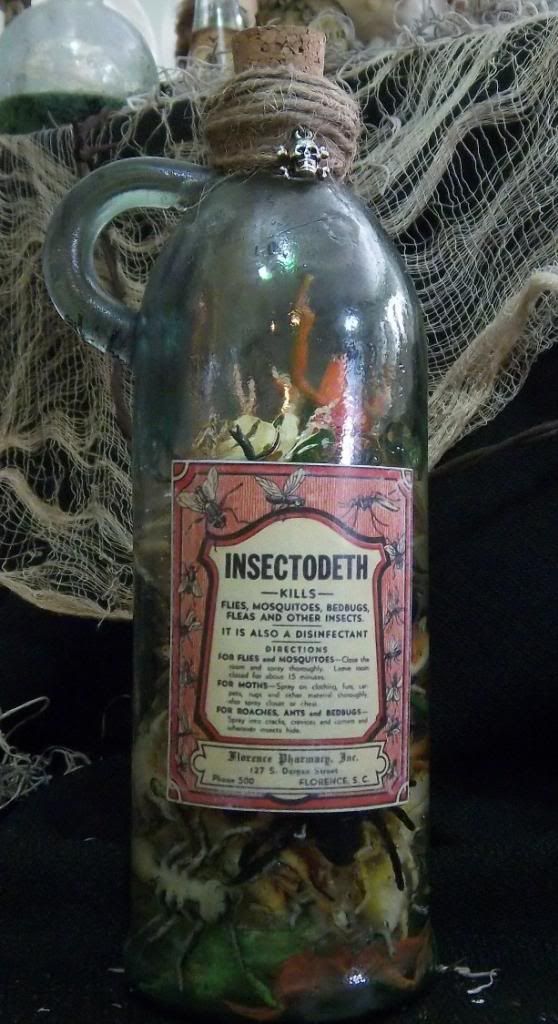
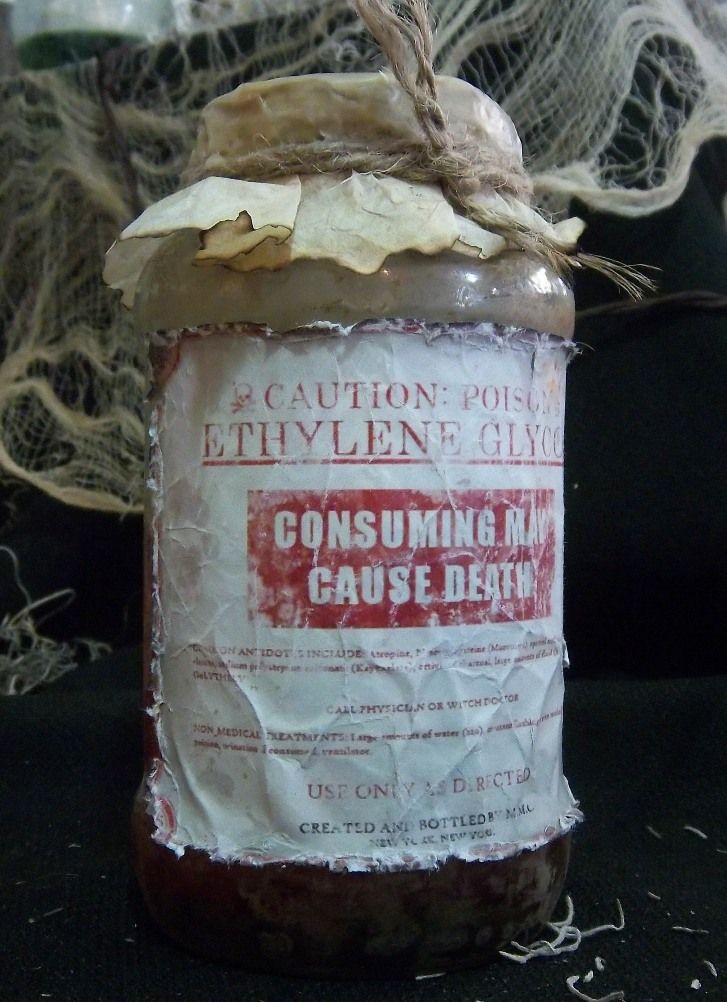
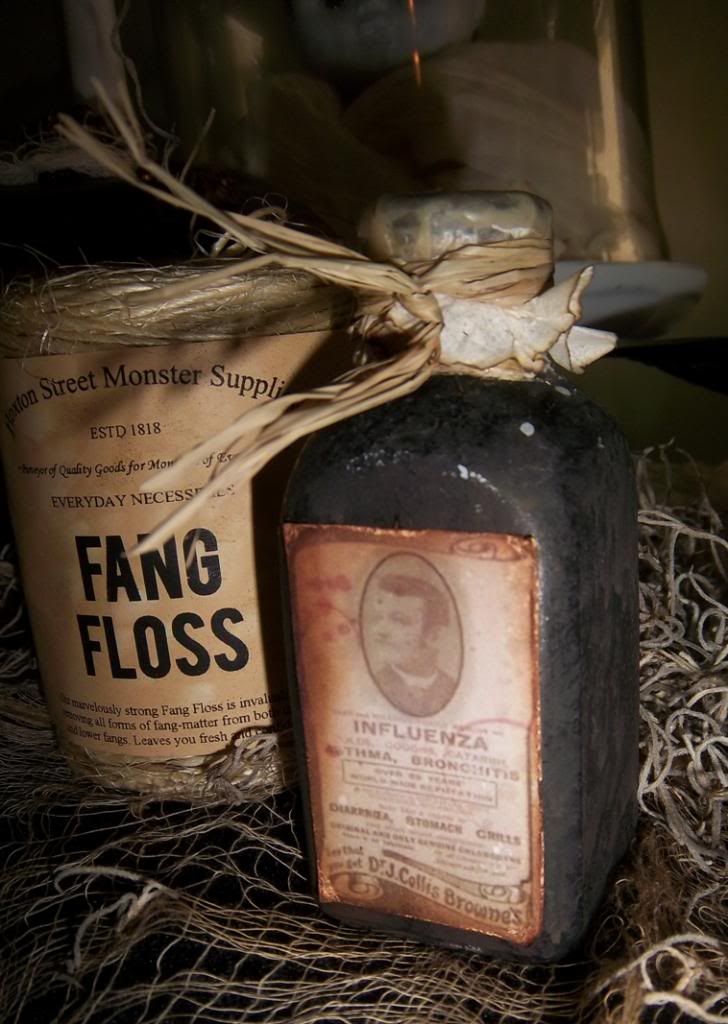
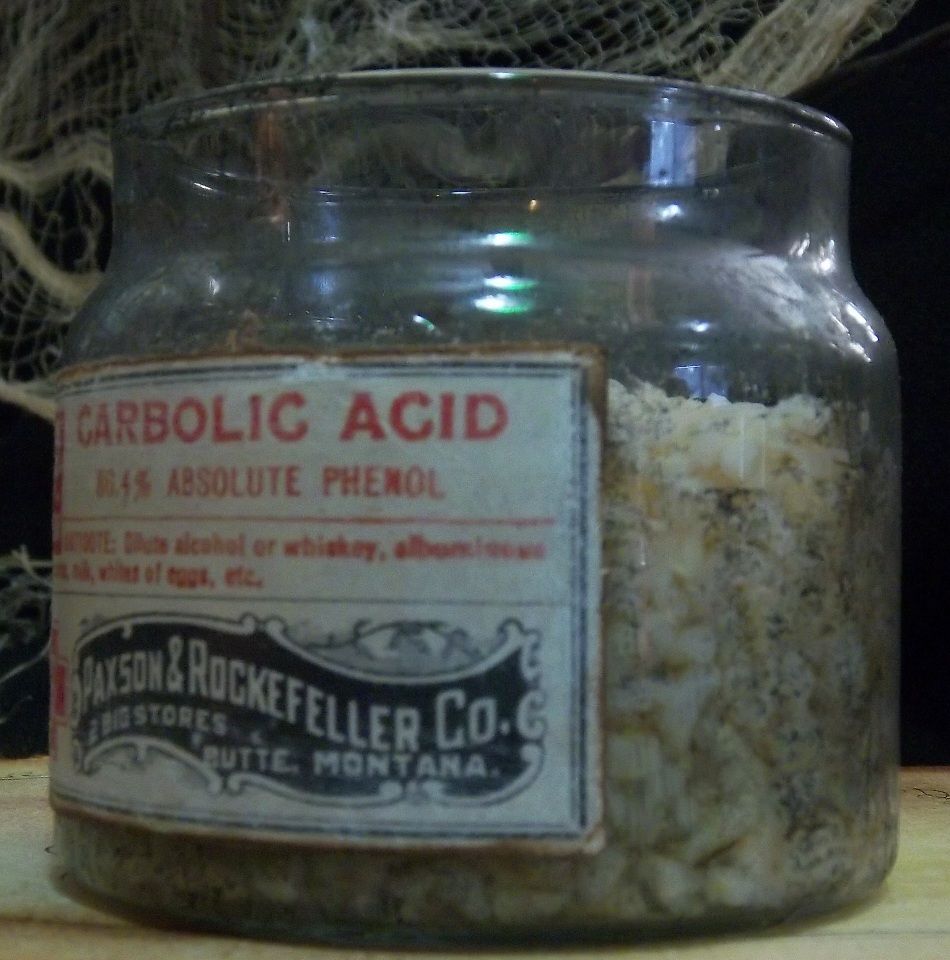
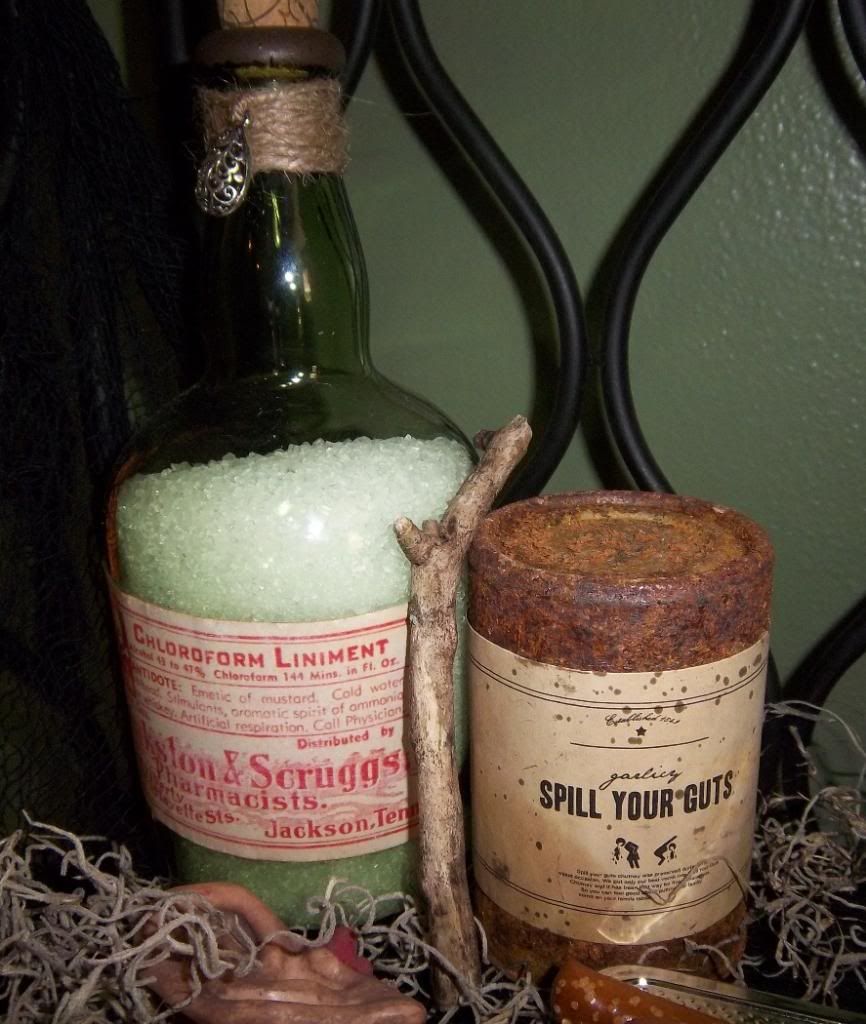
As promised, here at 285 pictures of the individual jars from the apothecary. I had so much fun with these!
I thought about posting details about where I got each label, what I did to each jar/container/bottle to make it look that way and where I got them, what's inside each one... but I'm too lazy.
Suffice it to say that each container as purchased separately, majority at a thrift store in town. 98% of the jars were aged by myself, each using a unique method. The bottles that are "sealed" were done and aged mostly by Erin, my best friend, and each charm on select jars were added by myself.
Labels were found from probably a hundred different websites, which I then weeded out to select the labels you see below. After measuring each container and making sure each label would be appropriately sized, I had them printed at Office Max. I cut each one and aged each one by hand.
Enjoy!


So what do you think? WAY too much work for a silly party? Maybe! But this was more for me and having fun.
Monday, December 17, 2012
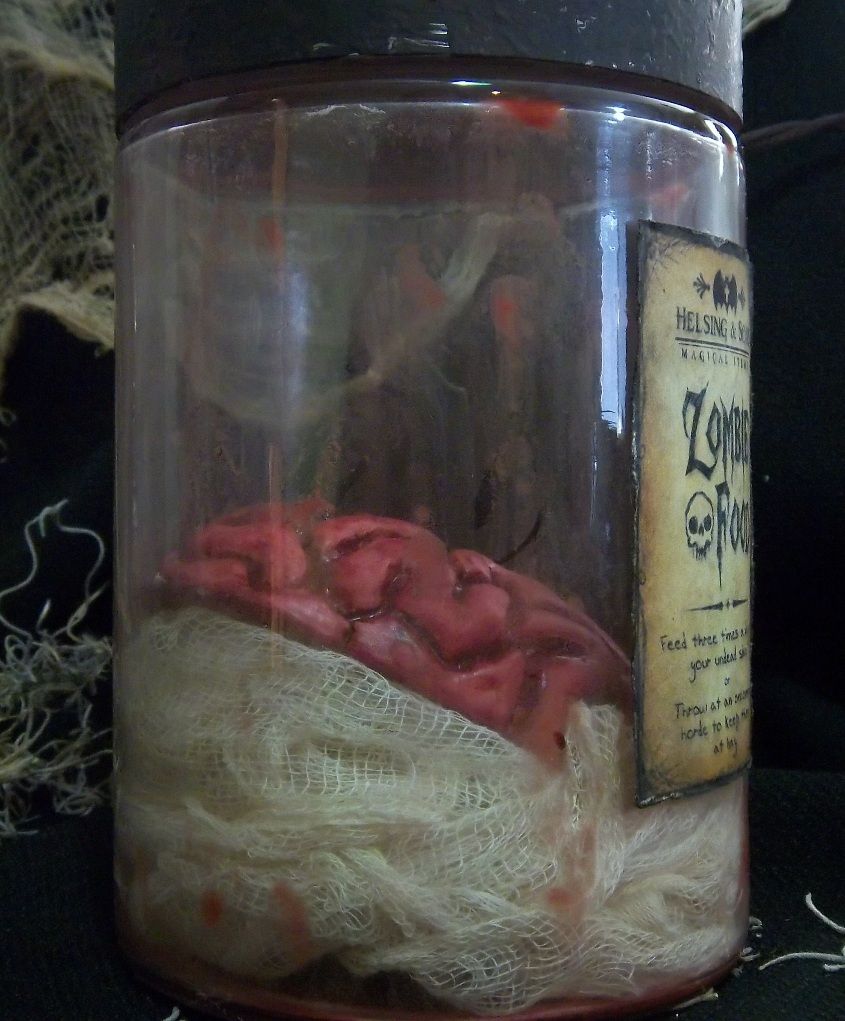
Brains.
Before I post 50 pictures of every single apothecary jar, I wanted to showcase one jar in particular that I love.
I really loved this jar from Haunted Props:
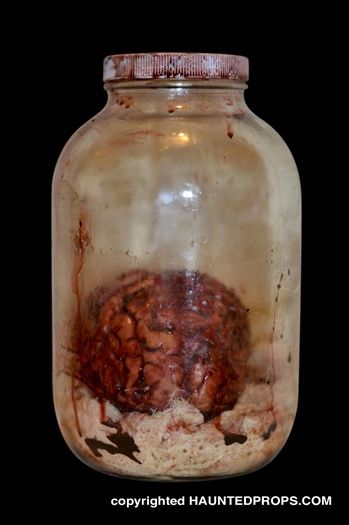
However, it's outrageously overpriced. Currently it's "on sale" for $108.77. HA.
Maybe it looks more realistic than my version, but I'm happy with the outcome.
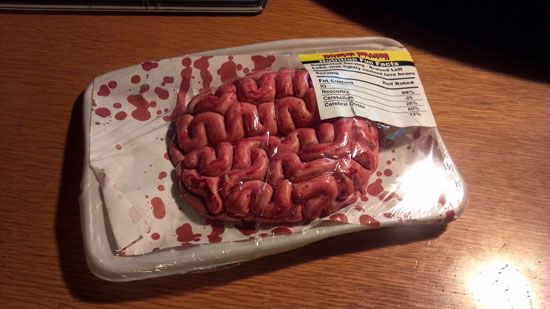
I took some leftover cheesecloth from a different project, a plastic brain from the dollar store,
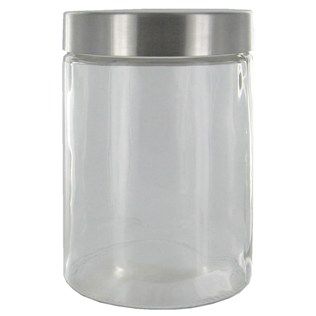
and I purchased a $5 jar that was 50% off at Hobby Lobby.
The outcome:
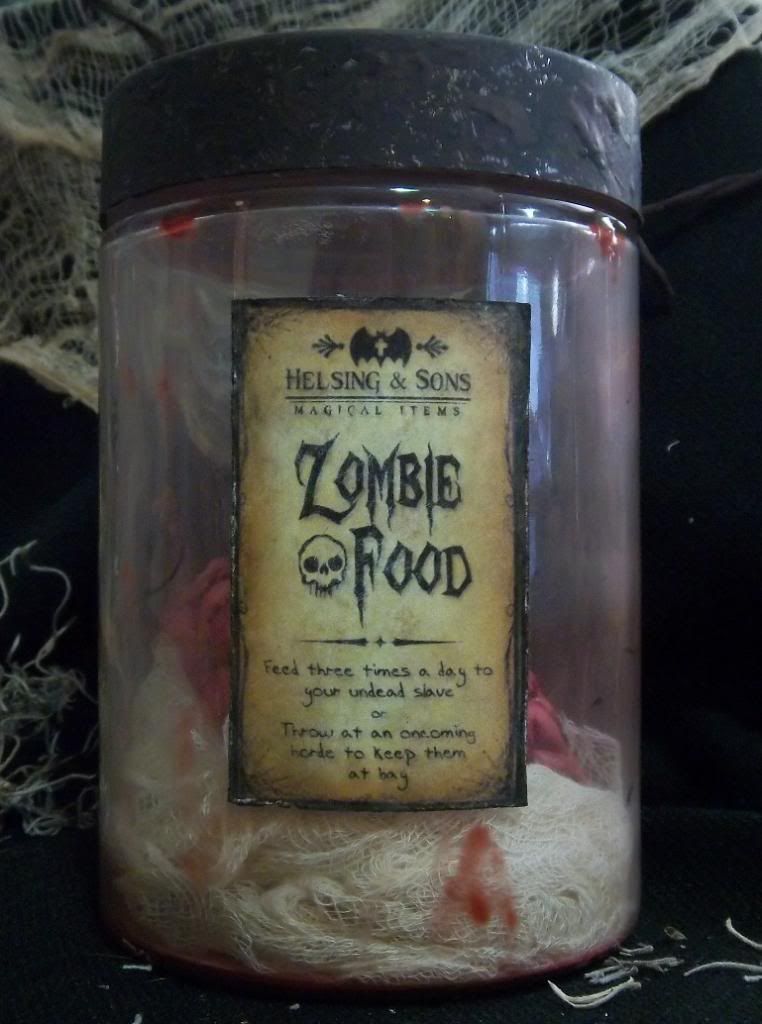
This jar took the longest out of all of them, which is probably why I liked it the most. All of the labels for the jars I "stole" from the internet and printed them off. This one I paid a chick off Etsy (Freakishly Adorable) custom make for me.
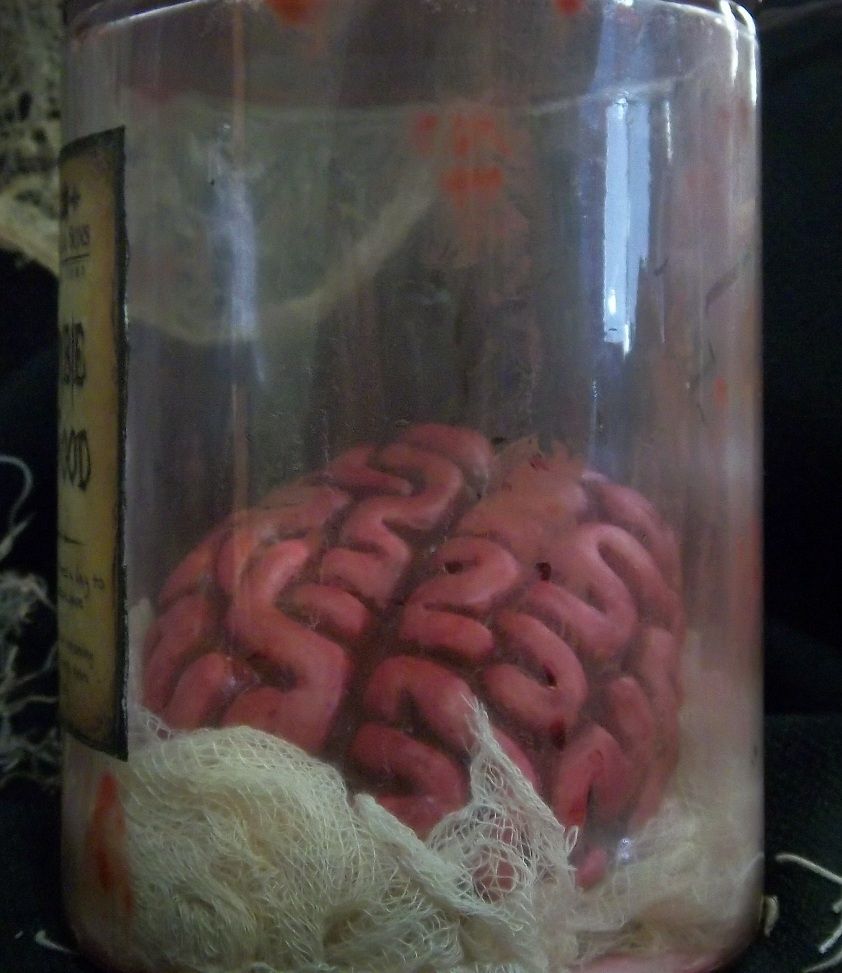
The plastic brain definitely looked too fake, so I added some dark red paint in the crevices.
The aging on the inside of the jar took quite a bit longer than I expected. I wanted a very subtle look of a little blood and age, so I tried watering down red acrylic paint with water. That didn't work - the paint didn't stick at all and just settled on the bottom of the jar.
After several more fail attempts to add more paint to thicken the mixture, I decided I needed an actual thickening agent. The only thing I could think of was corn starch, so I tried it and it worked! It took a few coats for me to be satisfied with it, but I was just glad that, in the end, it all worked out.
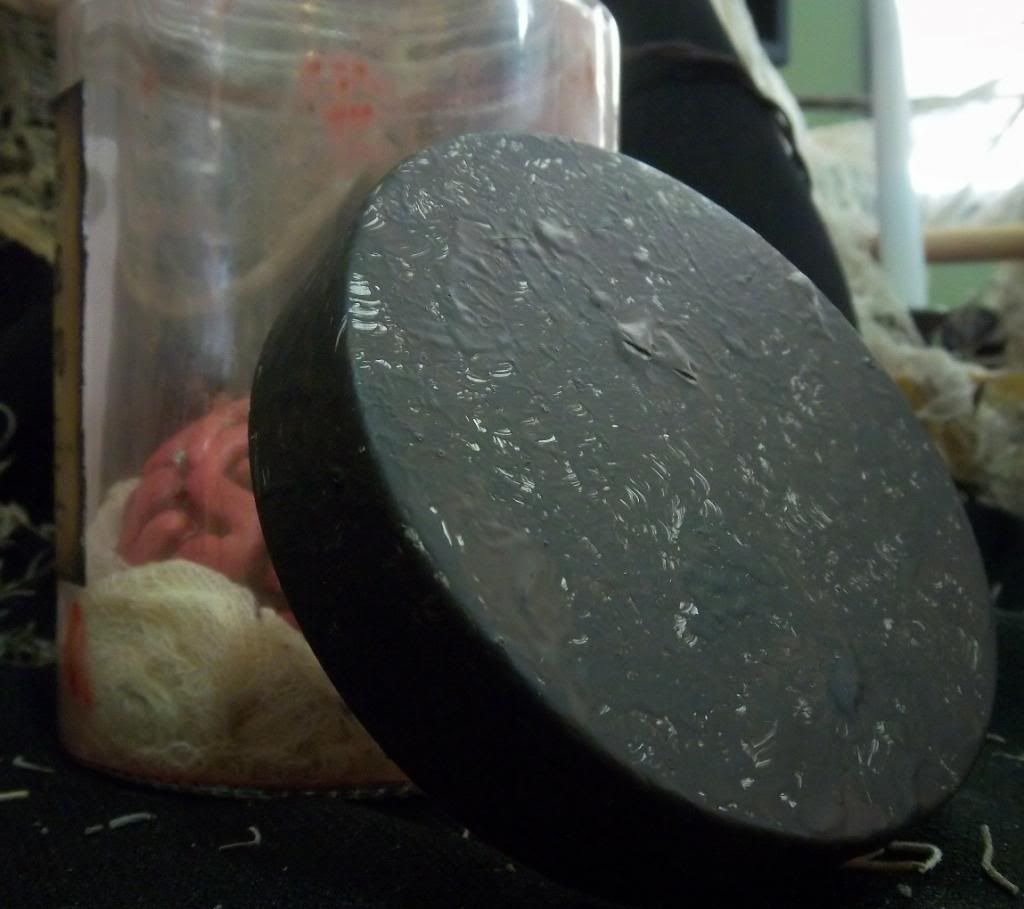
For the lid, I just had a ton of fun and hope it turned out. I mixed a bunch of black and dark brown paint and let it sit to harden for a bit. Then I took something (I don't remember, maybe a paper towel?) and globbed it on so there were lumps of paint on it.
Tomorrow: pictures of all of the jars and bottles :)
Subscribe to:
Posts (Atom)