
As promised, here is the recipe for the Hostess Cream-Filled Cupcakes. I'll post the recipe for the Oreo Truffles tomorrow since this recipe is so long. When I make recipes that are new, and especially when they have a million steps, I always worry that it's going to turn out bad. I always second guess myself, constantly thinking that I'm not doing it right. Because of that, I like to take a lot of notes so that when I make it the next time, I don't feel so unsure.
My personal notes are in red, in case they might help you, too.
My personal notes are in red, in case they might help you, too.
I just noticed that I made a few notations when I made these last year,
but I didn't note my printout of the recipe,
I only posted them online!
How silly of me.
 |
| Picture from my original source |
Homemade Hostess Cupcakes
For the Cupcakes
1 & 1/4 cups unbleached, all-purpose flour
2 teaspoons baking soda
2 teaspoons baking powder
1/4 teaspoon coarse salt
1 & 1/4 cups granulated sugar
4 ounces unsweetened chocolate, chopped (make sure these are chopped before you start)
1 stick unsalted butter, cut into pieces
2 teaspoons pure vanilla extract
2 large eggs, lightly beaten
1 cup water
For the Filling (the halved version)
2 tablespoons unsalted butter, at room temperature
1/2 cup powdered sugar
1 teaspoon pure vanilla extract
1 & 1/2 tablespoons heavy cream
1/2 cup marshmallow creme (hint: use cooking spray on your measuring cup and spoon to prevent sticking!)
For the Ganache (the halved version)
3 ounces bittersweet chocolate, chopped (make sure these are chopped before you start)
1/4 cup heavy cream
1 & 1/2 teaspoons unsalted butter
1 teaspoon pure vanilla extract
For the Icing (the halved version)
4 tablespoons unsalted butter
1 tablespoon milk (give or take)
1 cup powdered sugar (give or take)
1/8 tsp vanilla
(I changed the order of some of these instructions which I found to be more time efficient)
Position a rack in the center of the oven and preheat to 350. Place paper liners in muffin tin for about 20 cupcakes.
Prepare the cupcakes: Sift together the flour, baking soda, baking powder and salt in a medium sized bowl. Set aside.
Bring the sugar and 1 cup water to a boil in a saucepan, stirring constantly until the sugar dissolves, about 3 minutes. Pour into a large bowl or Kitchen Aid mixer; add the chopped unsweetened chocolate and butter and let sit, stirring occasionally, until the chocolate is melted and the mixture has cooled slightly. Stir in the vanilla.
Using a mixer, beat the eggs into the chocolate, then slowly mix in the dry ingredients.
Divide the batter evenly between the prepared pans (about 1/4 cup batter per cupcake). I used a large-ish ice cream scoop which filled the liners to the perfect amount. Bake until a toothpick inserted in the center comes out clean, about 25 minutes. Cool in the pans for about 25 minutes, then transfer cupcakes to a rack to cool completely.
(They will sink in the middle...they'll puff up when filled later)
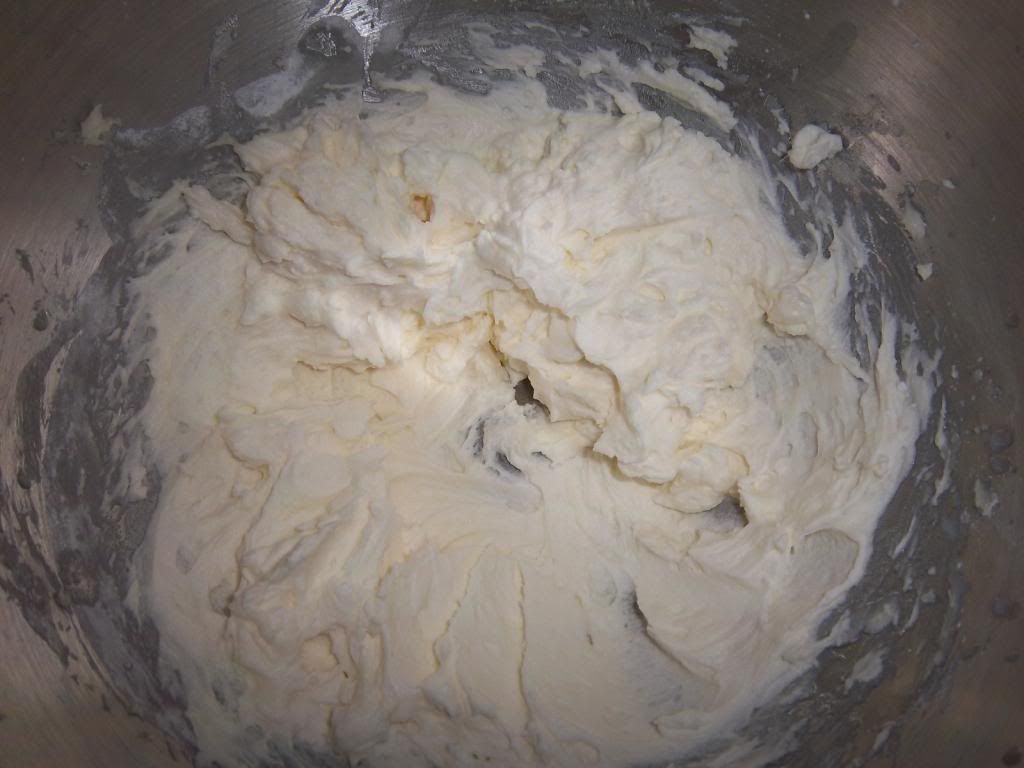
For the filling: Using a mixer, cream the butter until light and fluffy (I mixed it for like 10 minutes) Use a rubber spatula to scrape the sides often. Beat in 1/4 cup confectioners’ sugar. Add the vanilla and 1/2 tablespoon heavy cream; beat until smooth. Beat in the remaining 1/4 cup confectioners’ sugar and 1 tablespoon heavy cream in batches, alternating after each addition. Beat in the marshmallow creme (hint: use cooking spray on your measuring cup and spoon to prevent sticking!); set aside or refrigerate.
 |
| Click image to enlarge. |
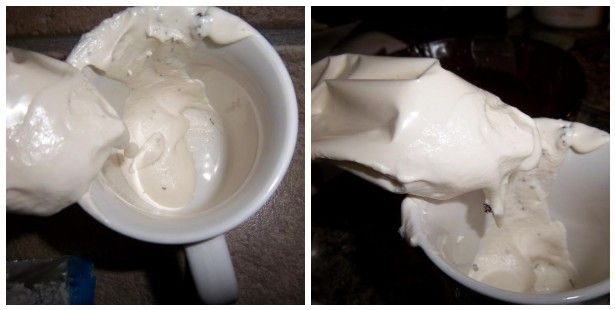
For the Ganache Place the chopped bittersweet chocolate in a stainless-steel or glass bowl. Heat the cream in a small saucepan and 1 & 1/2 teaspoons butter until just boiling, then pour over the chocolate; let stand for 5 minutes. Whisk until smooth. Add 1 teaspoon vanilla; let stand until cool but still glossy and liquid.
 |
| Click image to enlarge. |
Spoon the filling into a pastry bag with a medium star tip, or in a Ziploc bag and cut a small hole in the corner of the bag. Insert the tip into the center of each cupcake top; fill until the cupcake is heavier (do not overfill). (It's OK if some of the filling peeks out, it will be covered by the Ganache.)
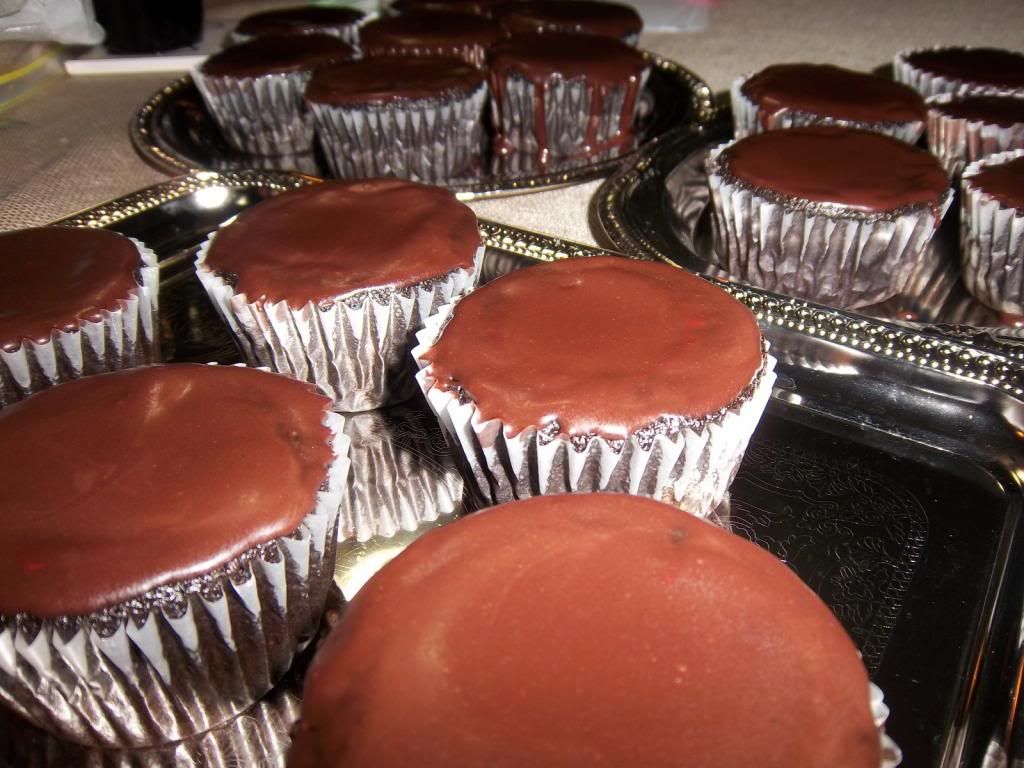
Spoon a little Ganache on each cupcake and lightly spread with an offset spatula or a knife. I put a dab on top of the cupcake and used the back of a spoon to move the Ganache to the edges, then added more Ganache as needed. If the Ganache is still liquid like it should be, it will combine and smooth out naturally with the existing Ganache on the cupcake. If it's starting to harden, mix it and pop it in the microwave for 10 seconds, mix again and it should smooth out naturally like I talked about before. Chill for at least 15 minutes.
 |
| Click image to enlarge. |
 |
| Click image to enlarge. |
Meanwhile, prepare the icing: Using a mixer, beat the remaining 1 stick butter, 1/4 teaspoon vanilla, the milk and confectioners’ sugar until smooth. Once smooth, taste test to check if it feels grainy (which means you need more milk), or if it's too runny, add a little bit more confectioner's sugar. REMEMBER: you can always add more of something, but you can't take it out. Once you have the right texture/consistency, whip on a high speed for at least 2 minutes.
 |
| Click image to enlarge. |
Spoon into a pastry bag with a small tip (I used a #4 plain tip, not a Ziploc bag for this one); pipe onto the cupcakes to decorate.
 |
| Click on image to enlarge. |
Store in the refrigerator.
Whew! If you decide to be craaaaazy one day and tackle this super long project, feel free to ask me questions you have along the way.
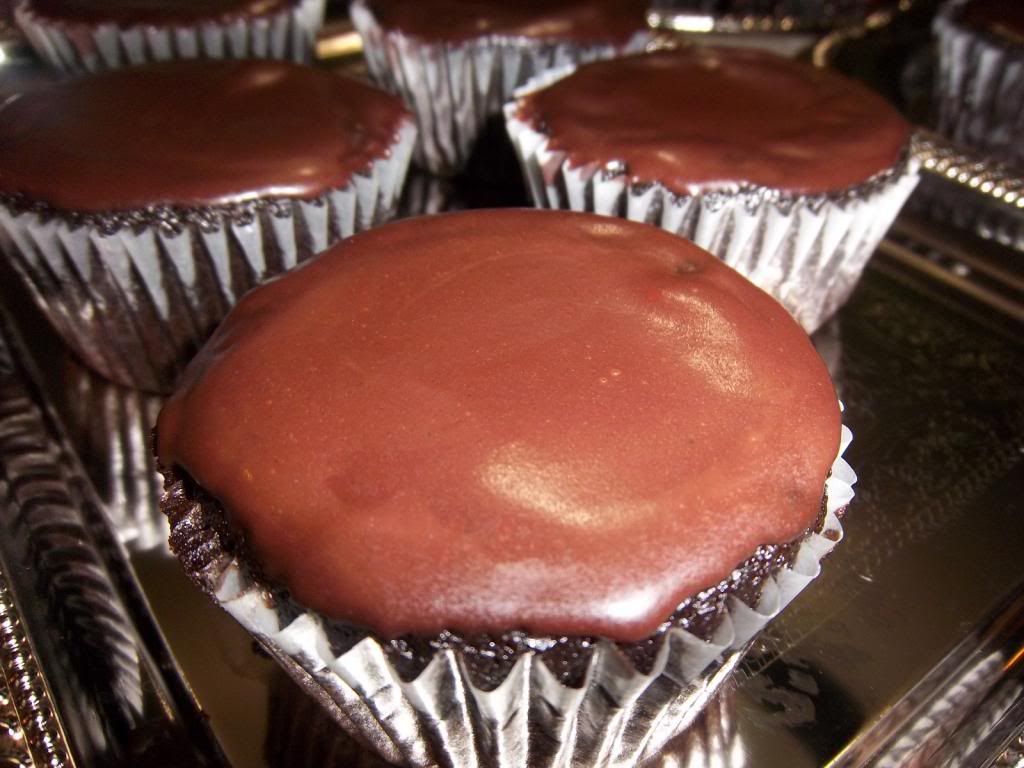
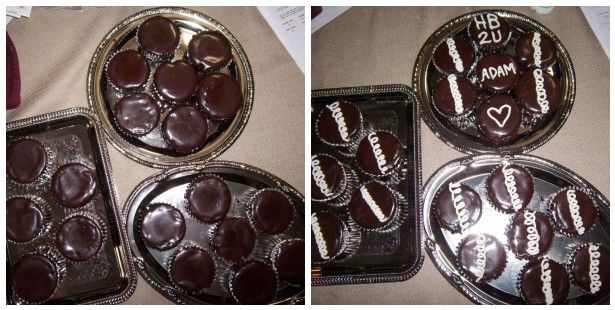
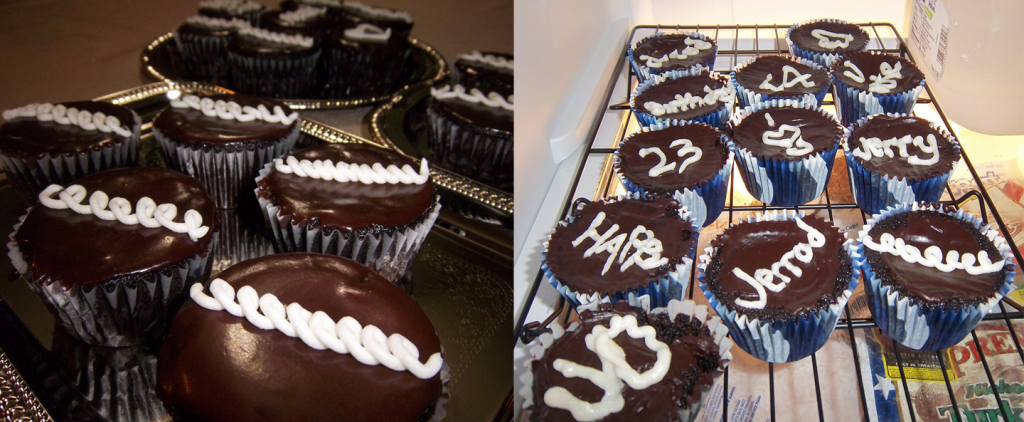
I always like to see that I've made improvements. Here's my finished product from last year (on the right), compared to this year (on the left). It might be more impressive if I had a fancy-schmancy camera like the rest of the blogging world ;)
 |
| Click on image to enlarge. |
Last year, the were very sunken in the middle. The Ganache was slopped on and a lot of times it wouldn't slide on, instead picking up a layer of cupcake on your spreading utensil. And they didn't taste so good - they tasted kind of hard.
Live and learn, right!?
Thanks again for the love over the weekend. You don't know how much it meant to me :)
Ooh, the cupcakes look totally professional this year! Wow! Well done!
ReplyDeleteAs for fancy-schmancy cameras, I have found that while my "big" camera does take better photos to start with, most of the good outcomes are due to editing. Sometimes my iPhone photos turn out amazing compared to my SLR camera. I use the editing program that came with my camera (I do have Photoshop Elements, but I haven't figured out how to use it yet). And for my phone photos I use Snapseed (an expensive app at around $5, but so very worth every cent).
What do you do to edit them? Lighten them? You should post about it on your blog!
Delete