Tuesday, November 12, 2013

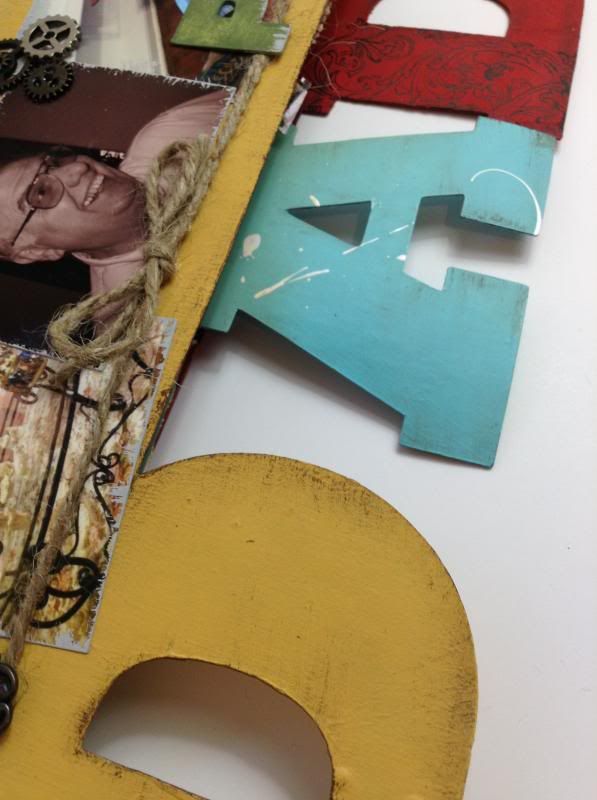
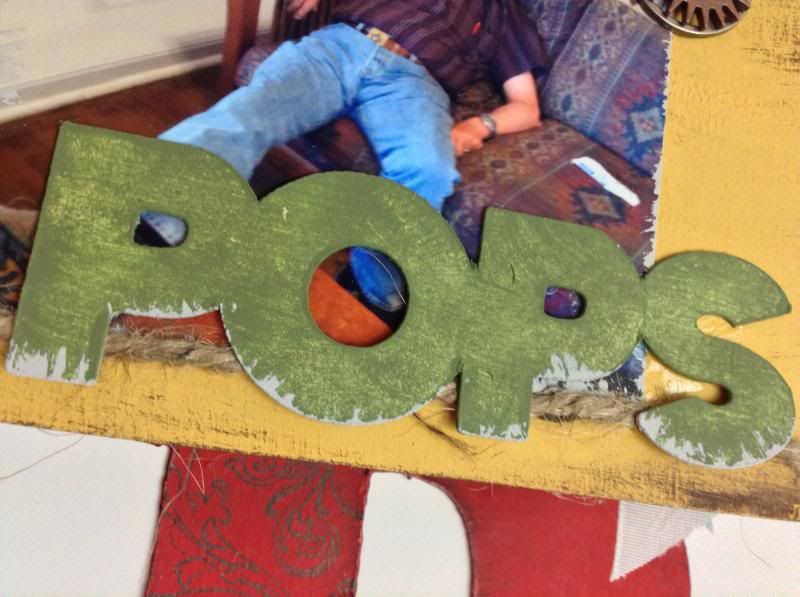
DAD.

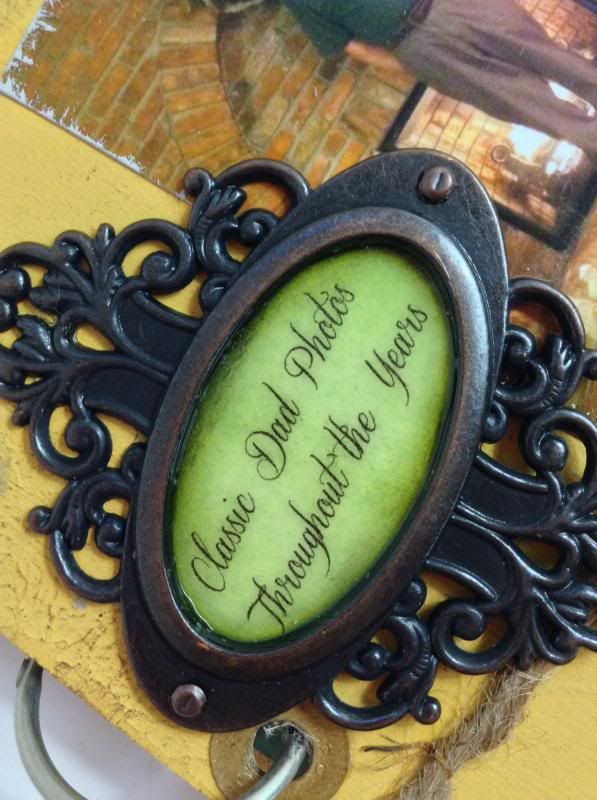
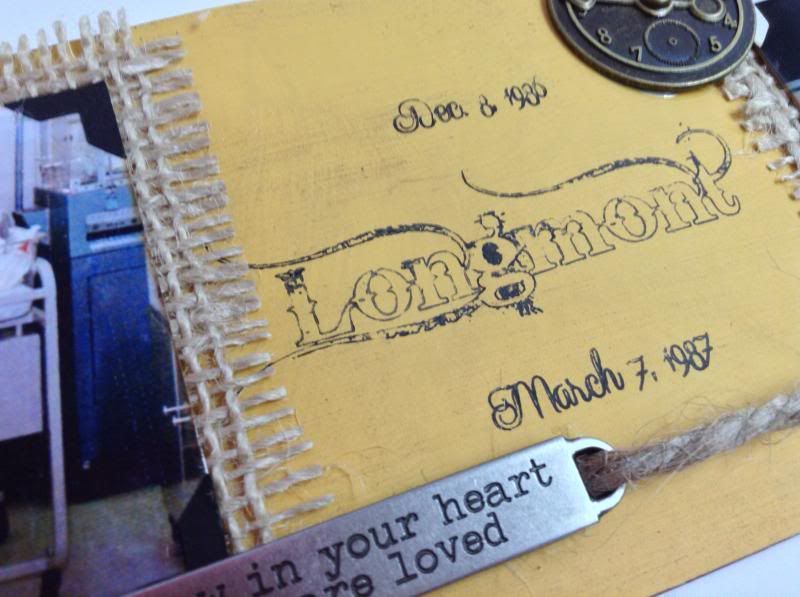
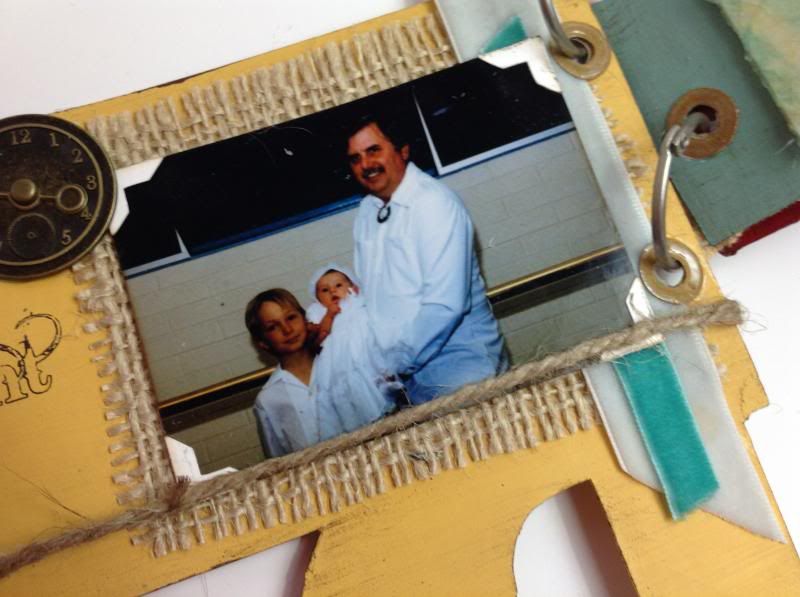
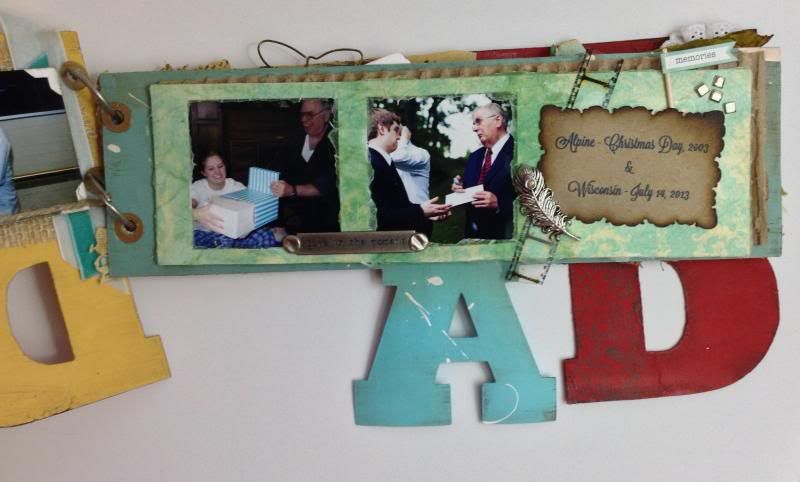
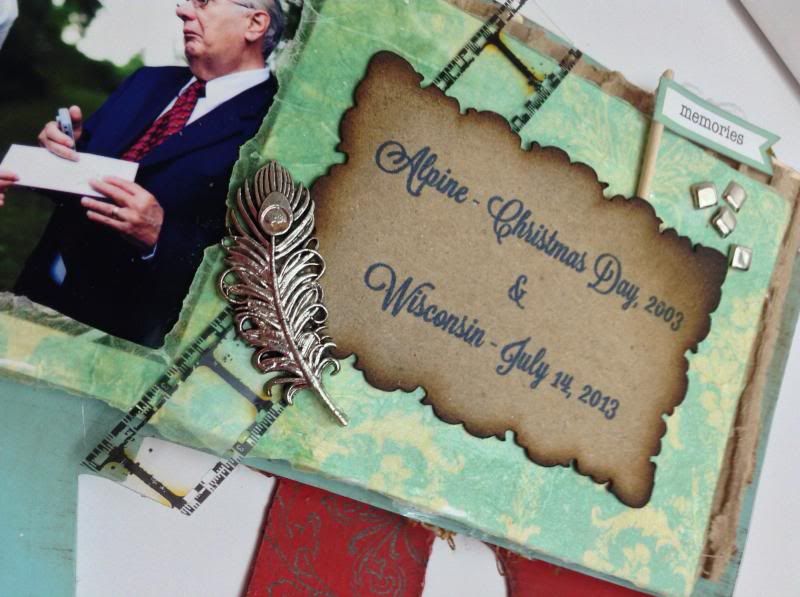
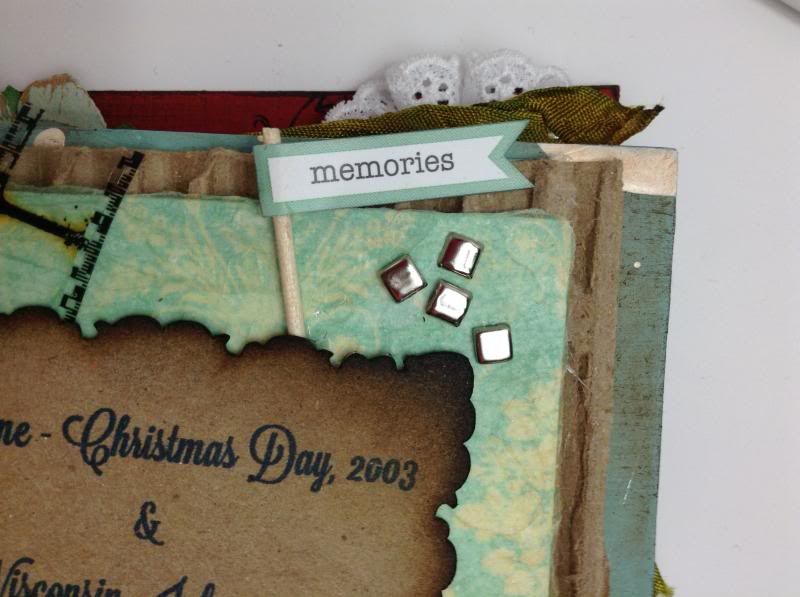
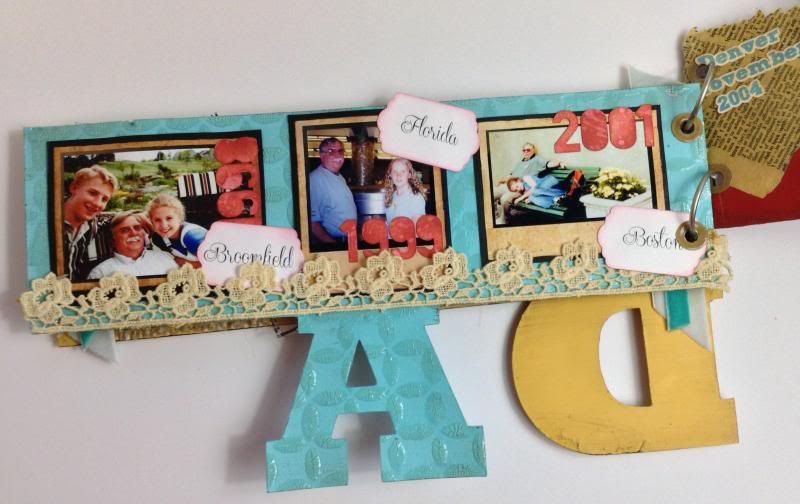
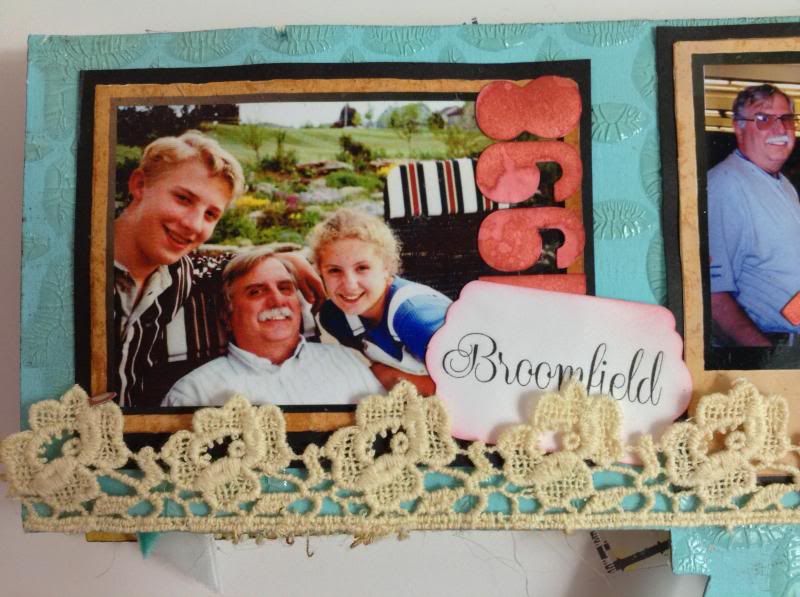
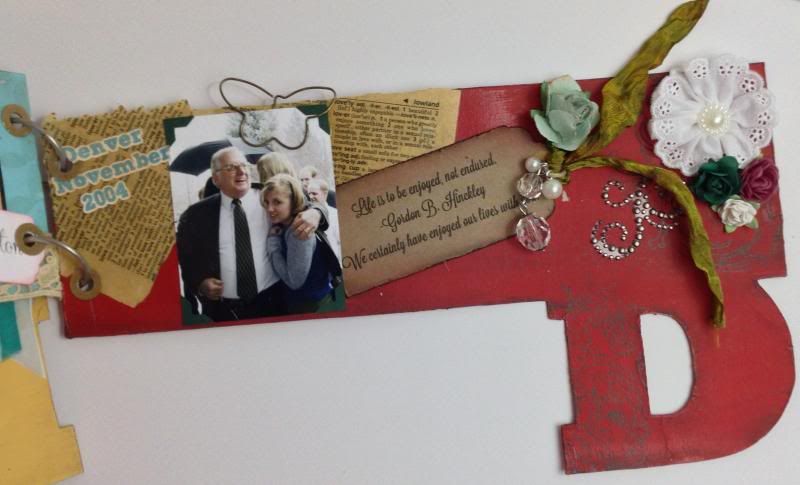
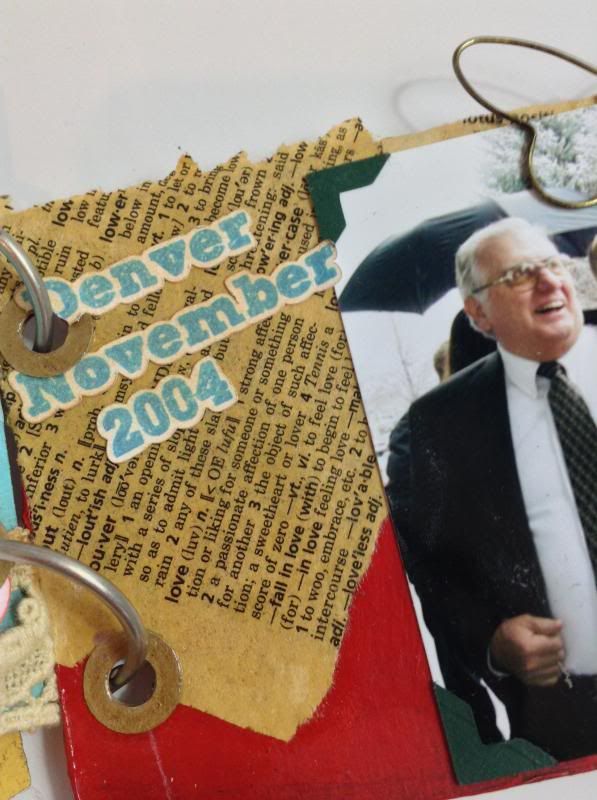
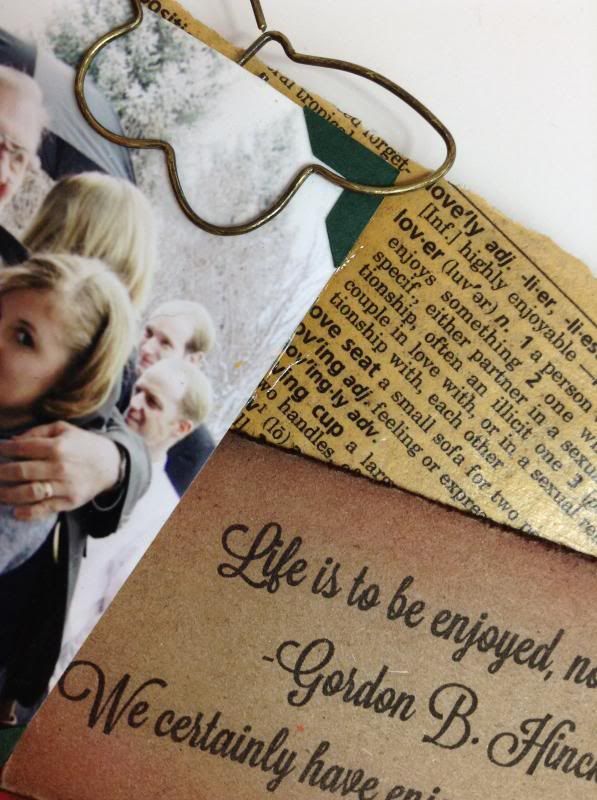
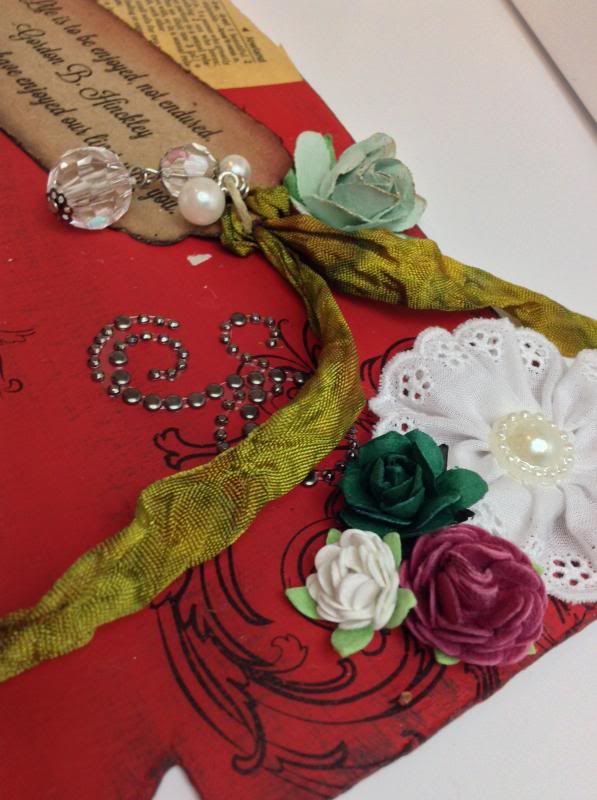
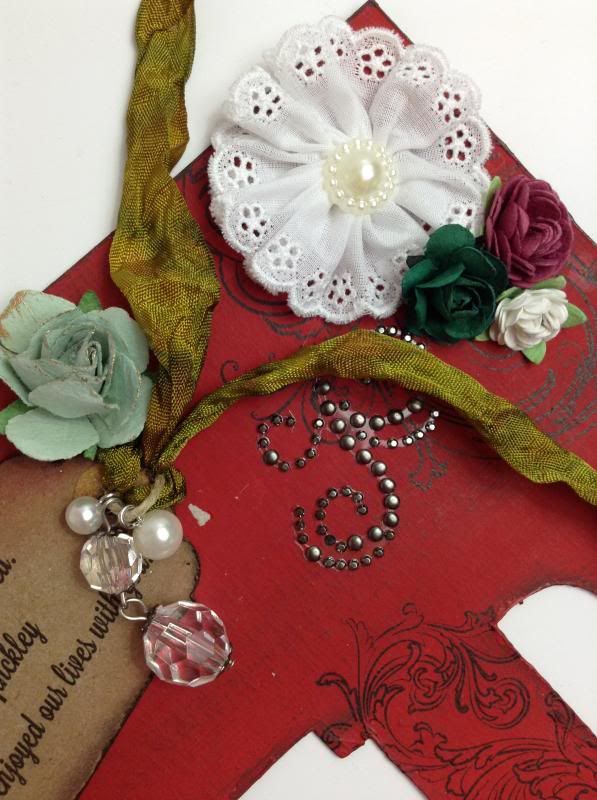
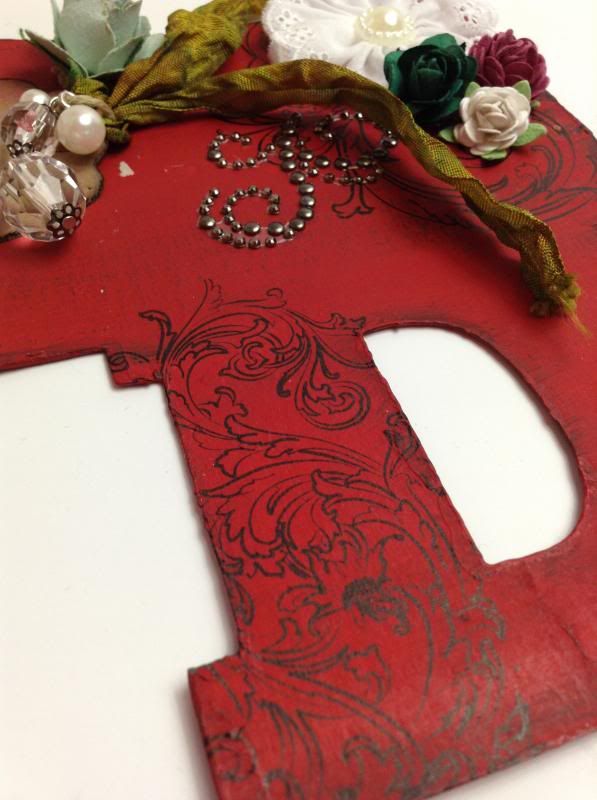
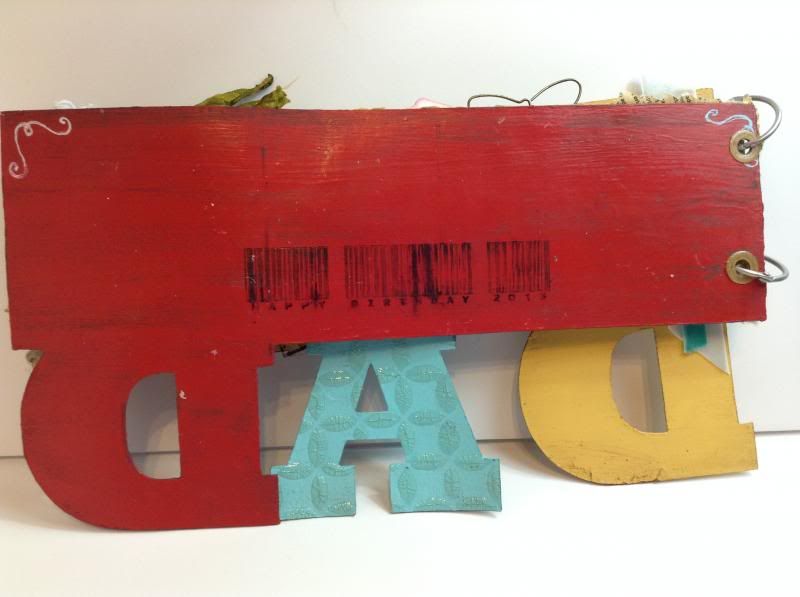
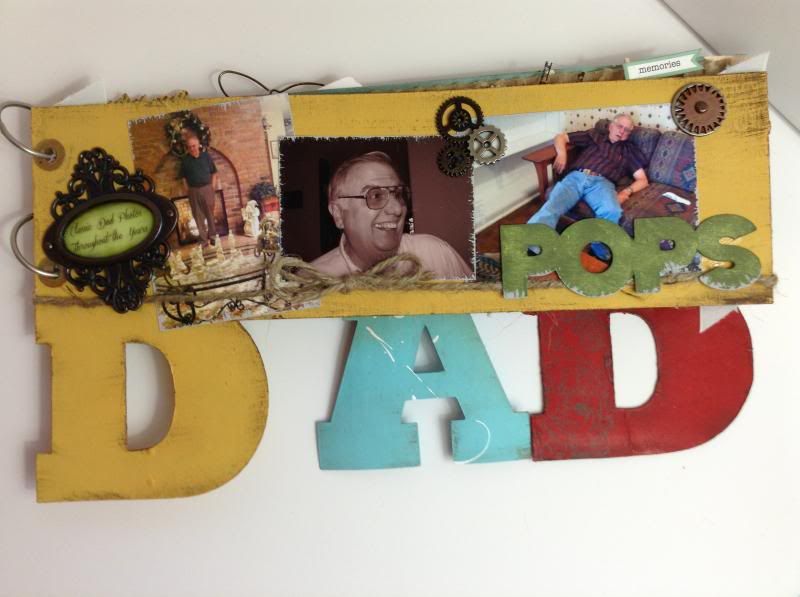
I love my Pops to death. His birthday was in September and I made him a really special gift. I'm really proud of it and he says he loves it :)

I found a free SVG cut file from KLDezign for this mini album, and I used this tutorial to cut the album out of a cereal box.

I won't do much talking because there isn't much to say. I suppose if you have questions, you can ask :)


Cover:


Page 2:


Page 3:


Page 4:


Oh, the awkward years...


Page 5:


Back:


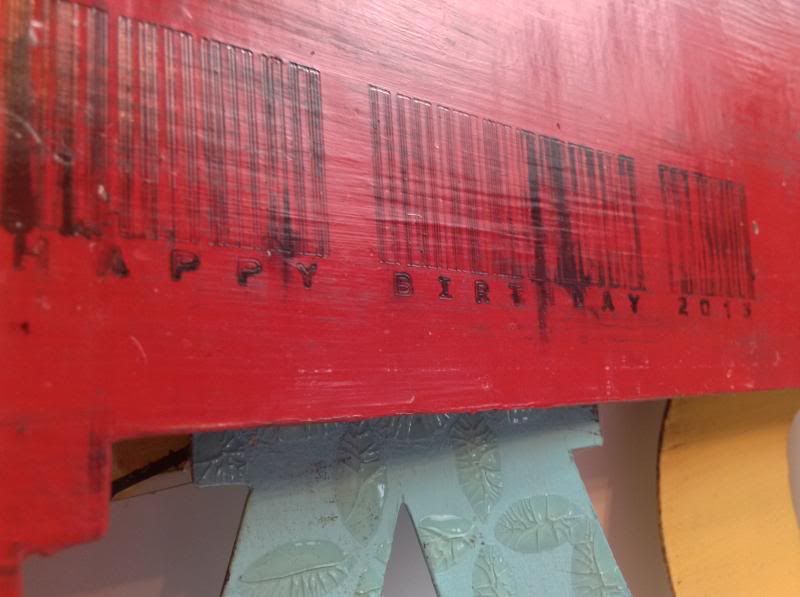
A "barcode" font attempt... it doesn't work so well on acrylic painted cereal box material.

I spent a long time on it, and he ended up getting it a week or so late because of it. He didn't care!  I'd love to do one for my mom, but she was always the one TAKING pictures, so I have like 2 photos of just her and I.

Sunday, November 10, 2013

52.

My mother's birthday was on the 1st of November and I still haven't gotten to the post office to mail her gift. Now I've decided I might as well wait until my niece's gift arrives that I ordered for her birthday, so I can ship both gifts at the same time to save myself a trip. Because, you know, going to the post office is SUCH a bother. ....

Even though she may read this (chances are low), I didn't want to wait any longer to share the gift I made her.

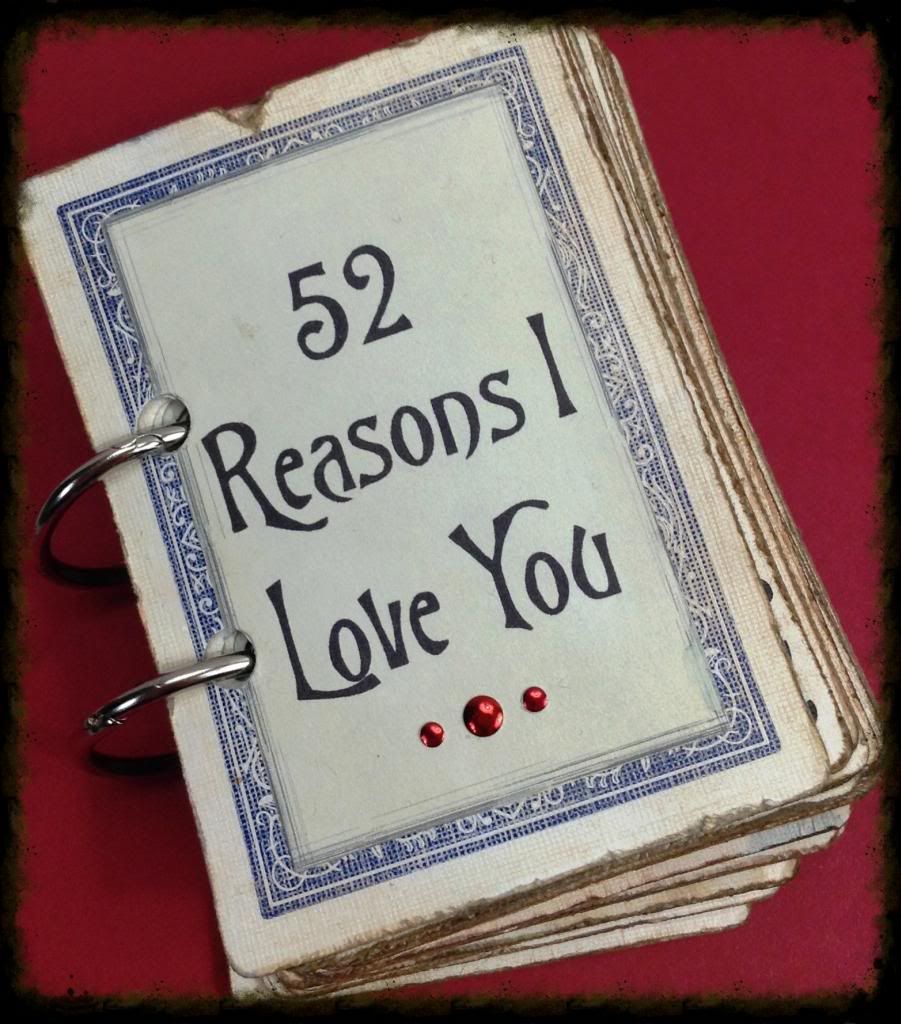
I'm sure you've seen this; it's been all over Pinterest since Pinterest existed. Even though it's almost cliche now, I don't care. I had a ton of fun making it, failing at it, and then completely surprised and how awesome it turned out.

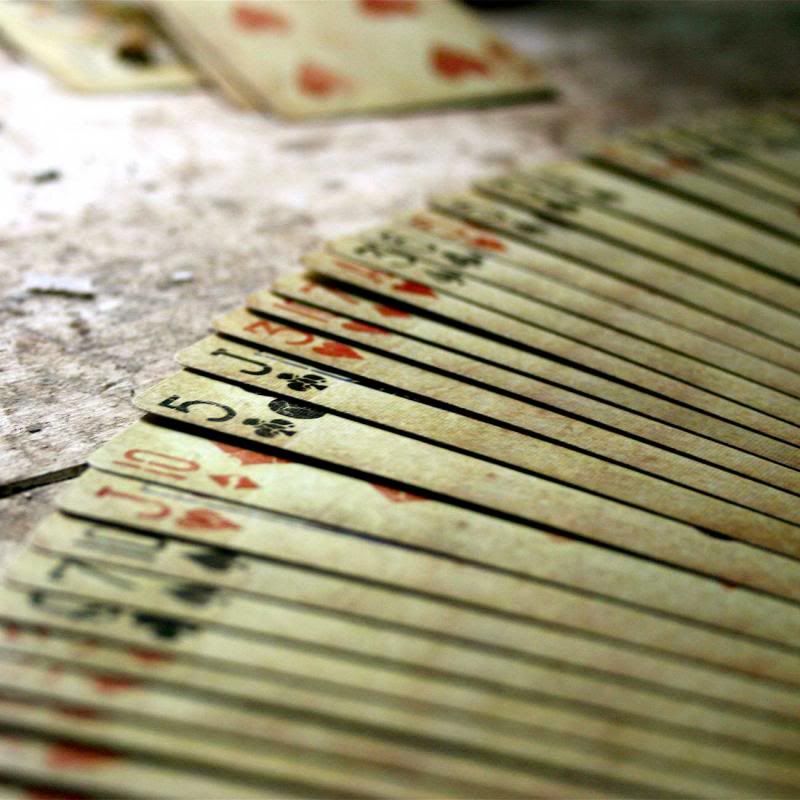
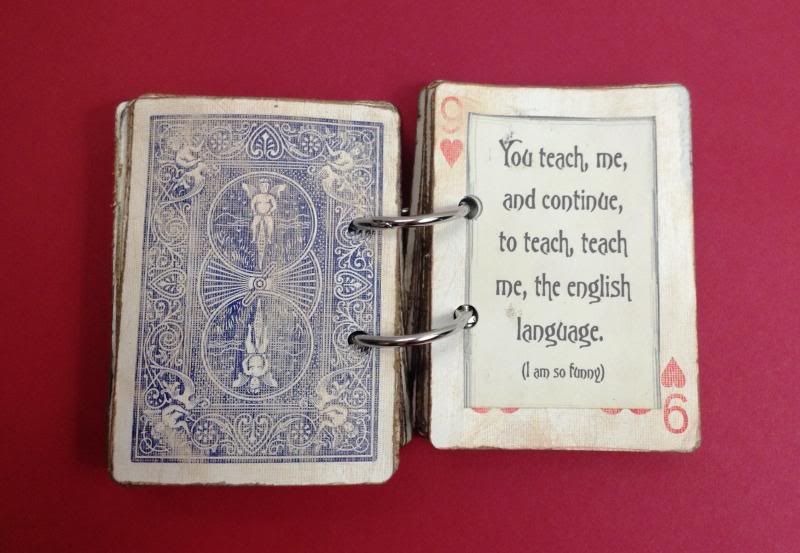
Behold: 52 Reasons I Love You (and then some):


Even though I could've purchased this awesome deck of cards:

Vintage Series 1800 Bicycle Playing Cards
I feel a gift is special when I make it; when I put my personal signature on it. If I purchased this (awesome) deck of cards, it still would've been neat, and maybe it would've been cooler looking, but I would've wondered what I could've made myself. Could I do it? Would I try a few techniques and fail and give up?

I don't have to ask myself that. I made it. I had some major fails, some errors, and I even had to purchase another set of cards to replace some ruined ones, but I did it. I had fun! AND I like the end result :)


Rule number one: never follow internet instructions regarding how to age playing cards because none of them are good and every one of them completely ruined the cards. Most of the cards got completely stripped of all color and some backs got separated from the front. I should've taken a few pictures and submitted it to Pintrosity.

Through trial and error, I found a great method, which consisted of an arduous 7-step process of aging the cards, and then a 5-step process in aging and typing and adhering the reasons. It seemed like it was going to be a fast and easy project, but I made it much more time consuming than it probably should've been!


I am so funny :)


-----

UPDATE: March 4, 2014

-----

My husband and I are adopting (!!!), and we are doing anything and everything to raise the $14(ish) grand.
In said effort, I am offering to make you a deck of cards, with the promise that every penny you give me will go directly to the adoption agency.

Note that I am not trying to *steal* Ms. McNabb's idea. I'm just doing whatever I can to get a baby in my arms!  I give full props to Lowri for her creativity. I didn't use Lowri's template which she sells on her website. Everything here I did myself, with the inspiration from the lovely Lowri McNabb. 

If you would like to take a gander at the many other styles and decks that I've done for others,
and to see about helping me out yourself by letting me make you a deck,
please visit our "Rathsack Adoption Option" blog
and/or my Etsy shop!

Sneak Peek:


So many deck colors and options, it's ridiculous.


Star Wars!!!

Book binding!

Love, puppies, kittens, and babies,
T

Sunday, November 3, 2013

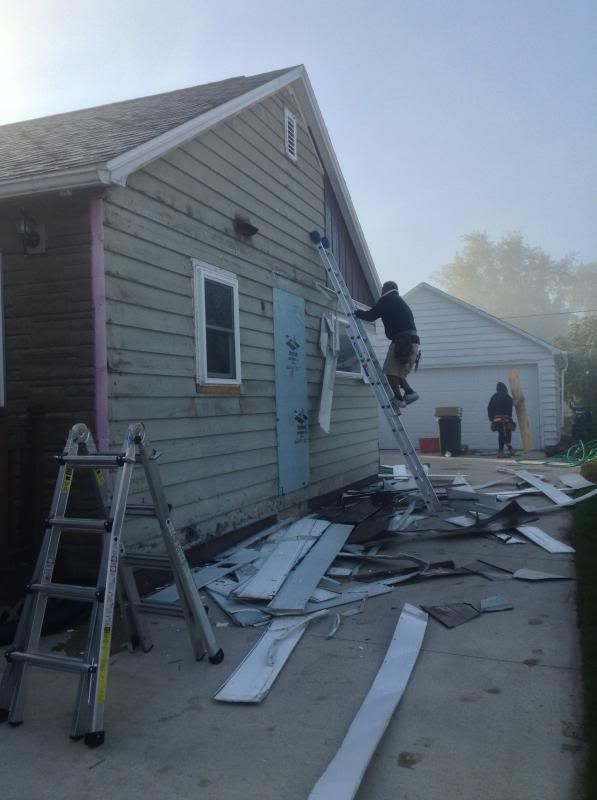
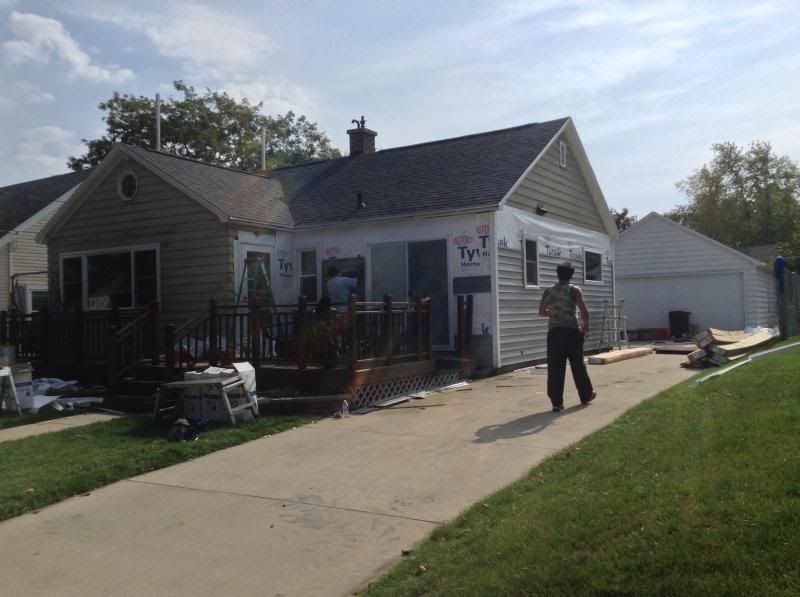
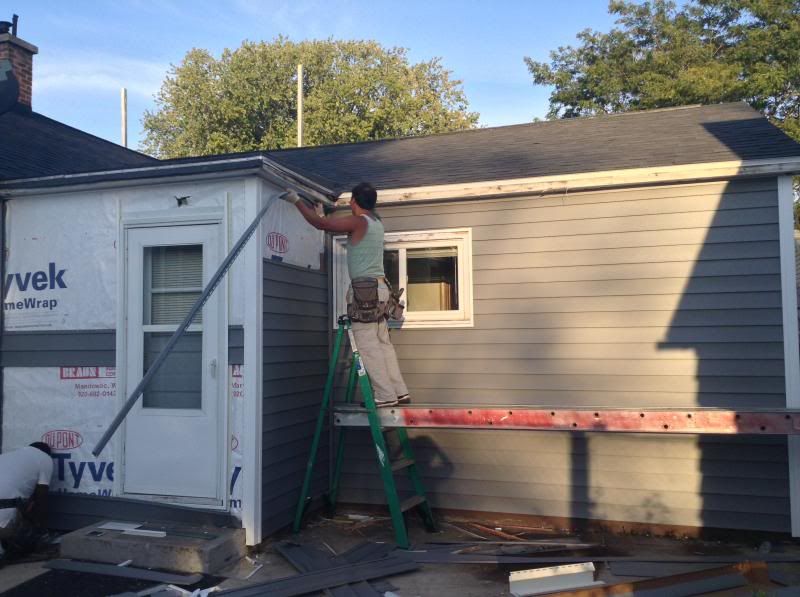
Siding.

You know you're a homeowner if.....

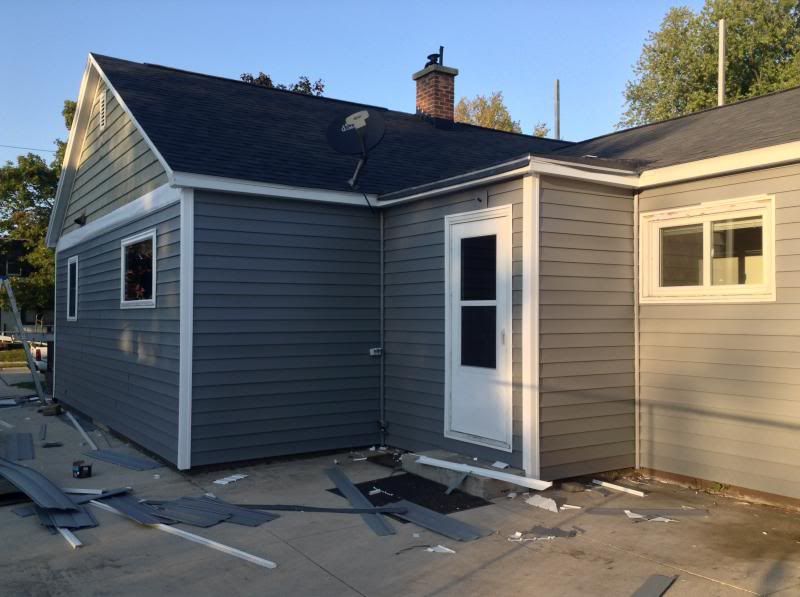
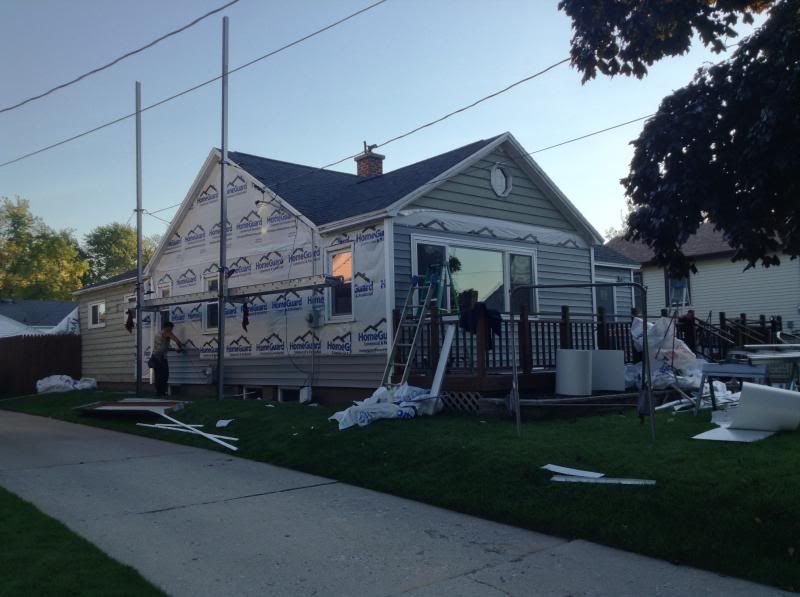
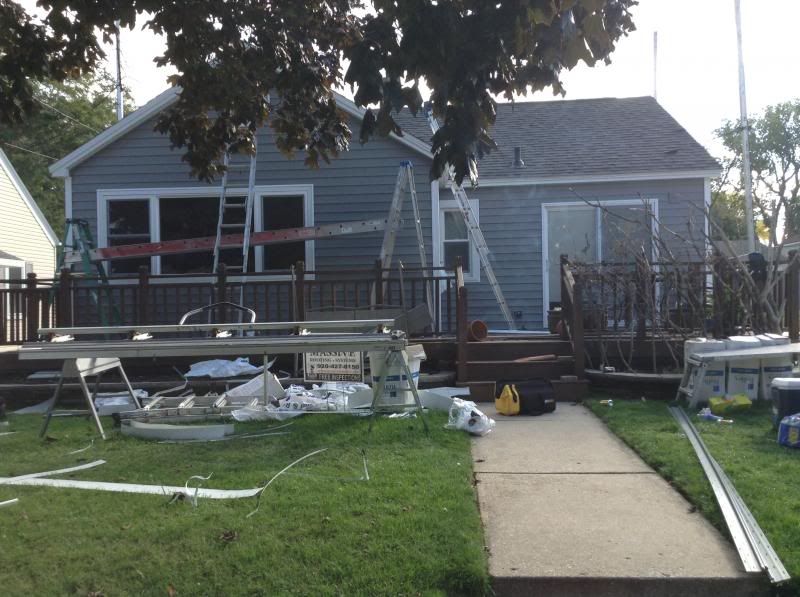
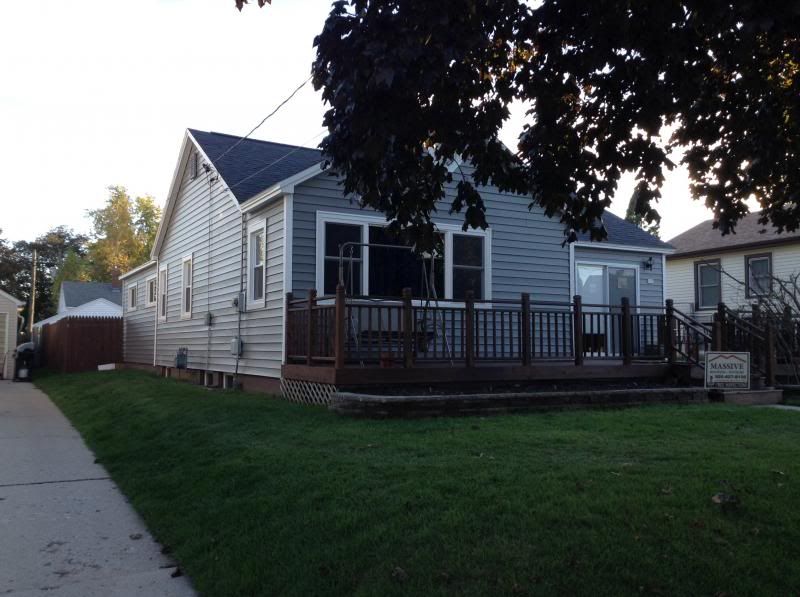
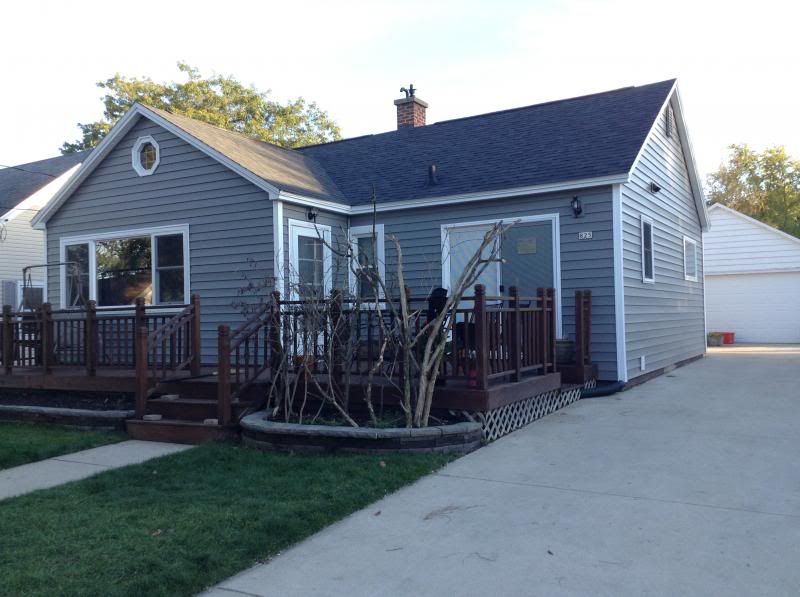
You get stupid excited new siding on your home.  Because there's not a whole lot to say, I'll just let the pictures do the talking.

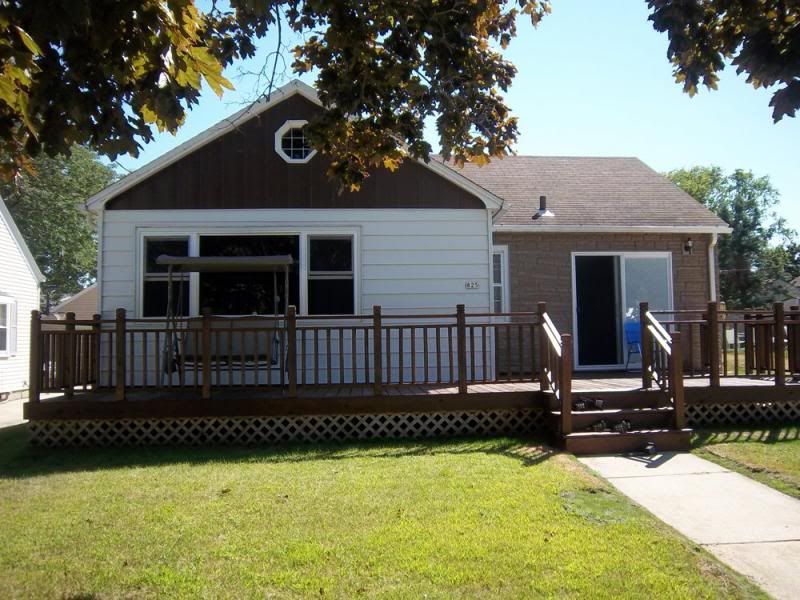
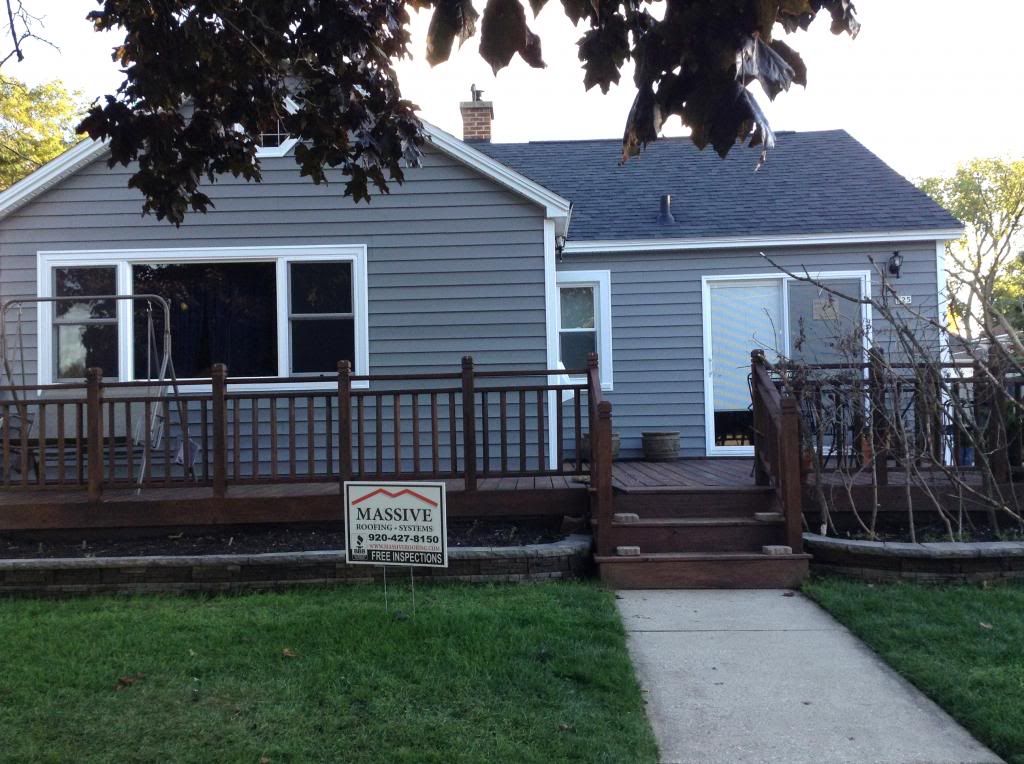
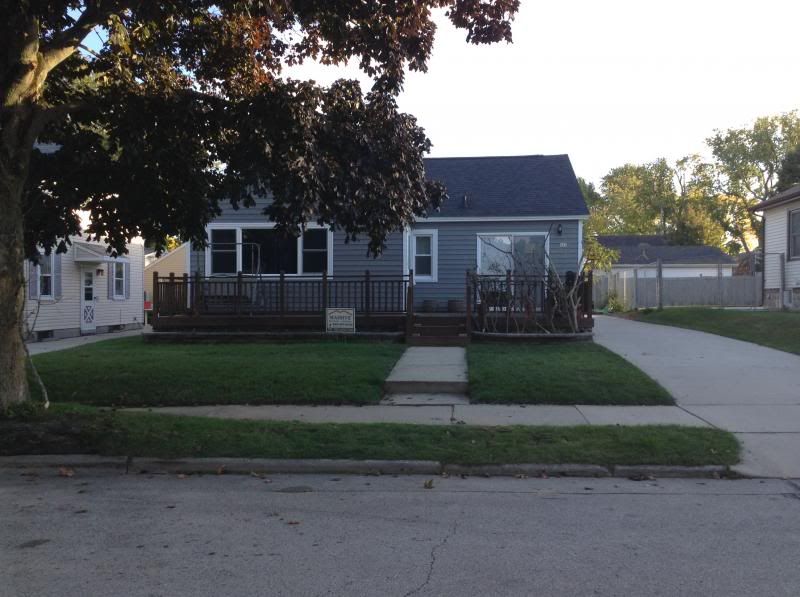
NOTE: The siding is dark grey, not blue in any way, shape or form. My iPod, the lighting, the fact that the house faces north, are all factors that go into the poor photos. I would try to edit them, but I'm no good at that.

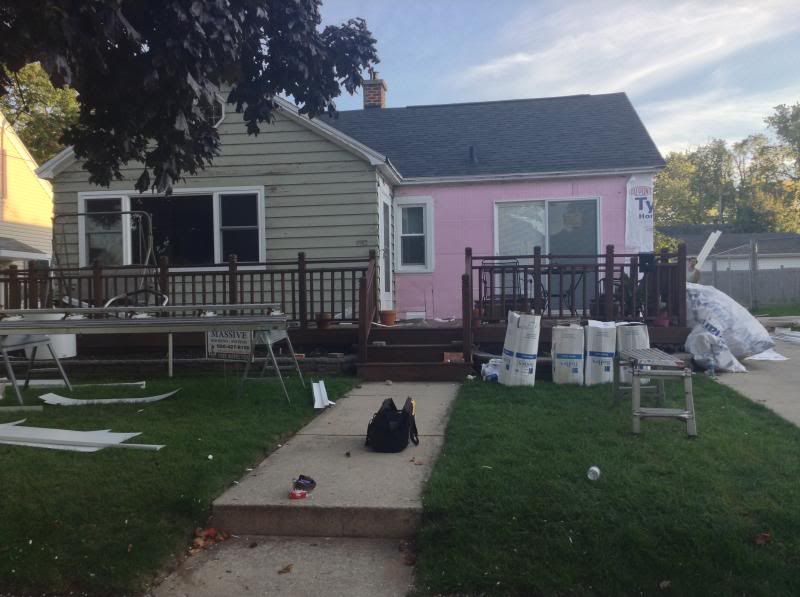
Before:


After:


AHHHHHH! We love it. LOVE it. Not much more I can say about that. 

Not only is the ugly brown and white gone, but the faux stone around the sliding glass doors is gone! You can also see the raised bed in front of the porch that my father in law gave us and helped Adam install this summer. 

The branches on the right are for Halloween. You'll see what I mean in a later post. 

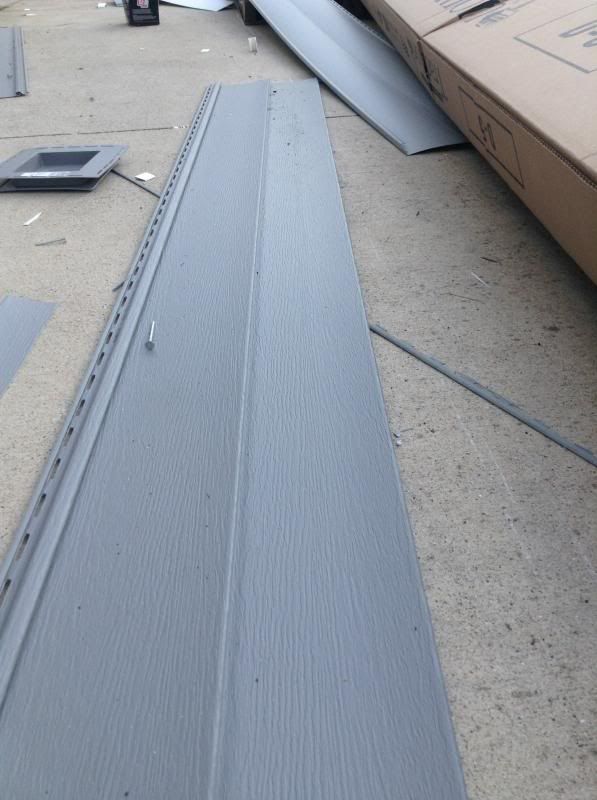
Construction and transformation pictures:


nearly done!


And another look at the what it looks like now:


It took five days to complete it, then several more days for them to keep coming back after I had to nag, nag, nag them about things they forgot, things they left, or things they flat out ignored.

We really don't like our contractors. I'd go into the problems we've had, but I don't have the energy, and besides, talking about it just makes me upset. It's just a constant battle with them. I hope to not have to use them again. We want to side the garage next summer if there's any money left over from the insurance proceeds.

Wednesday, October 23, 2013

In the Making: Effect.

The Big Effect. Affect. Whichever one it is. Pretty sure it's Effect.

I'm really behind in work, but I'm just so excited about the progress at home that I just have to take a minute to post a picture:


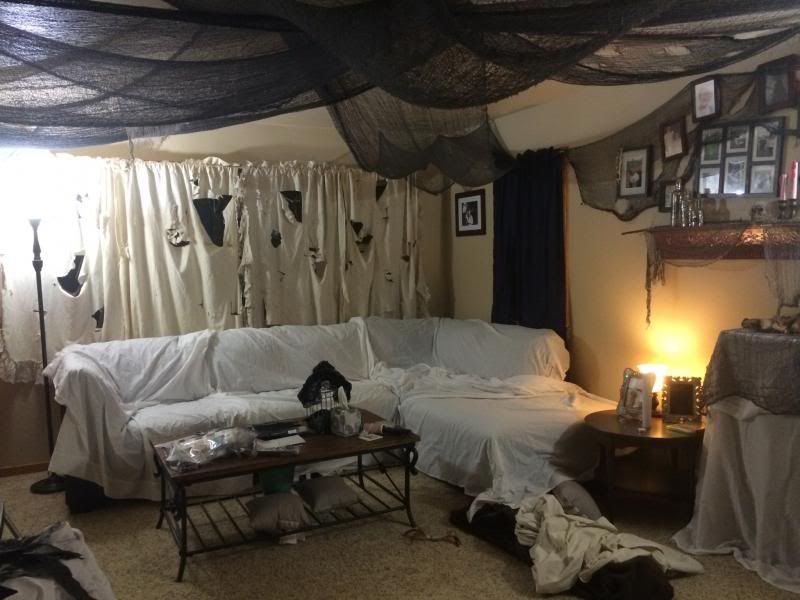
The living room.  Minus the mess on the coffee table, the mess on the floor, and a few other things, I am done! I have a white cloth to put over the coffee table and the side table, another curtain to hang in place of the blue one, and some spider webs around the place, but the most time consuming and hardest parts are complete!

This year I planned to focus on "The Big Effect". I wanted to do a small amount of work that would produce big results. So much for "small amount of work", but I think this "big effect" is pretty much there.

Rather than just have a few pumpkins lying around to call it a Halloween party, that's right, this girl goes all the freak out.  And I love it.

I told Adam that all I want (other than for people to have a ton of fun) is for everyone to say how cool just ONE thing is. Just say "hey, cool party", or "hey, this eyeball Oreo truffle is amazing", or "hey, I'm not touching those chocolate intestines... they look disgusting", or "hey, these games are fun", or "hey, this photo booth is radical", or "hey, you're the bomb".  Preferably all of them, but I just want a compliment. I know I'll get them from Erin and myself, but I hope everyone else thinks it's cool! I love to share my love for crafts and for stealing other people's creative ideas (thank you, Pinterest!).

Hopefully everything goes as planned. I pick up Erin from the airport tomorrow evening around 6, so by the time we get home (around 7) we will have time still to do something a little fun.

On tonight's agenda: Blood Sample Lollipops with Adam and dead trees with Adam. Adam said he's going to try to splice the speaker wire that I have, put the wires in banana plugs, and hook up the fancy speakers I got from my first boyfriend when I was 15! Wow, that was 11 years ago. Those are old speakers for having almost never been used...

Sunday, October 13, 2013

Dirty.

Check out this blog post for a tutorial on these dirty candles that I made for my apothecary!


I'd love to write more, but I have a lot more work to do around here! Thirteen days and counting!

Sunday, October 6, 2013

In the Making: Mugshot Sign

FOR SALE:


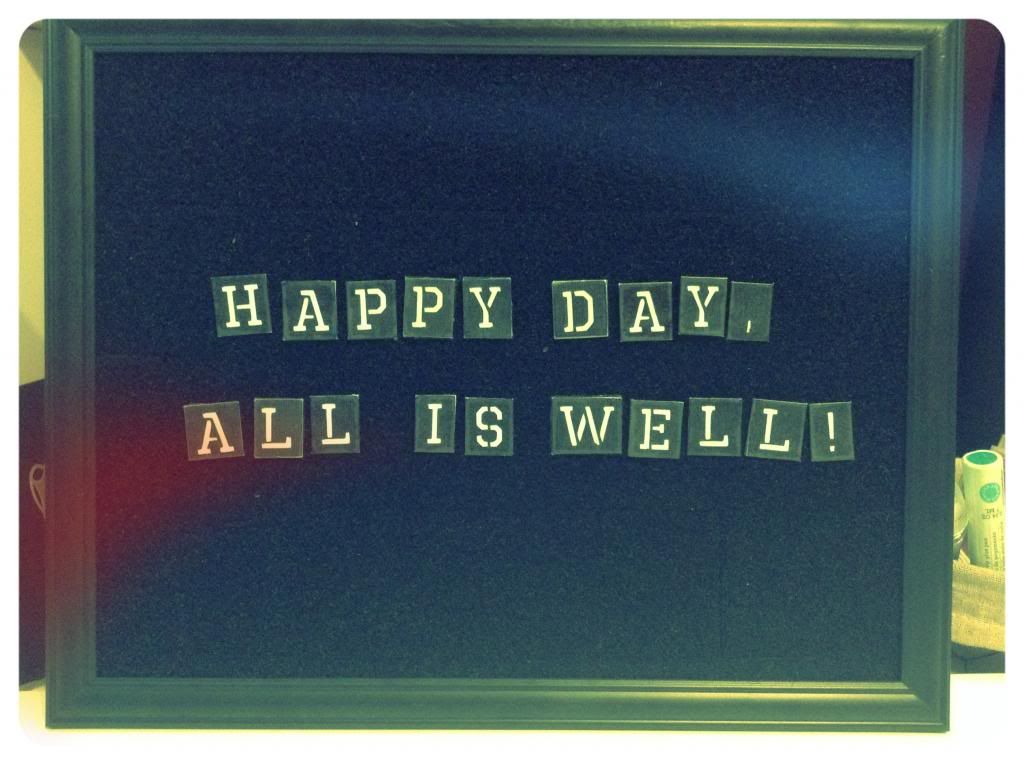
One fabulously awesome mugshot sign! Great for use as a message board for professional pictures, a photo booth, or for a family message center in your kitchen! Velcro letters, numbers and punctuation, with your choice of 100, 150 or 200 total, in a font of your choosing. 
See my Etsy Shop!

Where was this seen on Pinterest? Can you link it?
No, it wasn't on Pinterest. 
No? Then whose idea was this? 
MINE. ALL MINE.

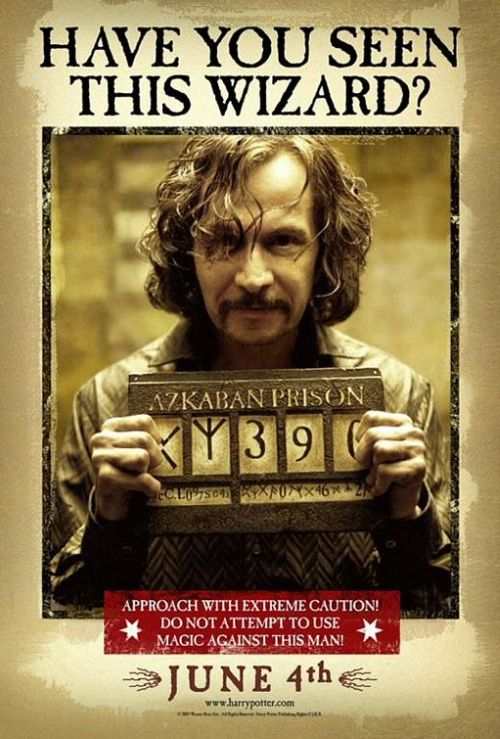
I am so completely proud of this project. As I just said, this project was 100% mine. The only inspiration I had was this photo: 

Smilebooth.com
I am going to have this backdrop (or something cheaply similar with butcher paper and electrical tape) for our Halloween photo booth. But with the backdrop to the mug shot background, wouldn't a message board be cool? Wouldn't it be more complete with the sign that's held up to show their name and inmate ID number, just like in the real mug shots from back in the day?


OF COURSE IT WOULD.

The process has been long. My fingers have been damaged. The hours involved were many. Was it worth it? 

I THINK SO.

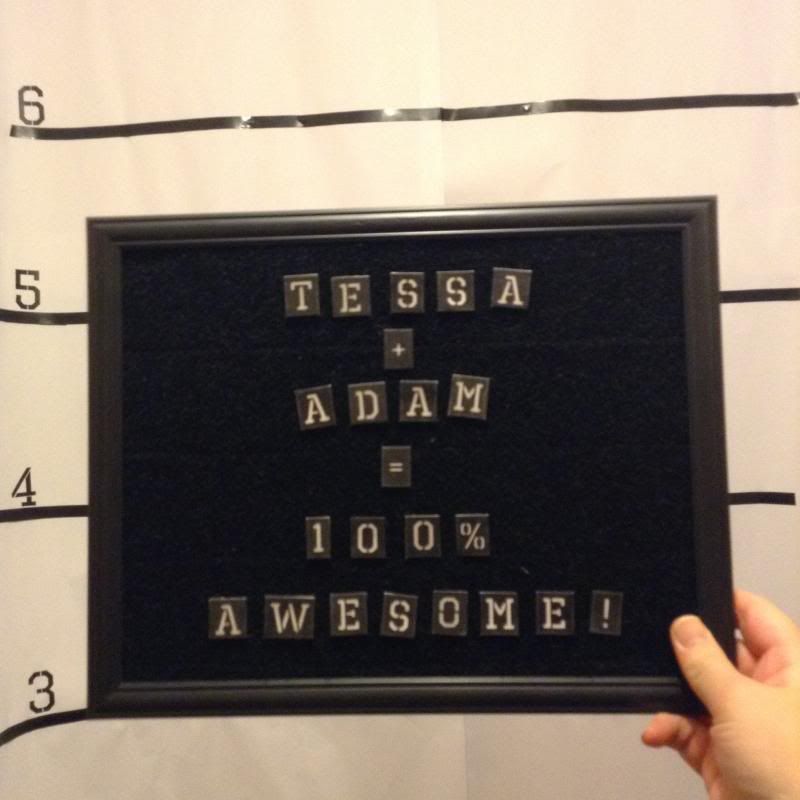
Check it:


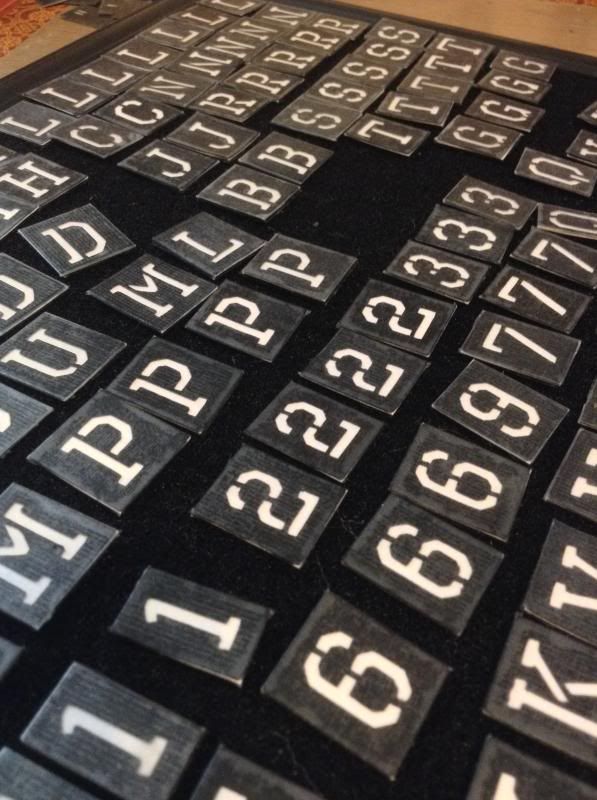
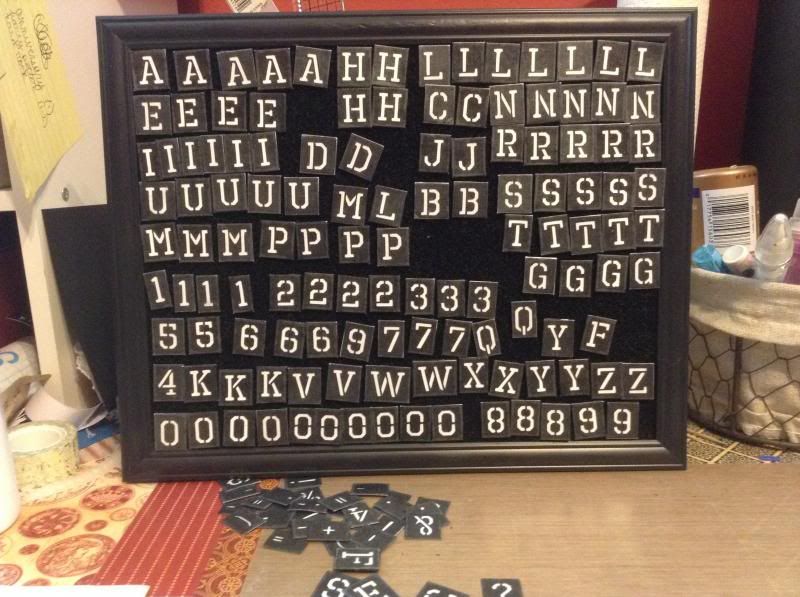
Majority of the letters, most numbers, but no punctuation.
There's a total of about 150 characters.

I think this would make a great prop for photographers or a message board at home - kind of like how some people have a chalkboard or write things to household members.

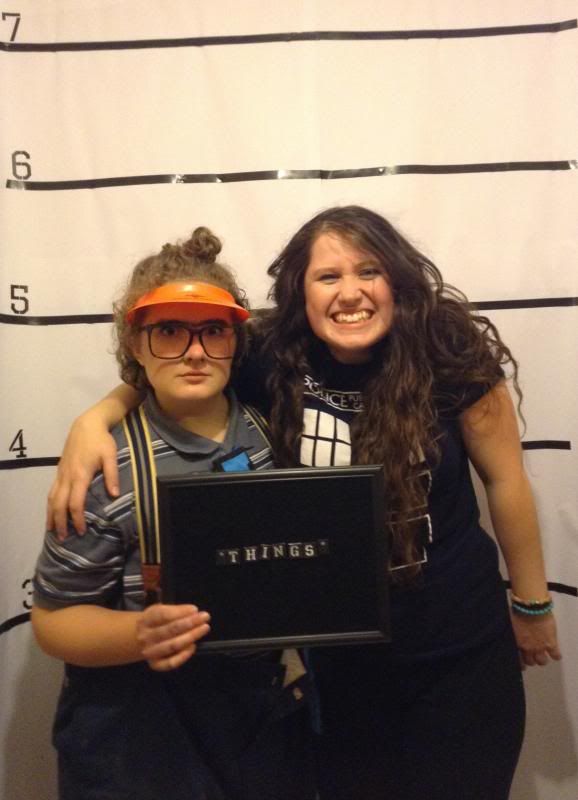
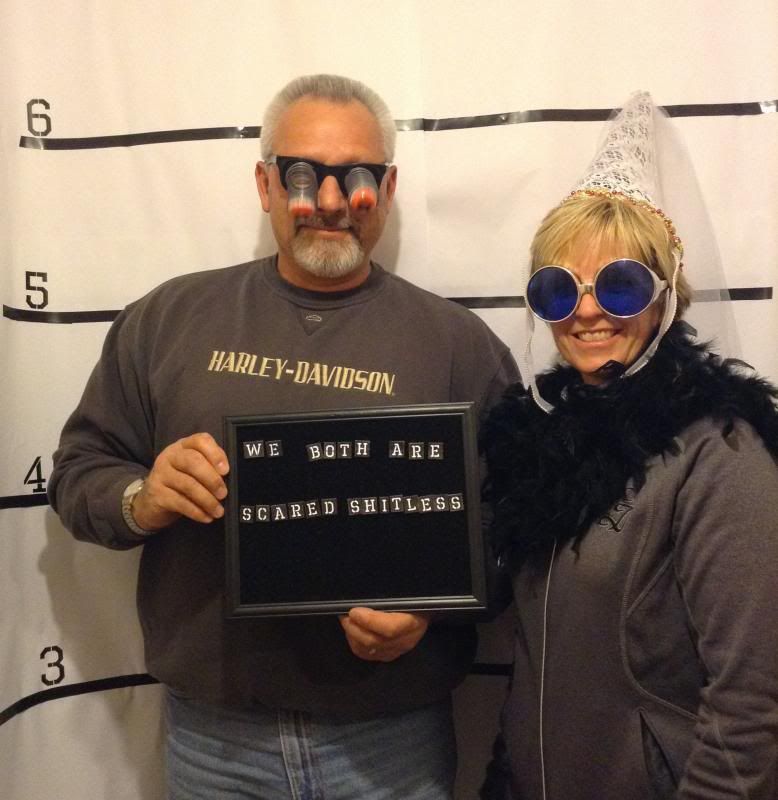
The mugshot sign in action:


EDIT:

I removed the instructions to make this because I put it up for sale. I already have a buyer for one! Since I know one person purchased it, I'm sure there's someone else out there that would like to buy one! There just has'ta.

If you are interested in purchasing a mug shot sign, please contact me! tessa.rathsack@gmail.com

Wednesday, October 2, 2013

Reinforcements.

Anyone that follows my Silhouette Freebies! board on Pinterest knows that I am OBSESSED with free SVG and .studio files. Obsessed!  I have over 2000 files downloaded... I might need a 12 step program soon. I don't care if I will ever use them; I download every file I see and put it in my library anyway! You never know when you might need it.
I've been making a lot of tags for several Halloween projects. The only slight problem I've had is that almost none of the tag files that I've picked up throughout the internet (again, see all the freebies I found here) have hole reinforcements included with the tag images.

For instance, take this awesome freebie file from KLDezign:

KLDezign

They're all great SVGs and convert perfectly to a .studio file, but I like me some hole reinforcements because I tend to rip these things. 


Because I'm REALLY bad at explaining things, and because I'm a visual person, this is what I'm talking about:

Amazon

Because I'm such a fan of free, I've made my own .studio file and I thought I'd share it in case anyone else can benefit from them like I have the past few weeks.  They are the standard 1/4" size, just like what you would buy at any office supply store. They resize perfectly for smaller or larger holes.

Click on the image to download.

I'm a complete noob when it comes to sharing files, so let me know if it doesn't work. Also I dunno how to save it as an SVG and I'm too lazy to look it up. If someone wants to tell me quick how to do it I'll share that file as well. 

Off to more Halloween work :D