Monday, December 17, 2012

Brains.

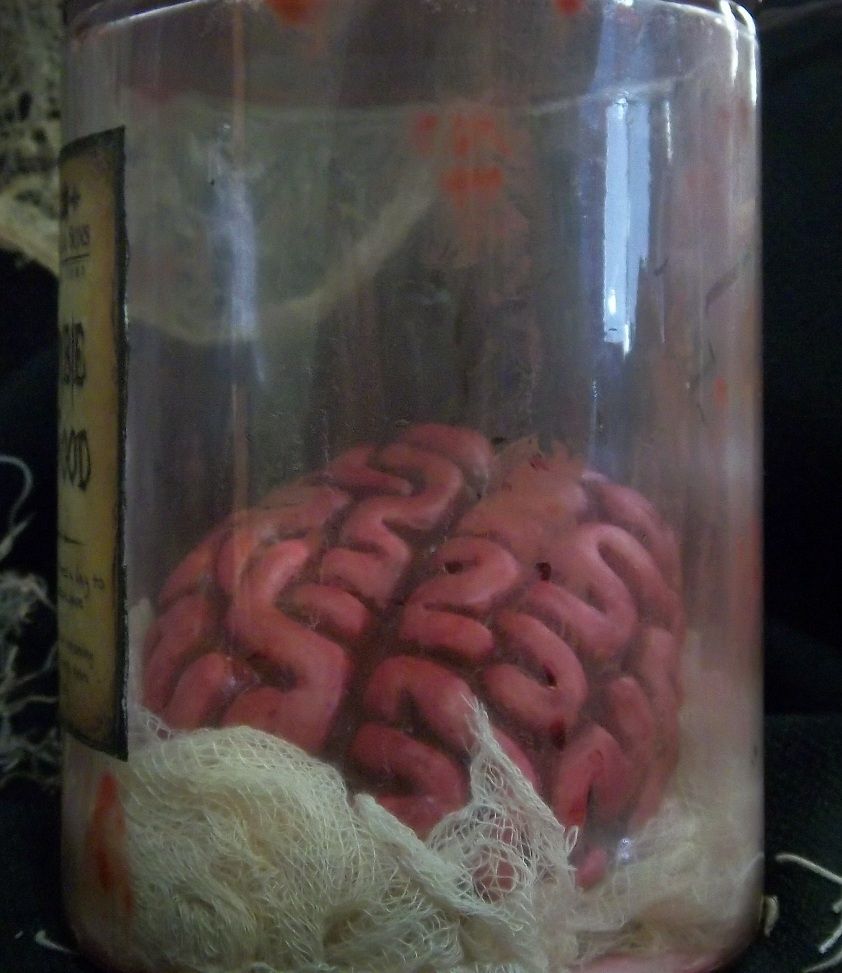
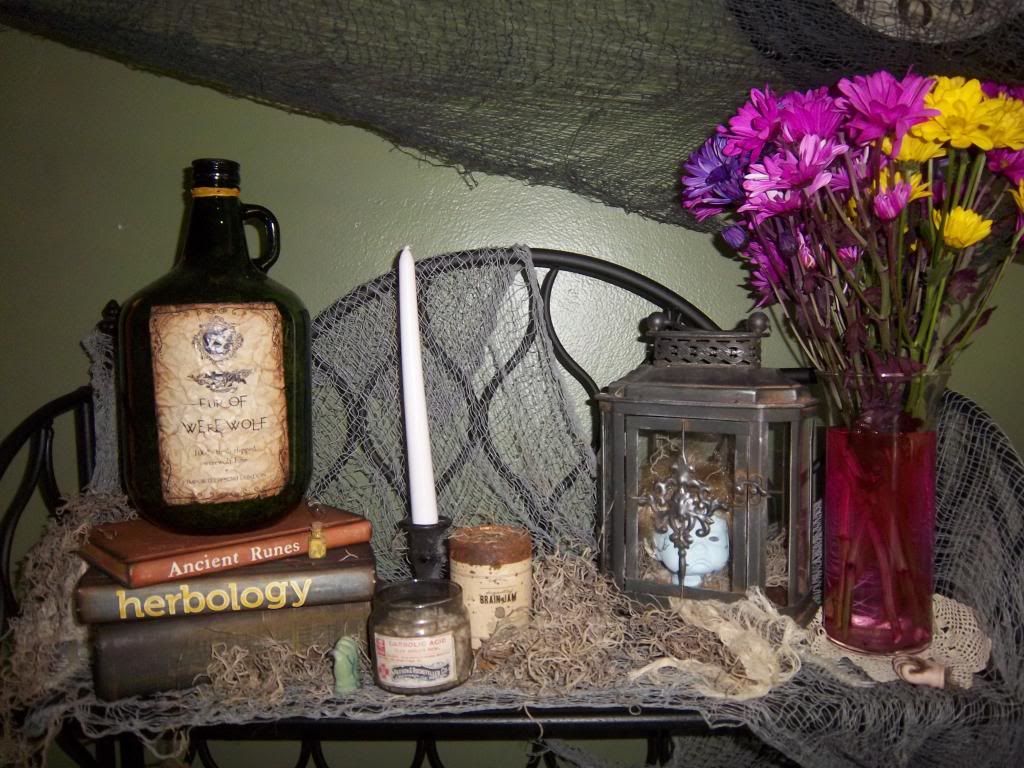
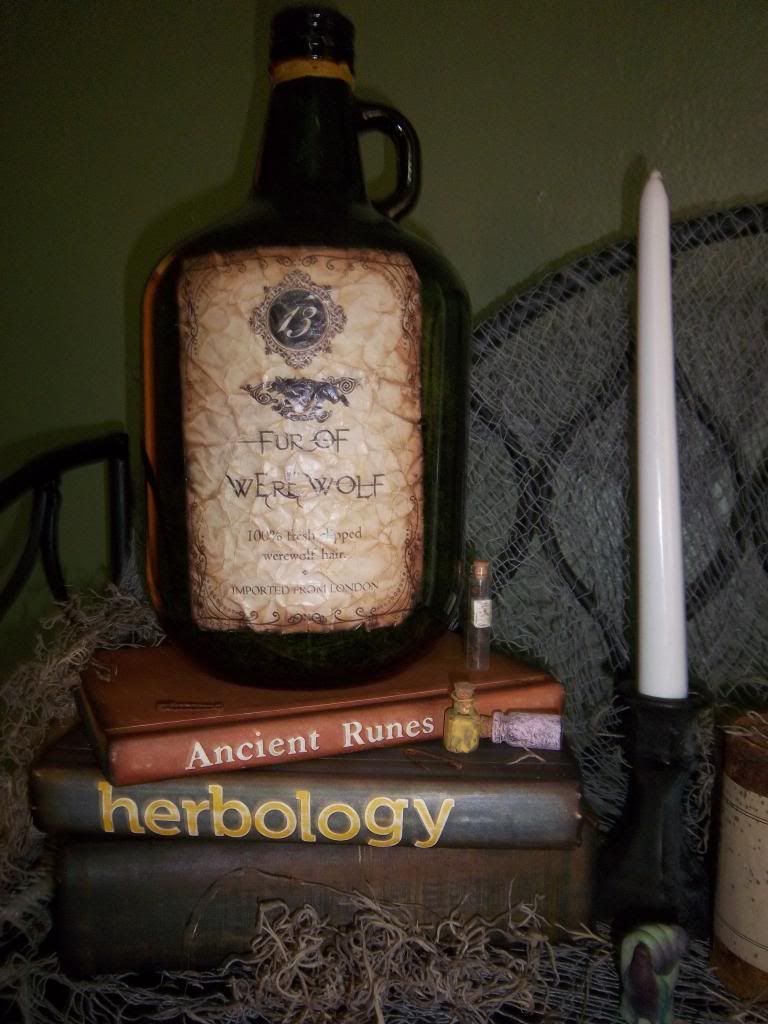
Before I post 50 pictures of every single apothecary jar, I wanted to showcase one jar in particular that I love.

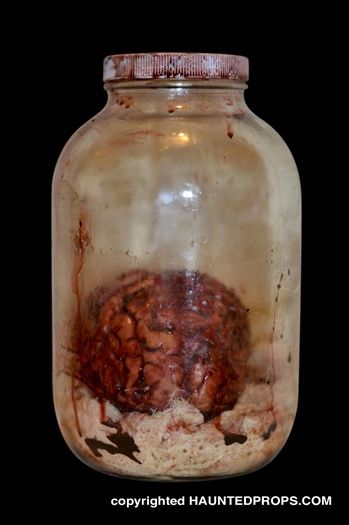
I really loved this jar from Haunted Props:


However, it's outrageously overpriced.  Currently it's "on sale" for $108.77.  HA.

Maybe it looks more realistic than my version, but I'm happy with the outcome.  

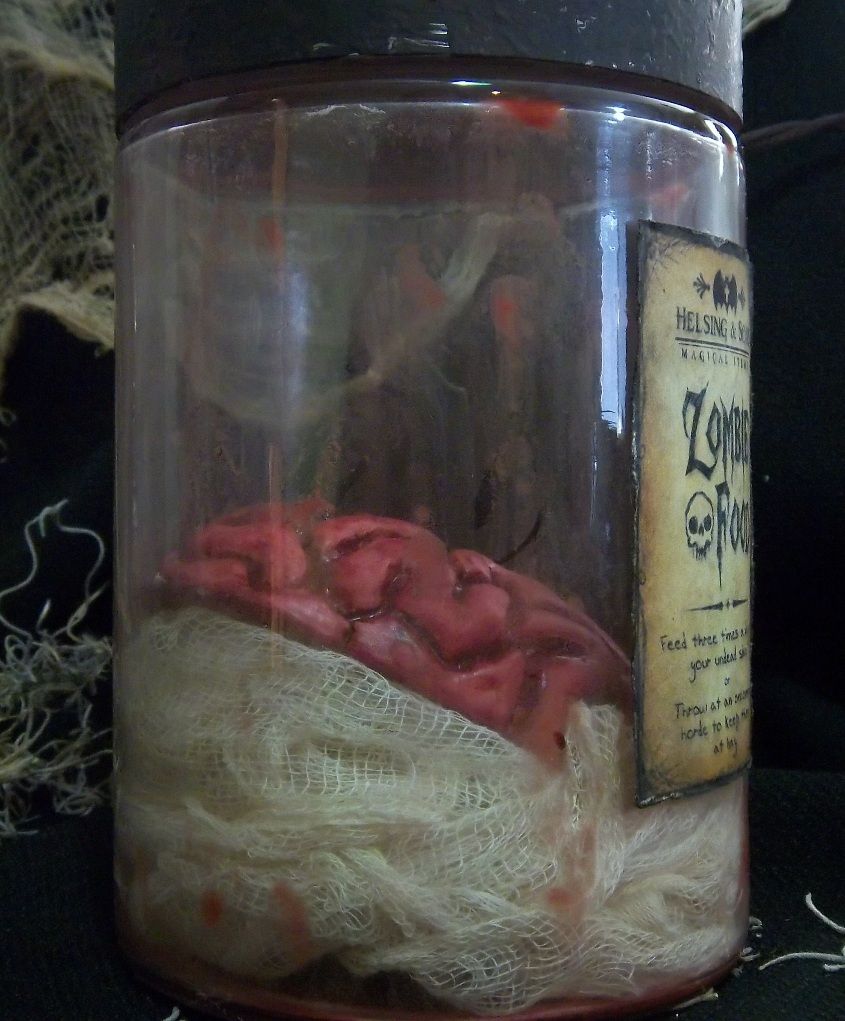
I took some leftover cheesecloth from a different project, a plastic brain from the dollar store,  


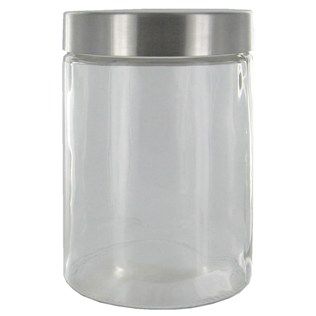
and I purchased a $5 jar that was 50% off at Hobby Lobby.


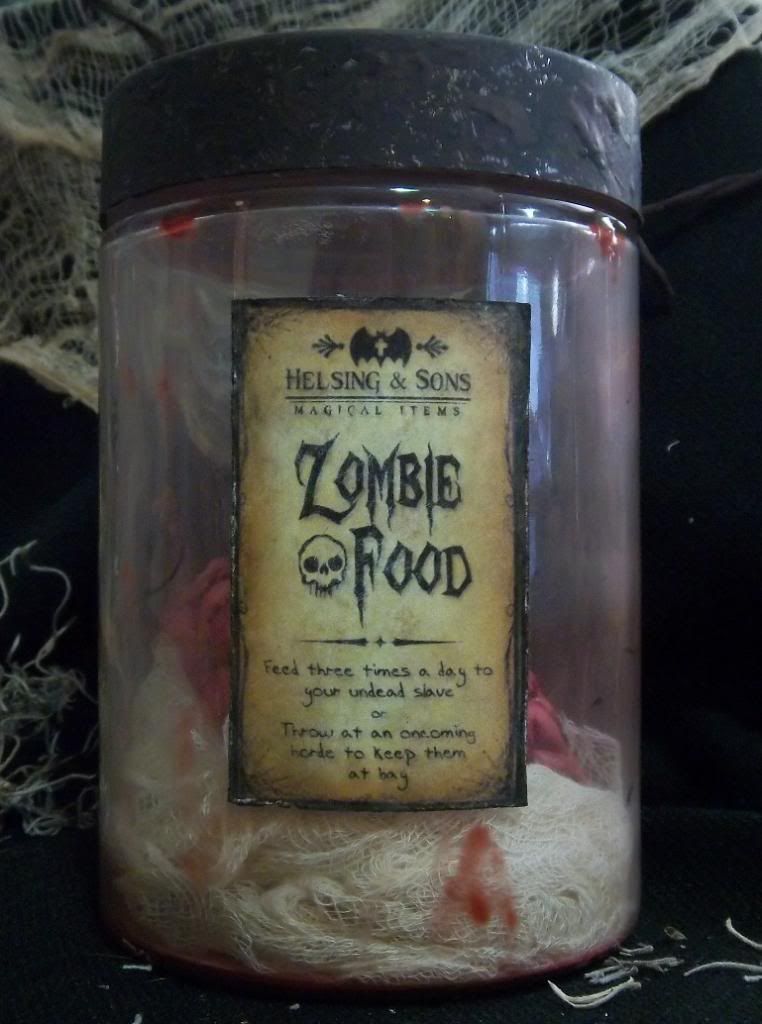
The outcome:


This jar took the longest out of all of them, which is probably why I liked it the most.  All of the labels for the jars I "stole" from the internet and printed them off.  This one I paid a chick off Etsy (Freakishly Adorable) custom make for me.

The plastic brain definitely looked too fake, so I added some dark red paint in the crevices.   

The aging on the inside of the jar took quite a bit longer than I expected.  I wanted a very subtle look of a little blood and age, so I tried watering down red acrylic paint with water.  That didn't work - the paint didn't stick at all and just settled on the bottom of the jar.

After several more fail attempts to add more paint to thicken the mixture, I decided I needed an actual thickening agent.  The only thing I could think of was corn starch, so I tried it and it worked!  It took a few coats for me to be satisfied with it, but I was just glad that, in the end, it all worked out.


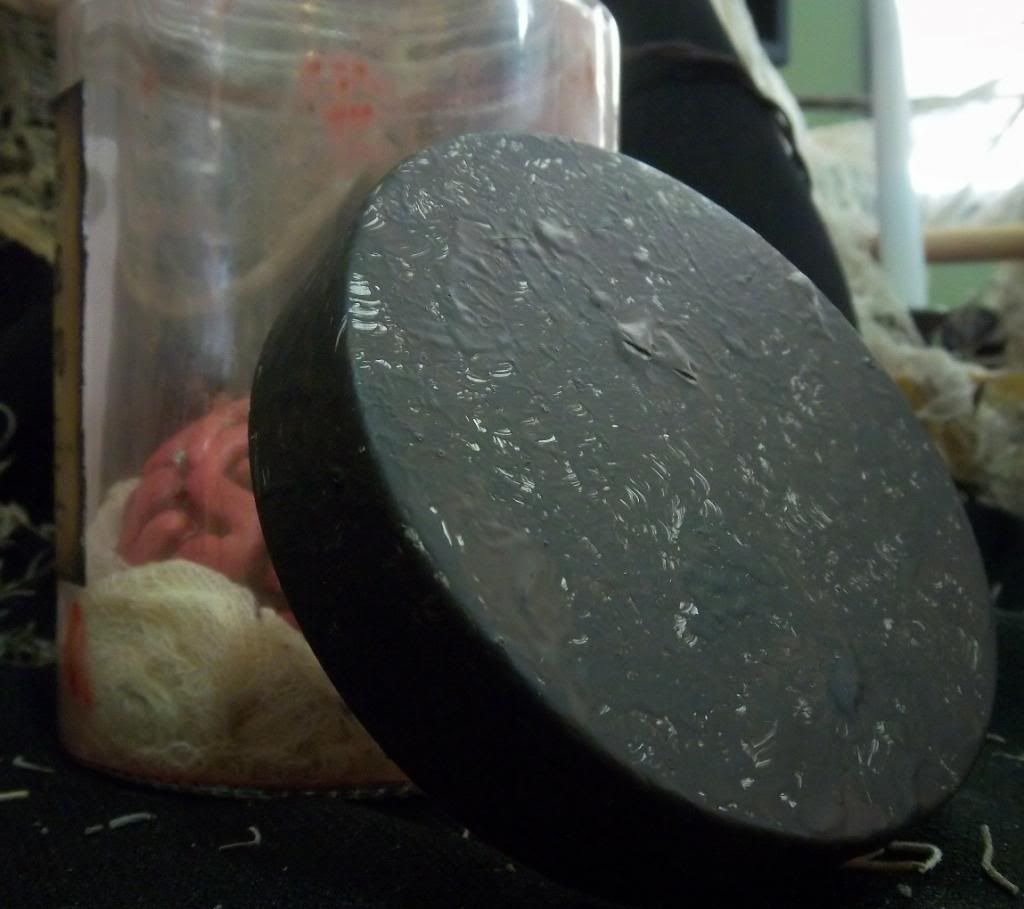
For the lid, I just had a ton of fun and hope it turned out.  I mixed a bunch of black and dark brown paint and let it sit to harden for a bit.  Then I took something (I don't remember, maybe a paper towel?) and globbed it on so there were lumps of paint on it.


Tomorrow: pictures of all of the jars and bottles :)

Friday, December 14, 2012

Ghosts.

Short post today.

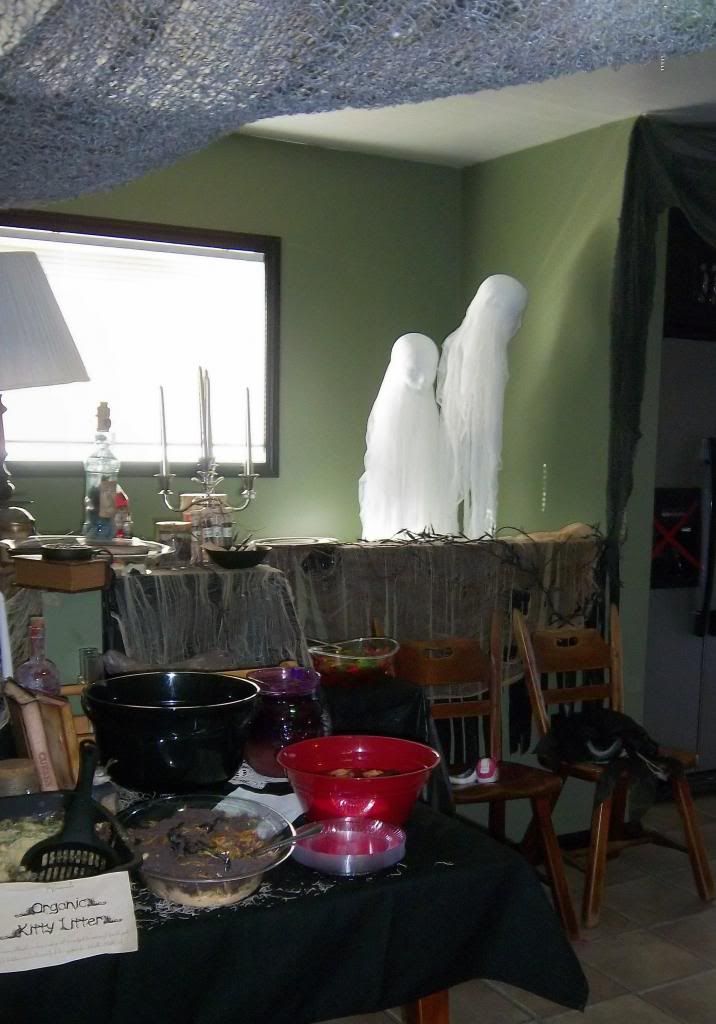
Erin and I made these ghosts for the Halloween party.  The ledge they're hovering over looks down onto the stairs going down to the basement.  

I found this tutorial from Martha Stewart which was awesome and super fun to make!


Tuesday, December 11, 2012

Apothecary.

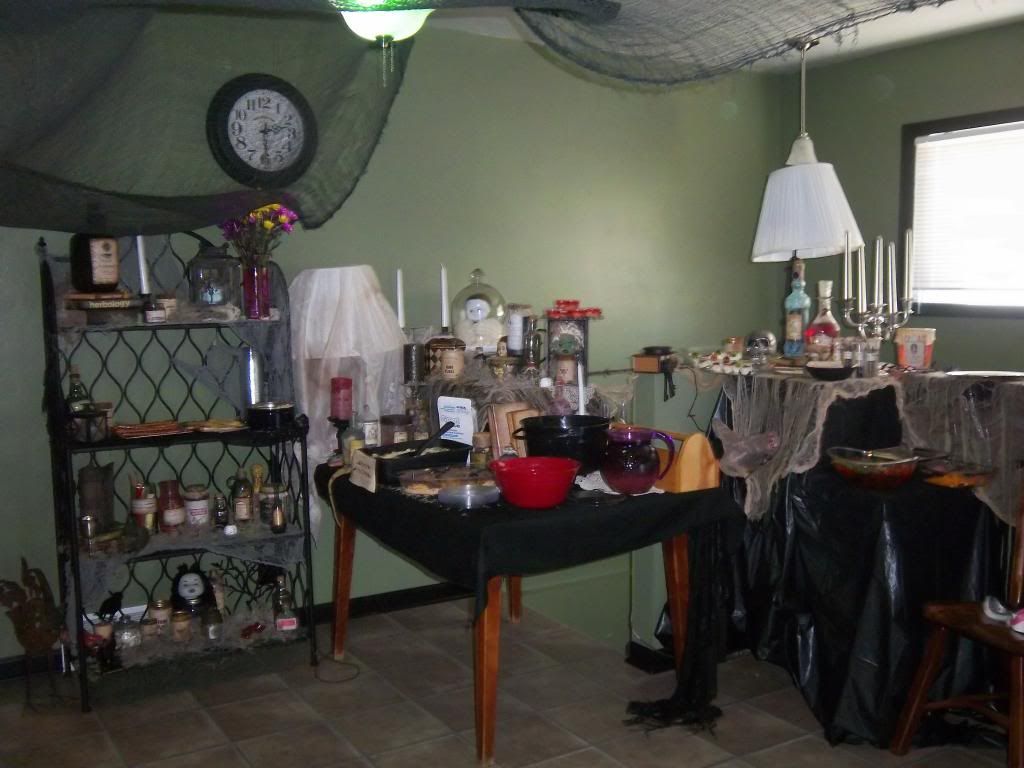
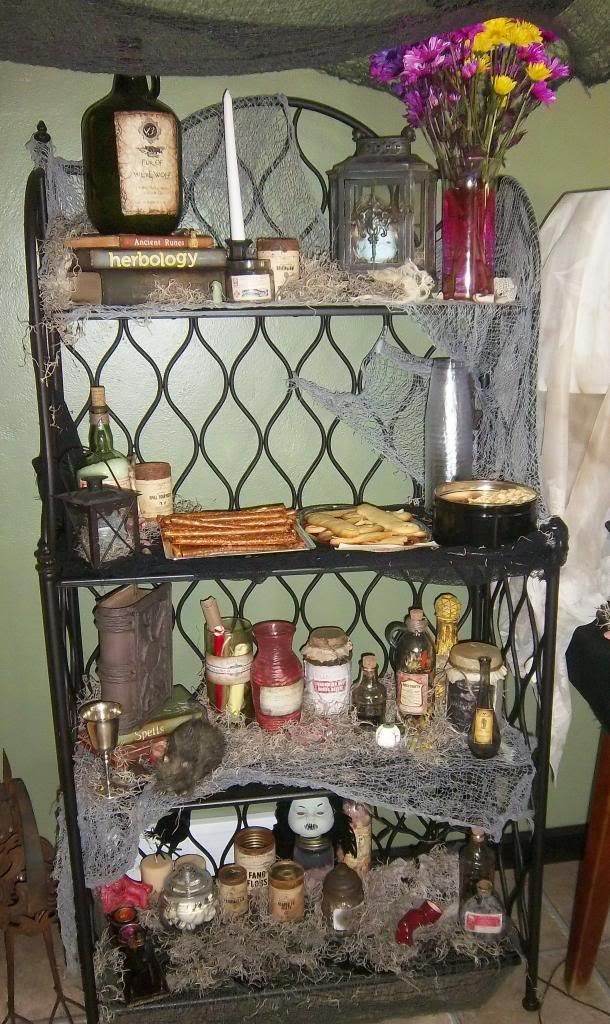
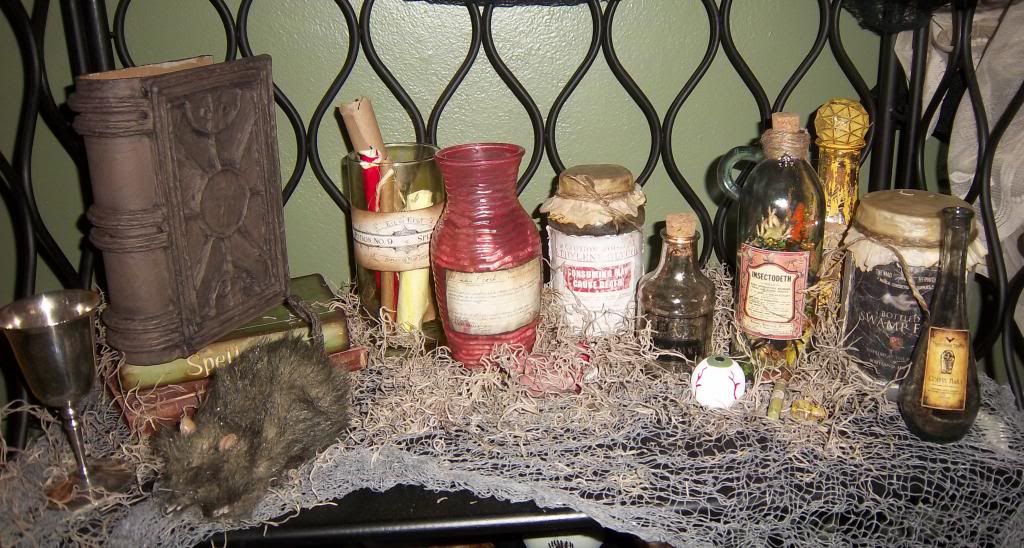
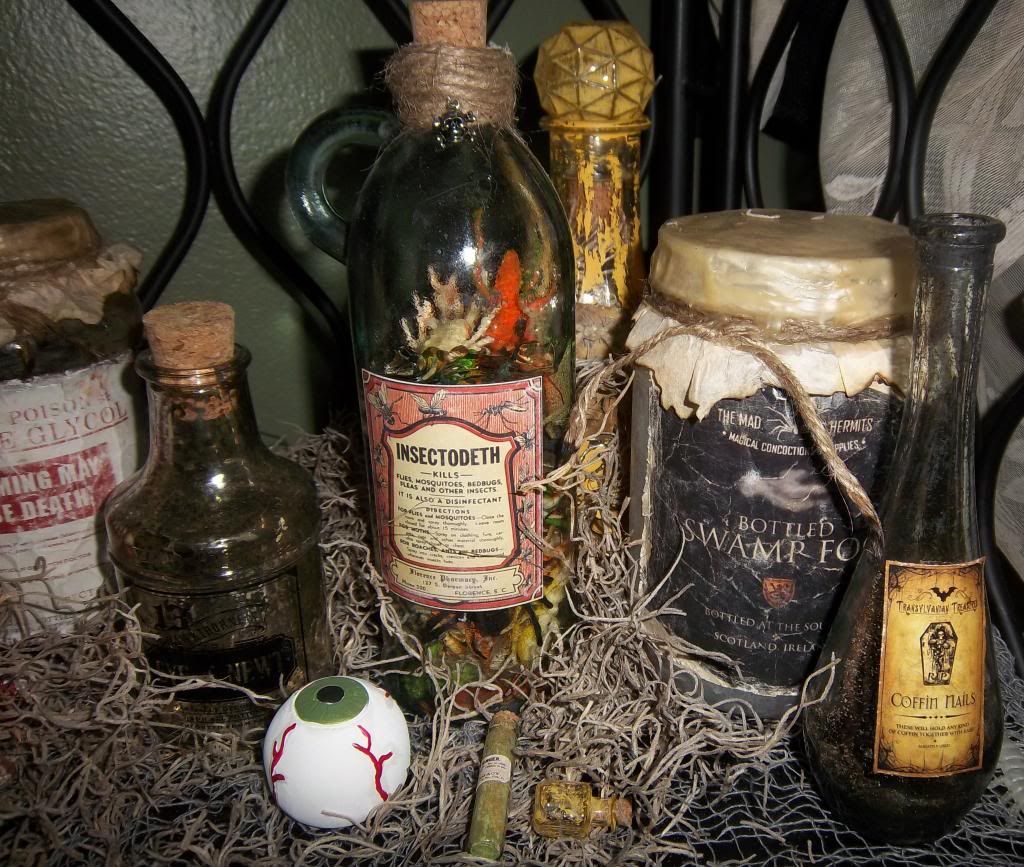
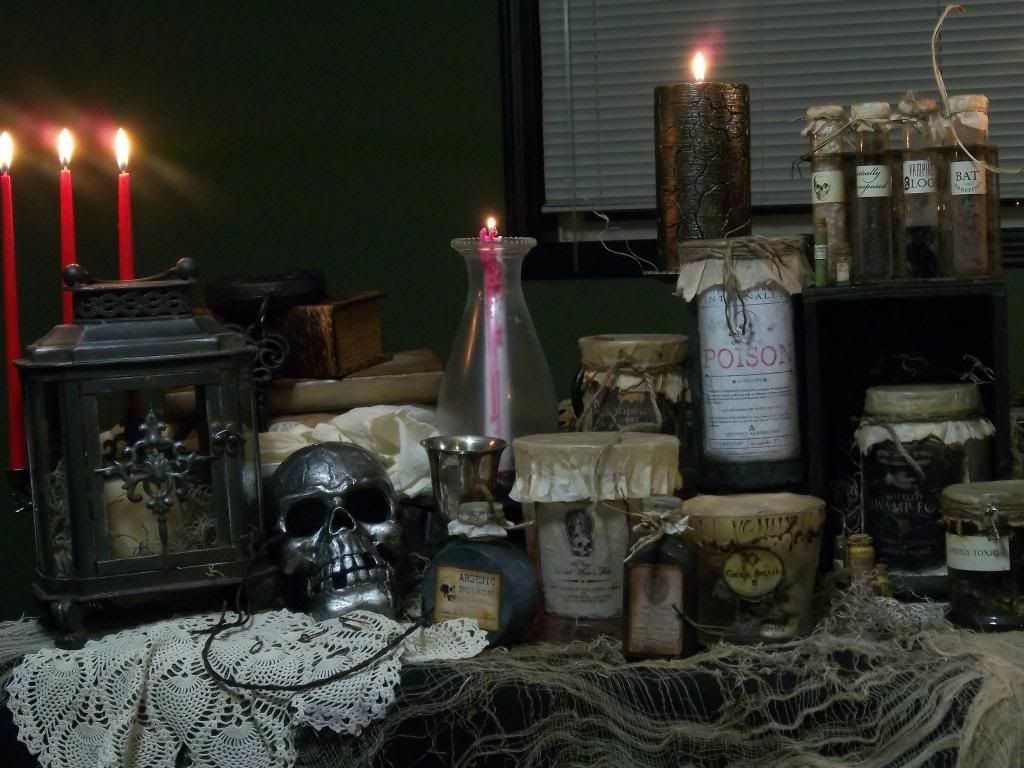
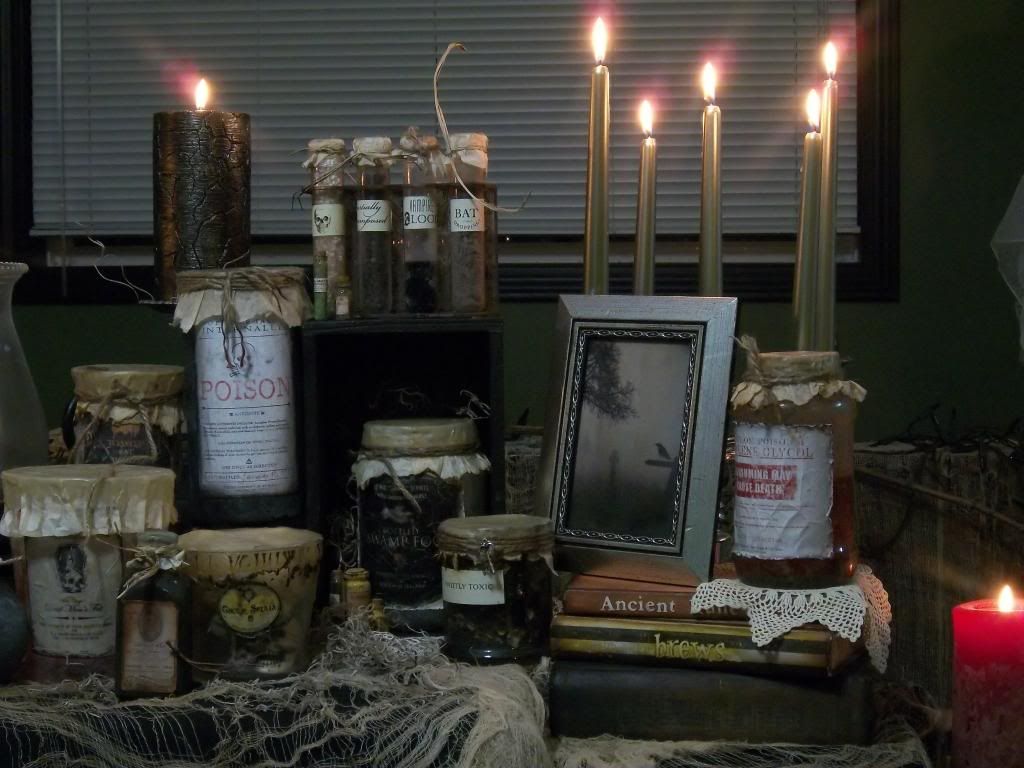
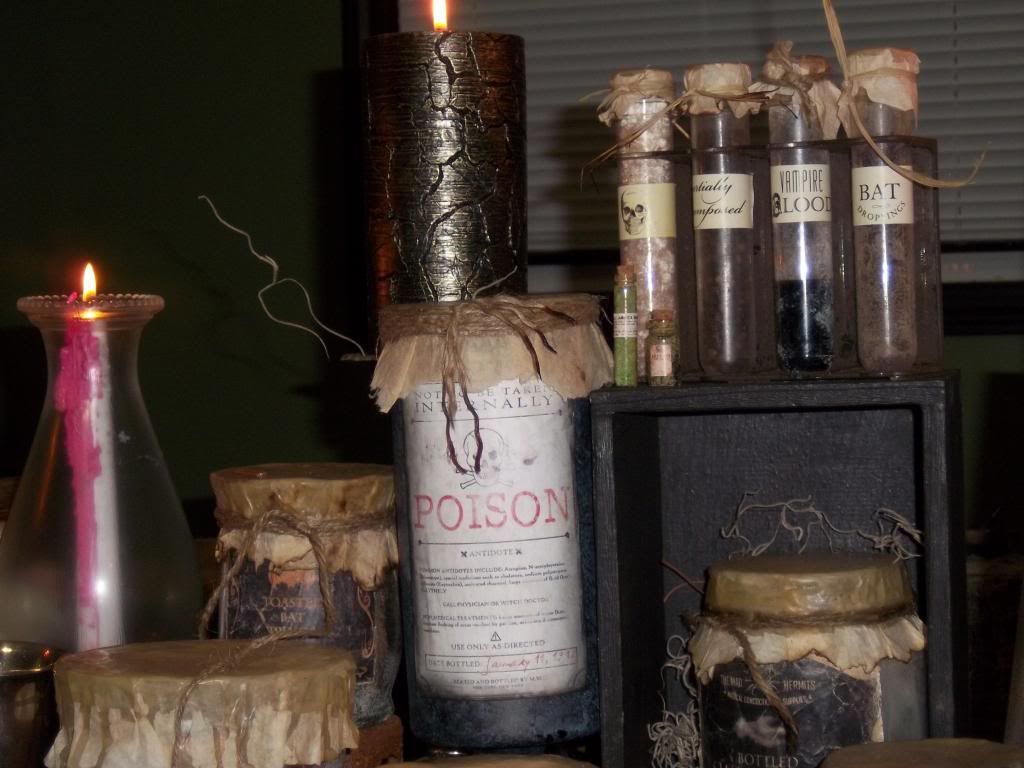
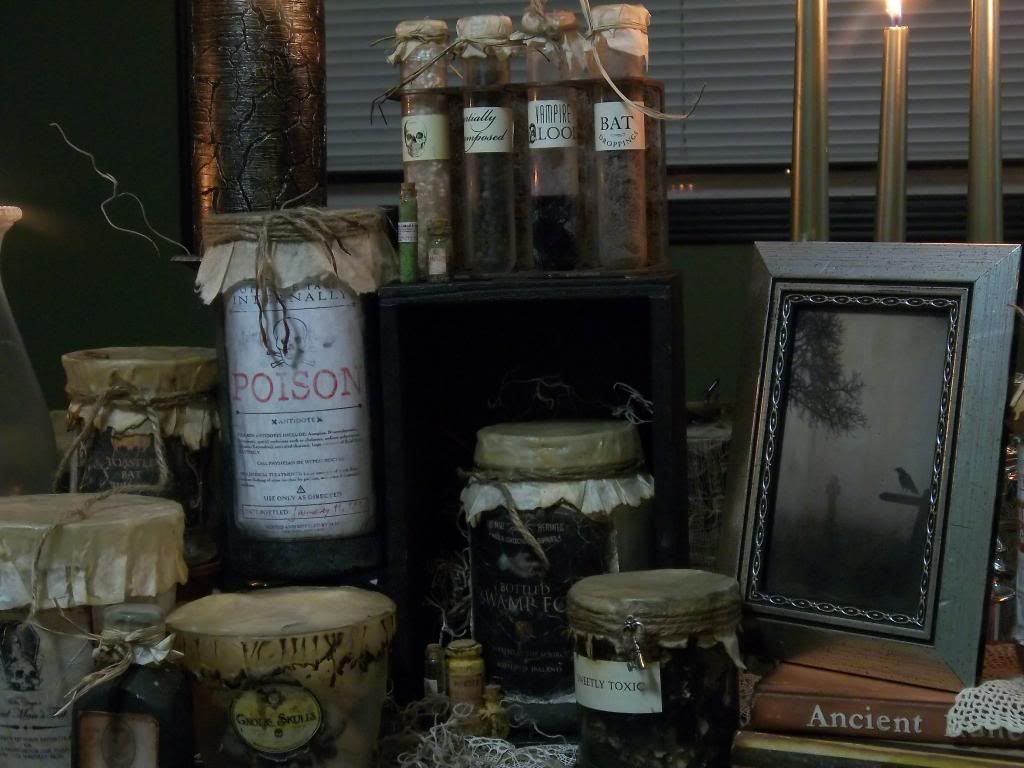
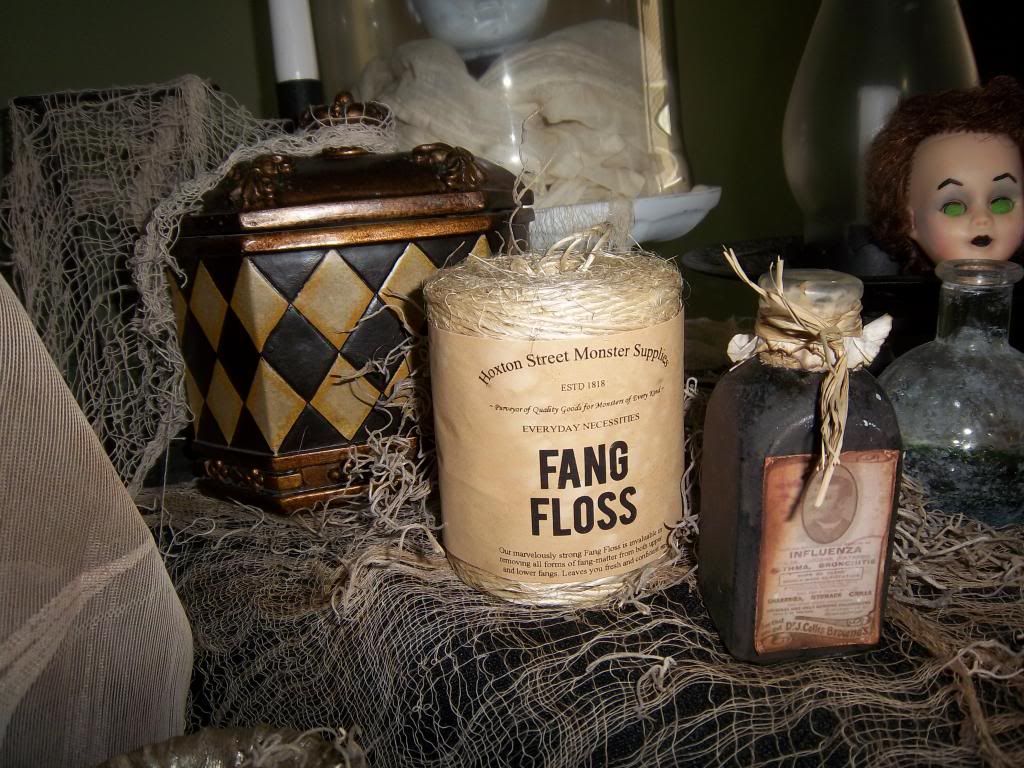
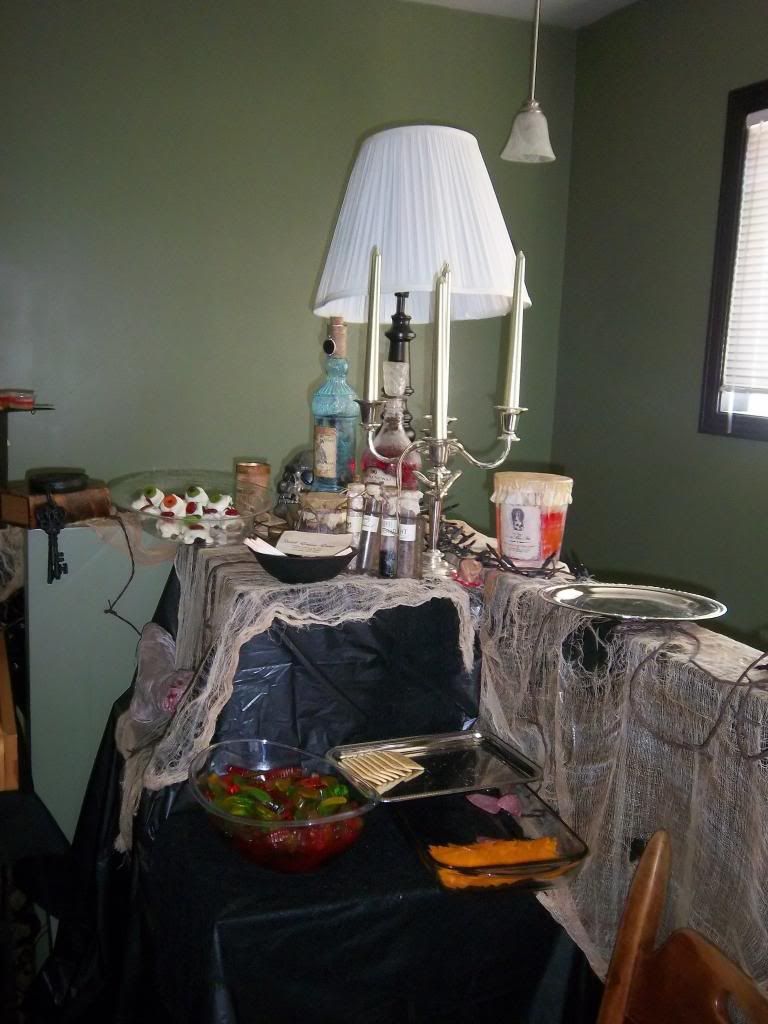
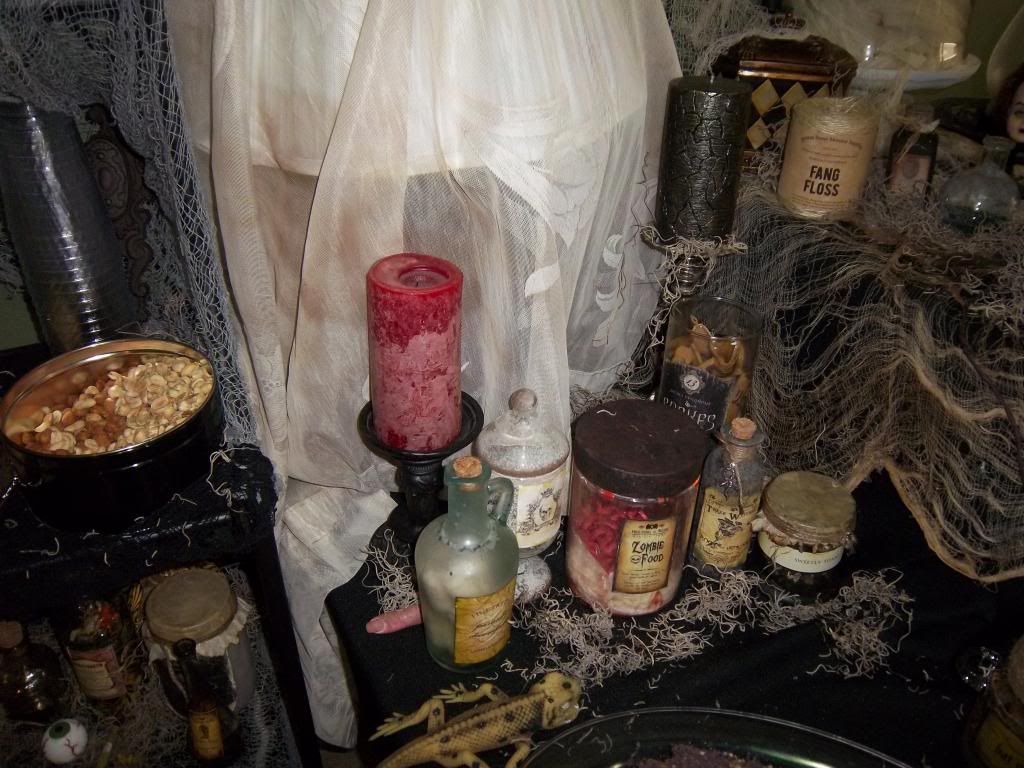
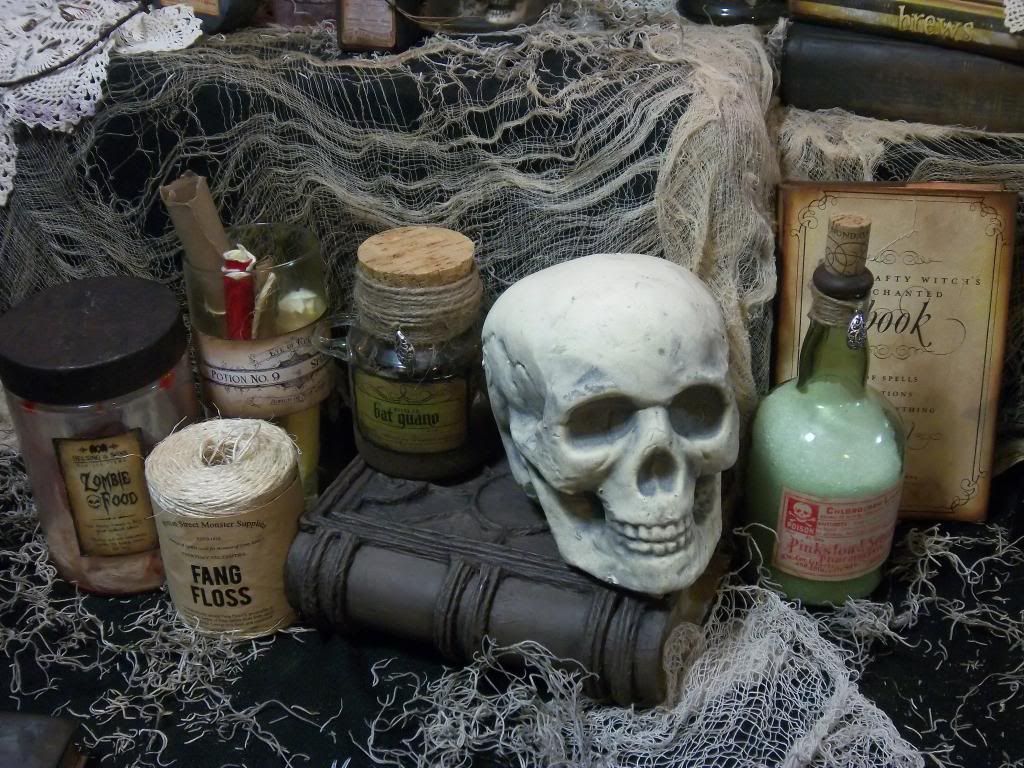
Today it's time to look at what I worked on for two months.  

The Apothecary.  

Click on image to enlarge.

I used a multitude of inspiration from Pinterest, ultimately leading me to two main tutorials: Witch's Kitchen and Over the Big Moon.  For one jar in particular, I used this Haunted Props page to copy-cat (which I will go into more detail about on a different post).

For the tin cans and other miscellaneous metal (safety pins, large nails, etc) aging, I used Lipstick and Laundry's tutorial, although I found out that the measurements honestly don't matter.  I thought I remembered the measurements, which turned out to be completely wrong, went through the whole process on 4 cans, and they came out exactly the same way.

There isn't much more that I can say, so enjoy the pictures!  Comment and let me know what you think!


I'll also be posting pictures of each individual bottle of the apothecary, my altered books, the food that was served, the living room, and the creepy dolls that Kelsi and I altered.

Hope you're having a great holiday season!

Friday, December 7, 2012

Signs.

Before I go on my rant, I'll start by posting some pictures of my Halloween party decor.  After going through some of my photos, I'm very sad.  I am missing a lot of things that I swear I took pictures of, or even things I remember now that I didn't take.  Gah!

I do at least have most of my signs before they were put on sticks and put in the yard.  It was one of the most fun projects!  I made them out of old wood that the previous homeowners left. Because I have no fancy saw, I used my jigsaw that Erin bought me last year and ghetto-cut it, using living room two side tables as my "workspace".

I used this tutorial, which was super easy!


I had so much fun that I kept making more and more!


Remember this sign that I got last year on after-Halloween clearance? 


Now it looks like this!:


 I like the change.  It's much more "Tessa".


This sign I made from extra wood I had left in the basement from my desk I made in my craft room.  I just noticed that this actually in the unfinished picture.  I used leftover stain from when I stained our deck last year and now it looks awesome.  I could go downstairs and take an updated photo, but I'm too lazy for that.  I'm sure you'll get to see it next year :)


--------------------------------------


This rant isn't necessary, and it isn't related to this post in particular, but I started typing this before my pictures and descriptions above, and I figured I would leave the rant.  After all, rants are totally "Tessa".  


As I've been saying, I have to edit my photos before I post them, which is the main reason I don't update my blog very often.

It's not that I do any touch ups or blending or layering or whatever the crap else photographers and other people have have great cameras do.  I don't have time to fiddle around with that stuff.  Plus, with my humorously sub-par photos, it's not worth anyone's time to do anything fancy to them.

My problems:

  1. My lighting is always bad (my house faces north and has very little natural light)
  2. It's always dark when I get home from work, so the natural lighting wouldn't matter anyway
  3. I can't think of a good setup (even a mini/ghetto one) in my house with my supplies
  4. My camera and tripod are cheap (with good reason).

My camera loves to take blurry photos like I'm in a moving car, even when I swear I didn't even move a centimeter.  It also loves to focus on something 20 feet away in the way upper left of the background instead of what takes up 95% of the frame and is 10 inches away (wtf?).

Because of all of these issues, I take about 10 photos of the same shot, move a few inches or a different angle, take 10 more shots, try a different setting/lighting combination, take another 10 shots, etc, etc.  The preview screen is so small that I can't actually tell if the picture is blurry or not until I upload it on my computer.  So once I have all 11,850 photographs of only 10 items (exaggerated, sort of.  My SD card is only 256 MB so I only get like 150 pictures on it), I have to go through all of them and delete approximately 11,725 photos.  Then I have to crop, resize, etc (cry,cry,cry - I know, I'm such a whiner).

Anyway, my exaggeration aside, it's time consuming and not very fun, plus I've now used up my limit on Blogger so I can't add anymore photos.  So now I have to go to Photobucket, download my pictures, and then link up to them.

How do you other bloggers get past this dreaded step!?  Are there and tricks you've found?

Wednesday, December 5, 2012

Balls.

I'm so grateful that Kelsi came over on Thursday and made the Oreo Truffles!  I had all of the ingredients but there was no way I was going to be able to throw them together in the little amount of time I had.

The recipe is pretty straightforward, but also gets your hands messy which would probably make a great activity for kids!

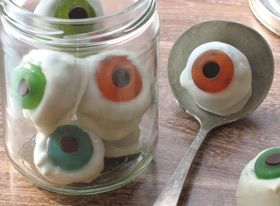
Edible Eyeballs

a.k.a.
Oreo Truffles
(nicknamed by me)


Original photo from source.

Ingredients and Supplies:

Cookie sheet
Waxed paper
Mixing bowl
1/2 cup softened cream cheese
22 chocolate sandwich cookies
Tablespoon
Lifesaver Gummies
A handful of chocolate chips
2 cups white chocolate chips
Microwaveable measuring cup or small, deep bowl
Toothpicks

Instructions:
1. Line the cookie sheet with waxed paper and set it aside.

2. Crush the sandwich cookies into fine crumbs. You can do this in a food processor, or seal them in a plastic bag and crush them with a rolling pin.

3. Combine the cookie crumbs and softened cream cheese in a mixing bowl and stir until the ingredients are well combined.

4. With clean hands, roll half tablespoonfuls of the cookie mixture into balls (about 1 1/4-inch in diameter) and place them on the waxed paper. Use you thumb to make a shallow nickel-size depression in the top of each ball.

5. Chill the cookie balls until firm (about 1 hour).

6. Select a Lifesaver Gummy to use as an iris for each eyeball. Stretch the centers to enlarge the holes a bit and insert a chocolate chip, tip down, in each one. Set the irises aside for now.

7. Pour the white chocolate chips into the measuring cup or bowl and melt them in the microwave according to the directions on the package.

8. Insert a toothpick into one of the chilled cookie balls. Dip the ball into the melted white chocolate and then set it on the tray, using a second toothpick to hold it in place while you pull the first one out. Immediately set one of the irises atop the candy-coated ball and gently press it into the depression. Repeat this step with the rest of the cookie balls.

9. Allow the white chocolate coating to cool and harden before serving the eyeballs. You can speed up the process by chilling them on the tray for a few minutes. Store leftover eyeballs in an airtight container in the refrigerator. Makes a dozen or more.


Obviously we didn't use the Lifesaver Gummies or chocolate chips, but either way they were amazing.

I've said it 615,379 times, but I'll say it again: 
these. are. amazing.

Erin made these for this year's Halloween Party and were a huge hit, so it only made sense to make them again at the very next opportunity.  Maybe I'll make some for Christmas to bring to my in-laws :)

I'm finally getting around to editing my Halloween photos, so look for updates in the coming week!

<3

Tuesday, December 4, 2012

Cupcake.

As promised, here is the recipe for the Hostess Cream-Filled Cupcakes.  I'll post the recipe for the Oreo Truffles tomorrow since this recipe is so long.  When I make recipes that are new, and especially when they have a million steps, I always worry that it's going to turn out bad.  I always second guess myself, constantly thinking that I'm not doing it right.  Because of that, I like to take a lot of notes so that when I make it the next time, I don't feel so unsure.

My personal notes are in red, in case they might help you, too.

I just noticed that I made a few notations when I made these last year, 
but I didn't note my printout of the recipe, 
I only posted them online!  
How silly of me.  

Picture from my original source

Homemade Hostess Cupcakes
(adapted from Food Network magazine, modified by Loves To Eat, Bake at 350, then me)


For the Cupcakes
1 & 1/4 cups unbleached, all-purpose flour
2 teaspoons baking soda
2 teaspoons baking powder
1/4 teaspoon coarse salt
1 & 1/4 cups granulated sugar
4 ounces unsweetened chocolate, chopped (make sure these are chopped before you start)
1 stick unsalted butter, cut into pieces
2 teaspoons pure vanilla extract
2 large eggs, lightly beaten
1 cup water

For the Filling (the halved version)
2 tablespoons unsalted butter, at room temperature
1/2 cup powdered sugar
1 teaspoon pure vanilla extract
1 & 1/2 tablespoons heavy cream
1/2 cup marshmallow creme (hint: use cooking spray on your measuring cup and spoon to prevent sticking!)

For the Ganache (the halved version)
3 ounces bittersweet chocolate, chopped (make sure these are chopped before you start)
1/4 cup heavy cream
1 & 1/2 teaspoons unsalted butter
1 teaspoon pure vanilla extract

For the Icing (the halved version)
4 tablespoons unsalted butter
1  tablespoon milk (give or take)
1 cup powdered sugar (give or take)
1/8 tsp vanilla

(I changed the order of some of these instructions which I found to be more time efficient)

Position a rack in the center of the oven and preheat to 350. Place paper liners in muffin tin for about 20 cupcakes.

Prepare the cupcakes: Sift together the flour, baking soda, baking powder and salt in a medium sized bowl.  Set aside.

Bring the sugar and 1 cup water to a boil in a saucepan, stirring constantly until the sugar dissolves, about 3 minutes. Pour into a large bowl or Kitchen Aid mixer; add the chopped unsweetened chocolate and butter and let sit, stirring occasionally, until the chocolate is melted and the mixture has cooled slightly. Stir in the vanilla.

Using a mixer, beat the eggs into the chocolate, then slowly mix in the dry ingredients.

Divide the batter evenly between the prepared pans (about 1/4 cup batter per cupcake).  I used a large-ish ice cream scoop which filled the liners to the perfect amount. Bake until a toothpick inserted in the center comes out clean, about 25 minutes. Cool in the pans for about 25 minutes, then transfer cupcakes to a rack to cool completely.

(They will sink in the middle...they'll puff up when filled later)

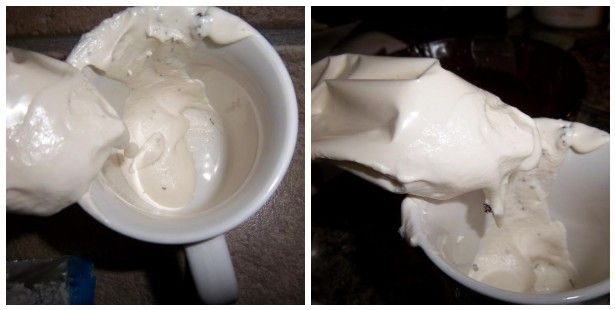
For the filling: Using a mixer, cream the butter until light and fluffy (I mixed it for like 10 minutes)  Use a rubber spatula to scrape the sides often. Beat in 1/4 cup confectioners’ sugar. Add the vanilla and 1/2 tablespoon heavy cream; beat until smooth. Beat in the remaining 1/4 cup confectioners’ sugar and 1 tablespoon heavy cream in batches, alternating after each addition. Beat in the marshmallow creme (hint: use cooking spray on your measuring cup and spoon to prevent sticking!); set aside or refrigerate.

Click image to enlarge.

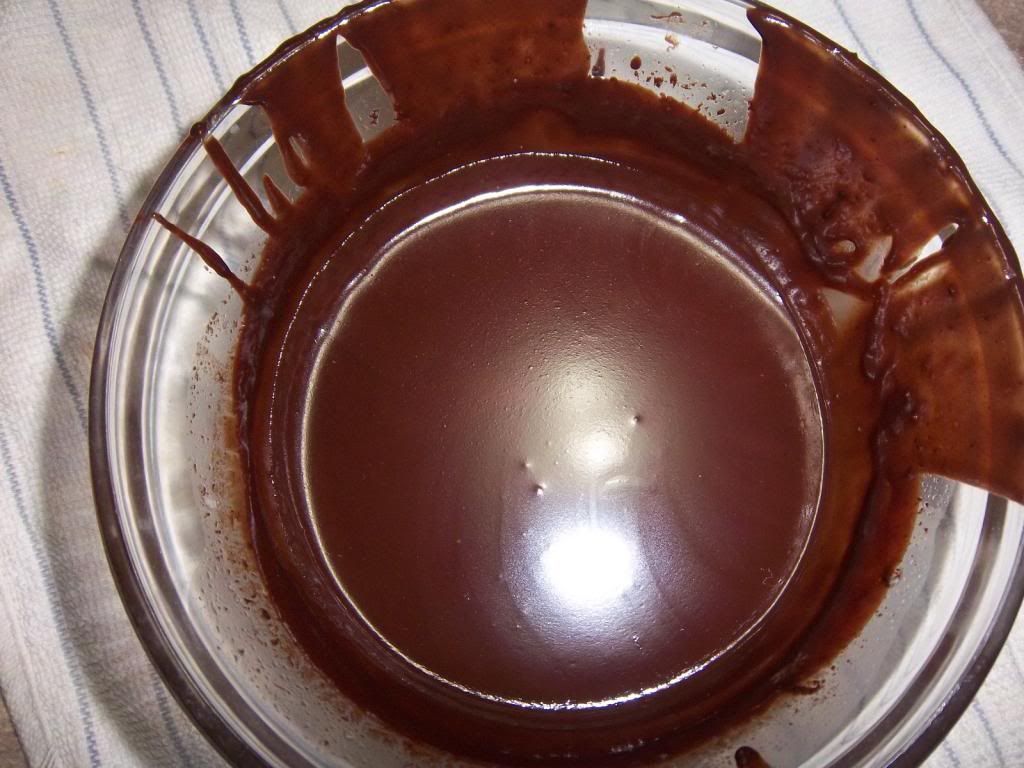
For the Ganache  Place the chopped bittersweet chocolate in a stainless-steel or glass bowl. Heat the cream in a small saucepan and 1 & 1/2 teaspoons butter until just boiling, then pour over the chocolate; let stand for 5 minutes. Whisk until smooth. Add 1 teaspoon vanilla; let stand until cool but still glossy and liquid.

Click image to enlarge.

Spoon the filling into a pastry bag with a medium star tip, or in a Ziploc bag and cut a small hole in the corner of the bag. Insert the tip into the center of each cupcake top; fill until the cupcake is heavier (do not overfill). (It's OK if some of the filling peeks out, it will be covered by the Ganache.)

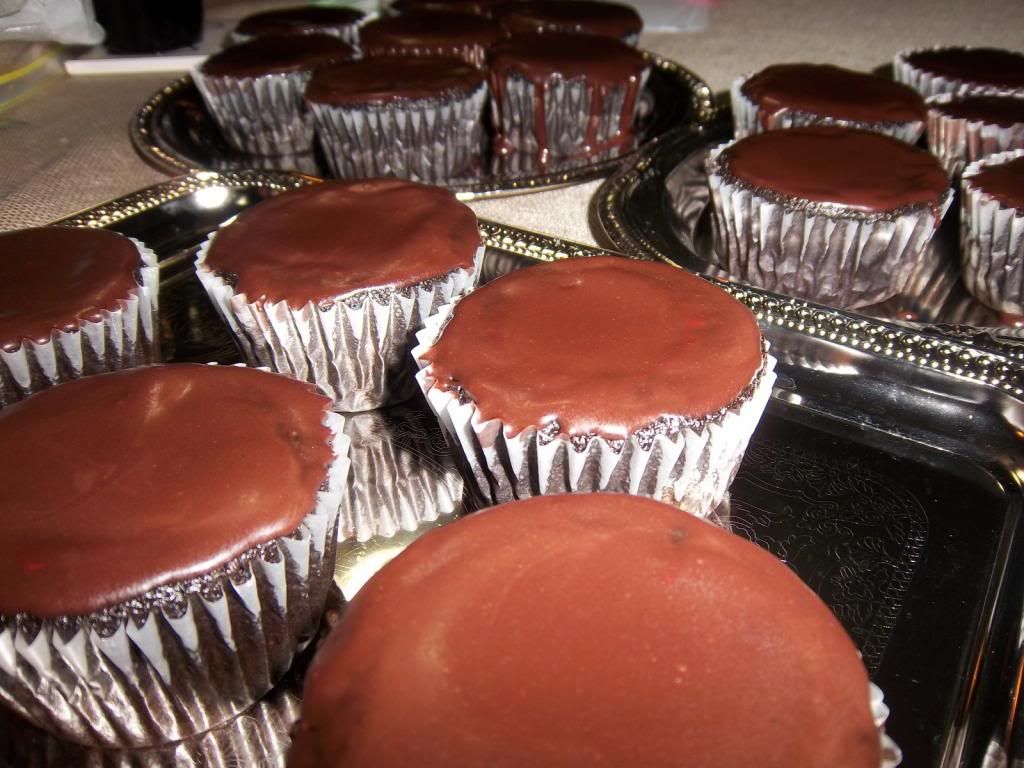
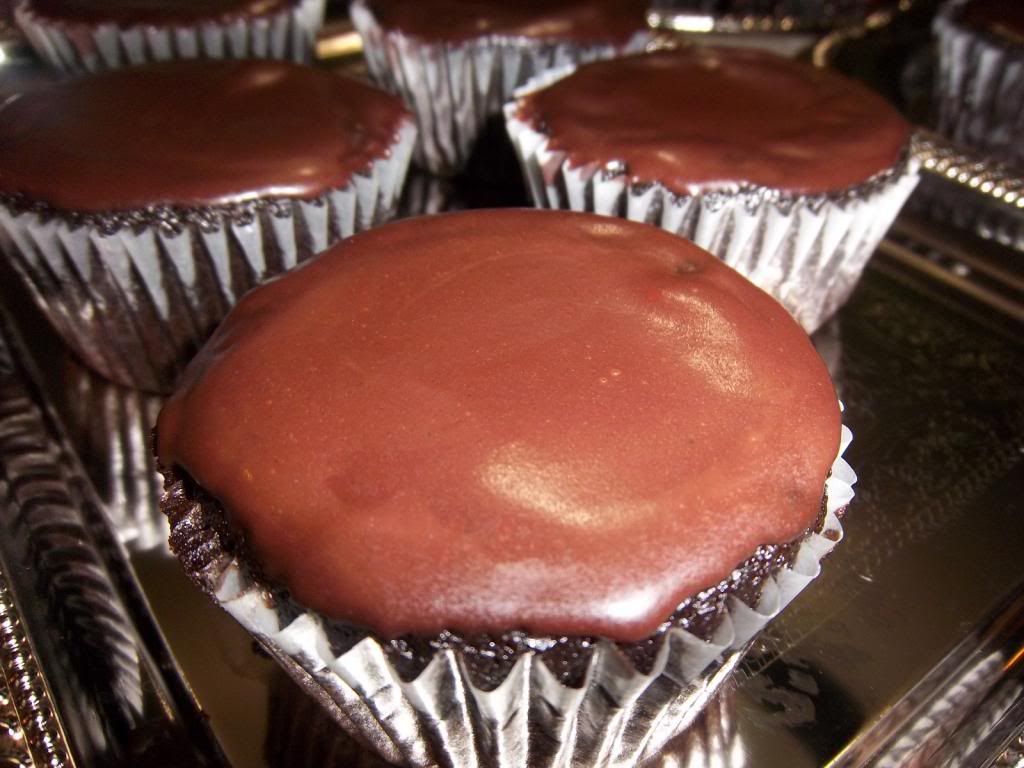
Spoon a little Ganache on each cupcake and lightly spread with an offset spatula or a knife.  I put a dab on top of the cupcake and used the back of a spoon to move the Ganache to the edges, then added more Ganache as needed.  If the Ganache is still liquid like it should be, it will combine and smooth out naturally with the existing Ganache on the cupcake.  If it's starting to harden, mix it and pop it in the microwave for 10 seconds, mix again and it should smooth out naturally like I talked about before. Chill for at least 15 minutes.

Click image to enlarge.

Click image to enlarge.

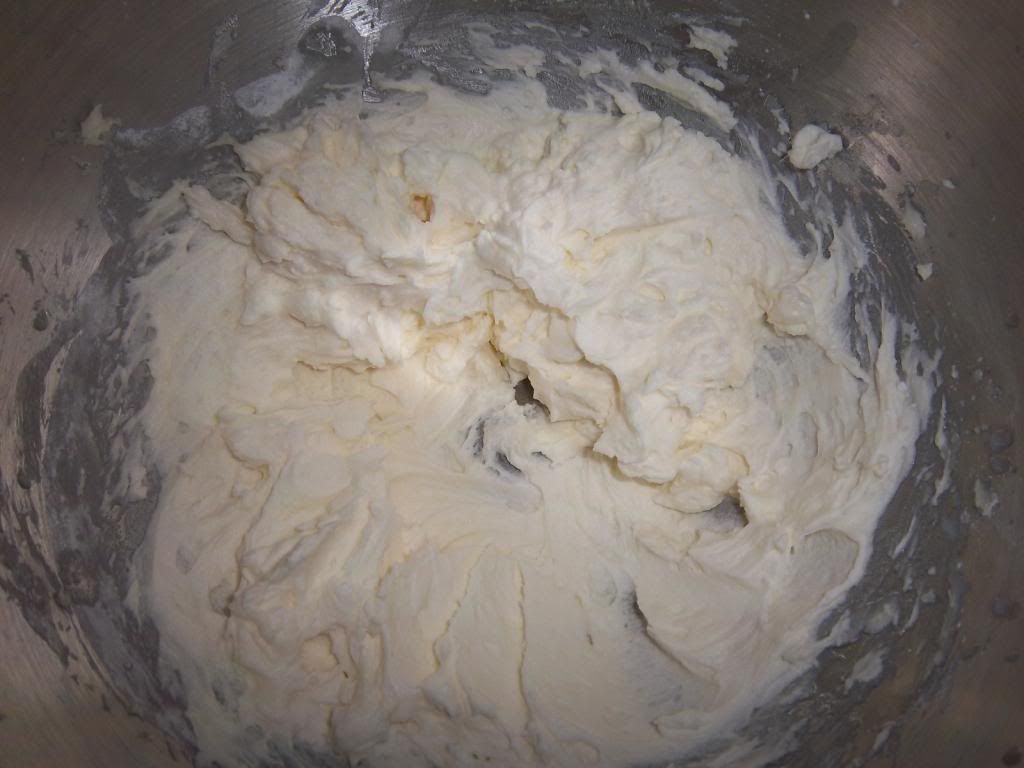
Meanwhile, prepare the icing: Using a mixer, beat the remaining 1 stick butter, 1/4 teaspoon vanilla, the milk and confectioners’ sugar until smooth. Once smooth, taste test to check if it feels grainy (which means you need more milk), or if it's too runny, add a little bit more confectioner's sugar. REMEMBER: you can always add more of something, but you can't take it out. Once you have the right texture/consistency, whip on a high speed for at least 2 minutes.

Click image to enlarge.

Spoon into a pastry bag with a small tip (I used a #4 plain tip, not a Ziploc bag for this one); pipe onto the cupcakes to decorate.

Click on image to enlarge.

Store in the refrigerator.

Whew!  If you decide to be craaaaazy one day and tackle this super long project, feel free to ask me questions you have along the way.

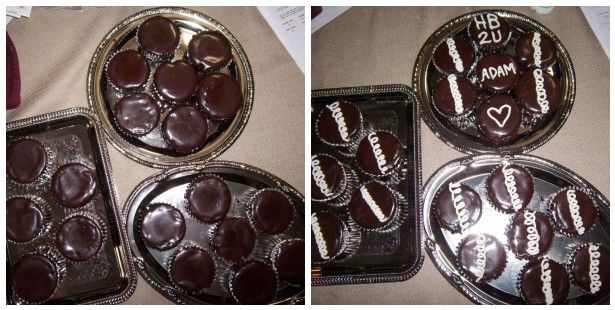
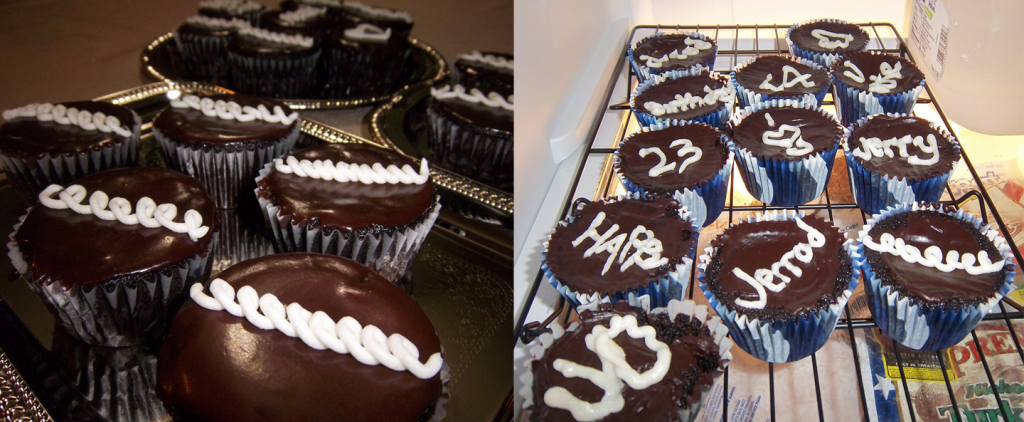
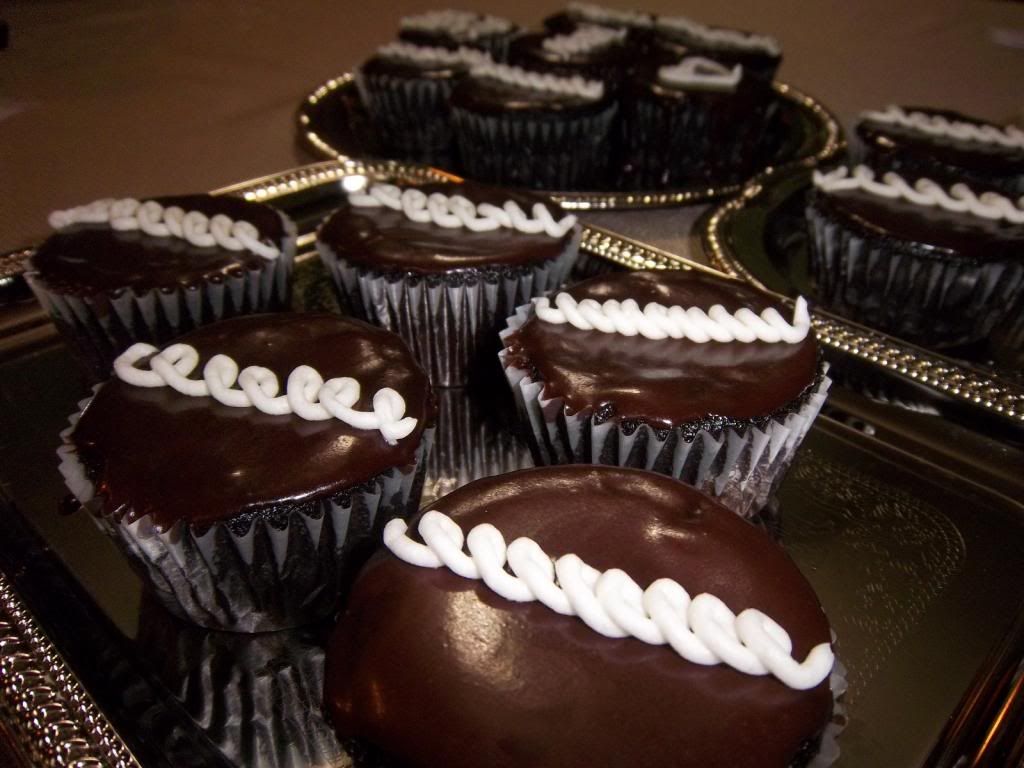
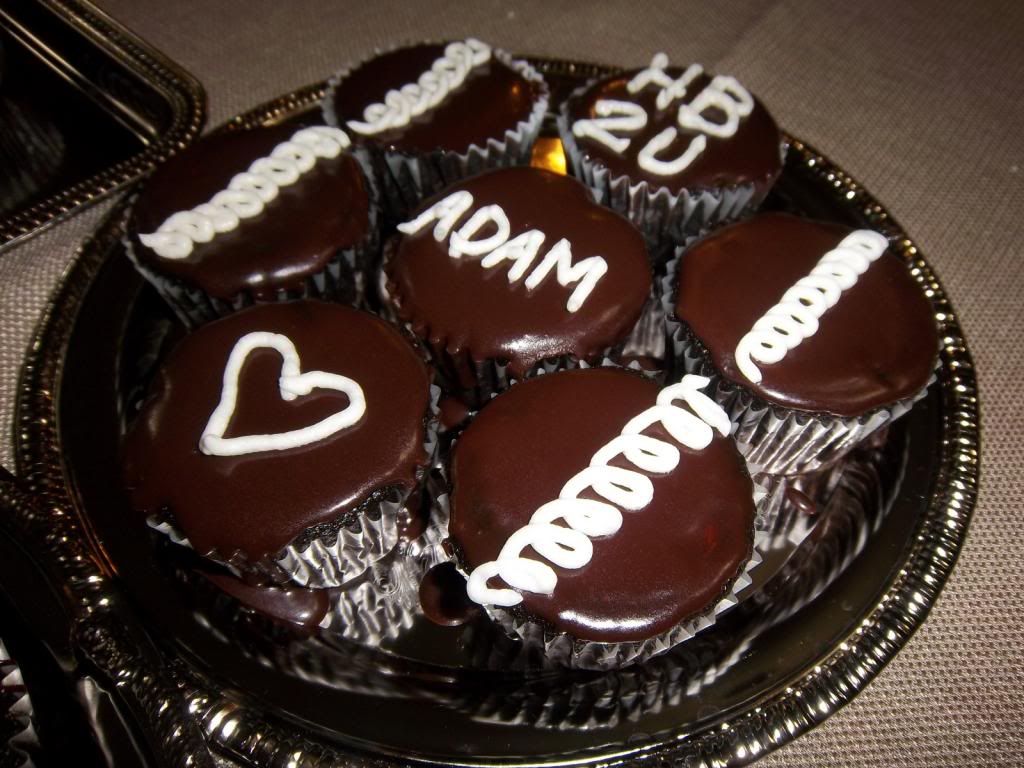
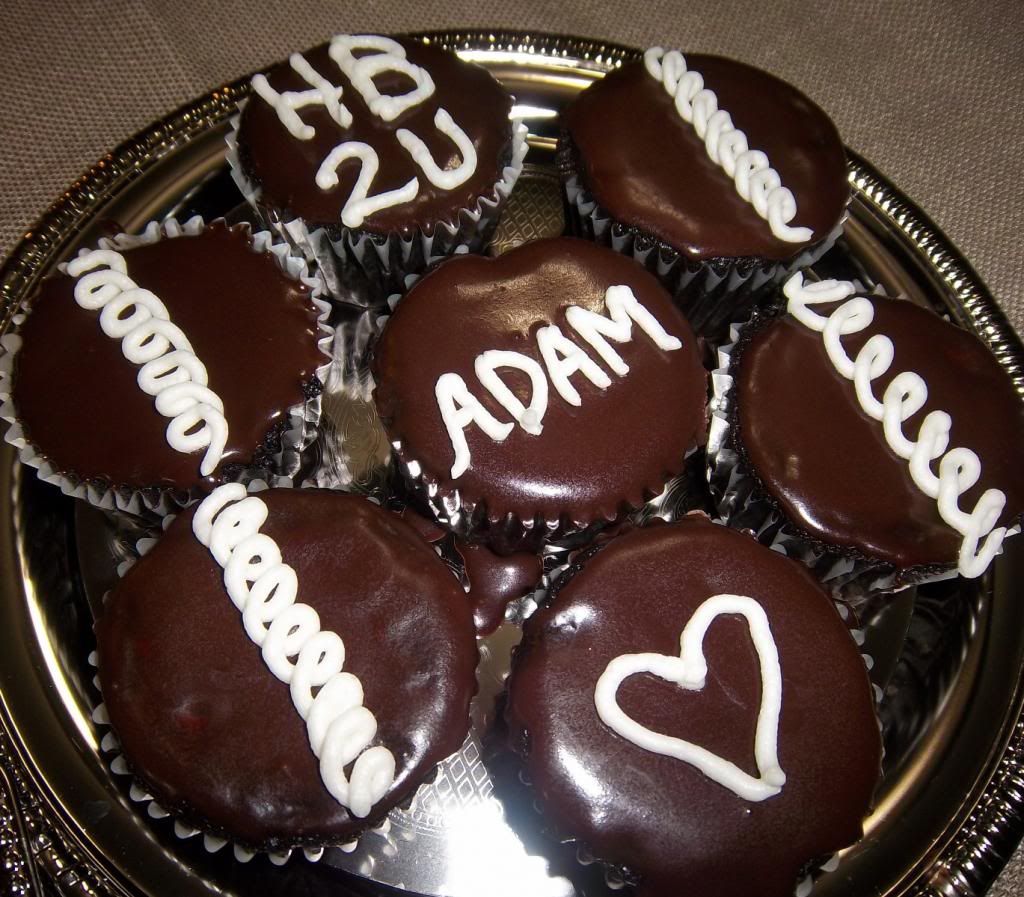
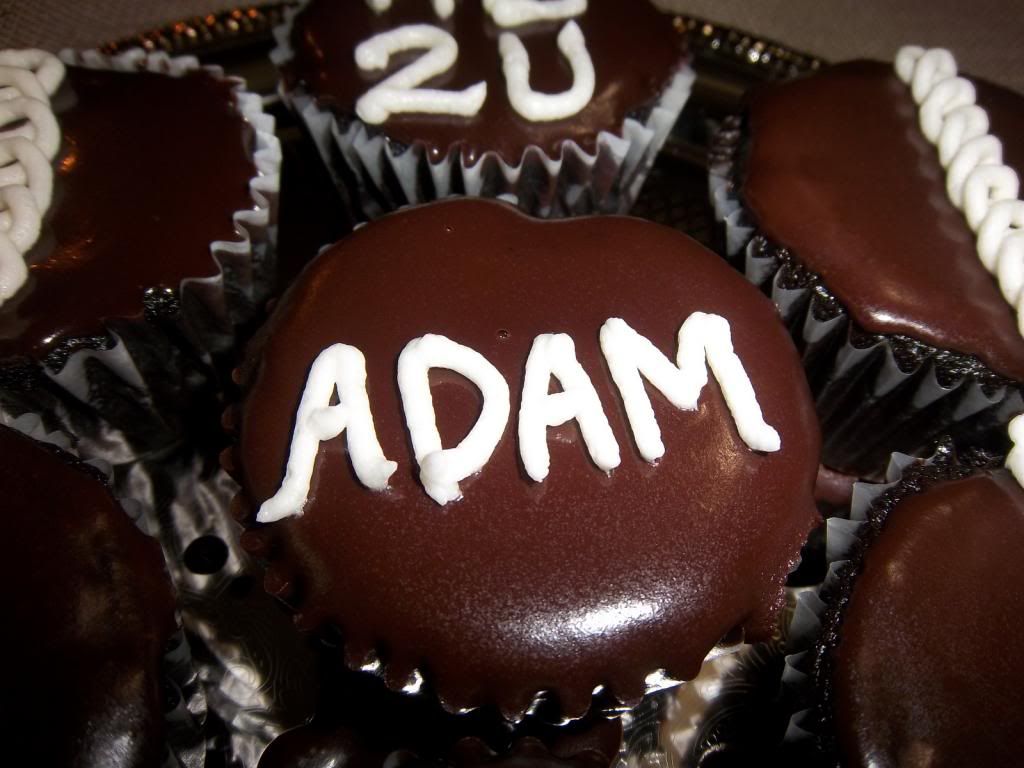
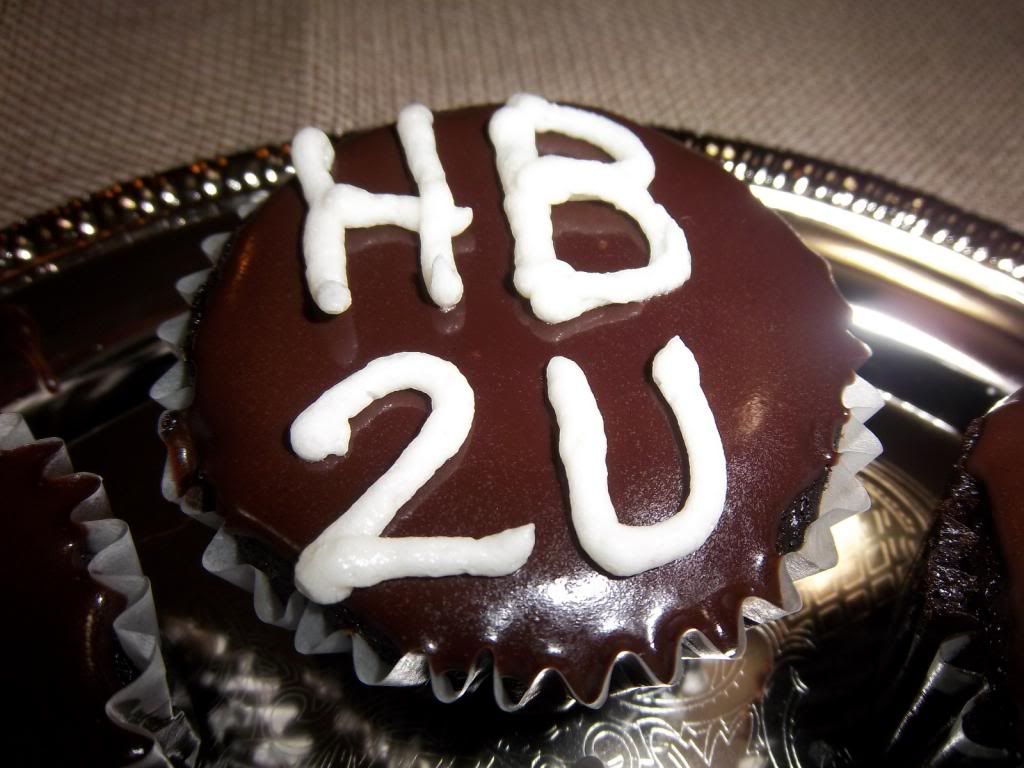
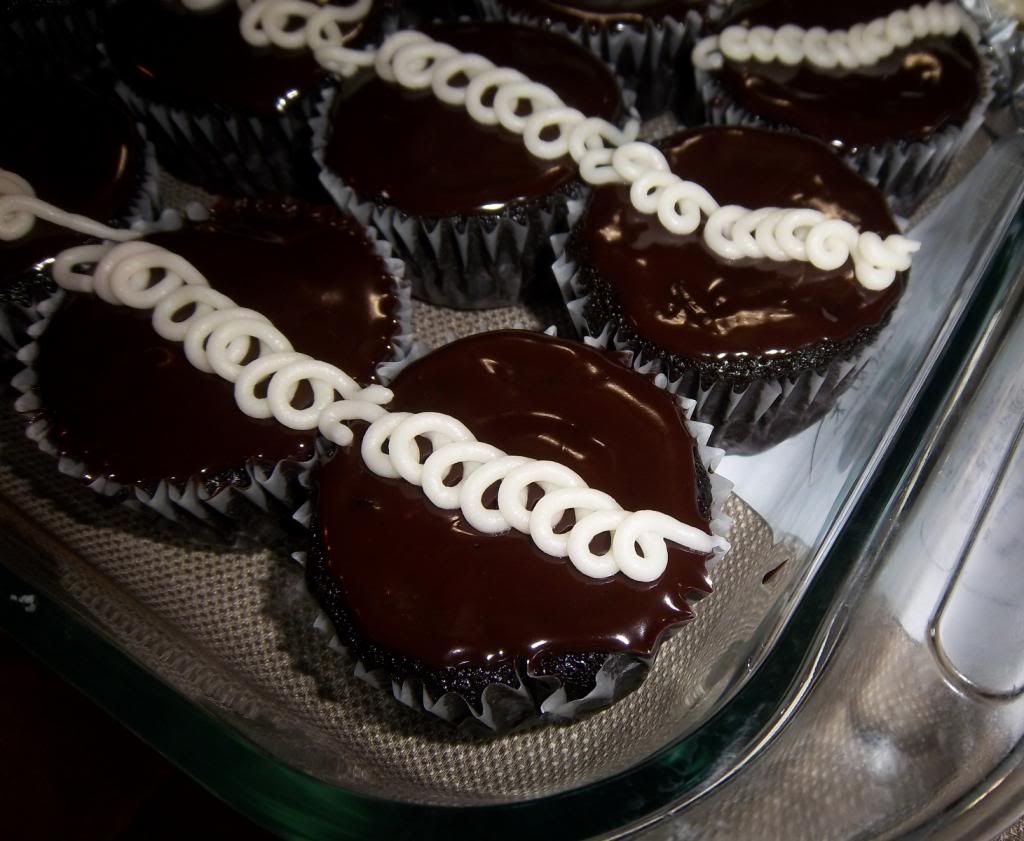
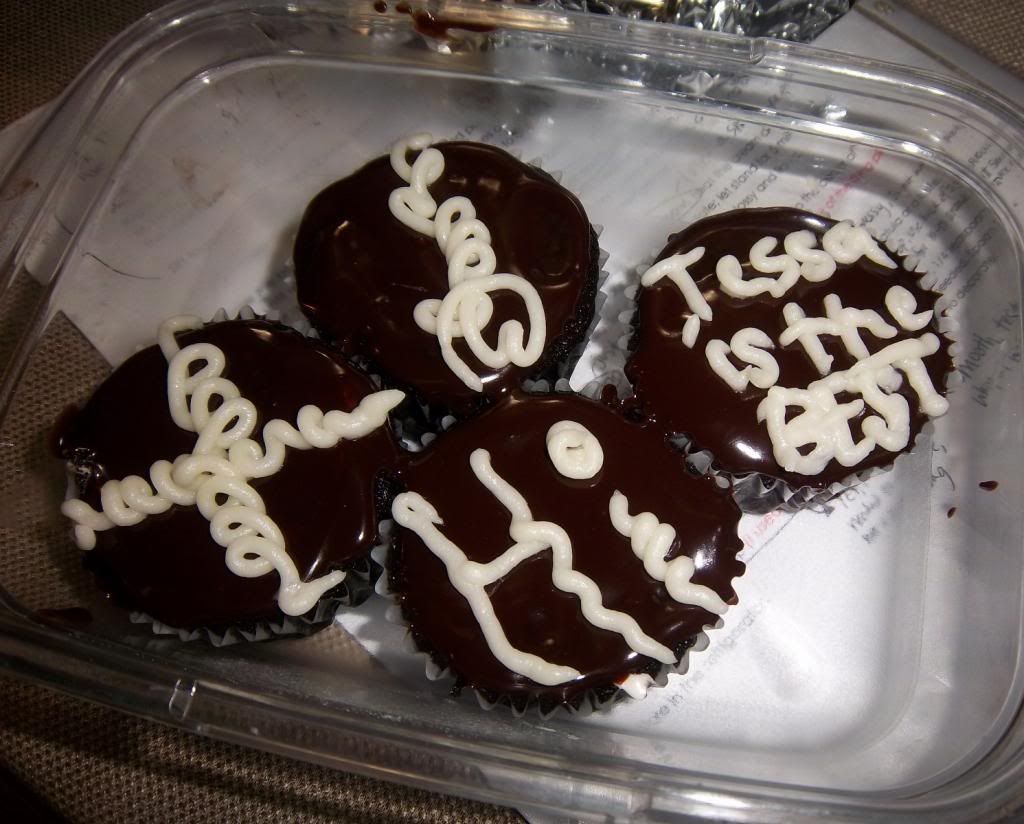
I always like to see that I've made improvements.  Here's my finished product from last year (on the right), compared to this year (on the left).  It might be more impressive if I had a fancy-schmancy camera like the rest of the blogging world ;)

Click on image to enlarge.

Last year, the were very sunken in the middle.  The Ganache was slopped on and a lot of times it wouldn't slide on, instead picking up a layer of cupcake on your spreading utensil.  And they didn't taste so good - they tasted kind of hard.  

Live and learn, right!?

Thanks again for the love over the weekend.  You don't know how much it meant to me :)

Monday, December 3, 2012

Nomnoms.

FOUR COMMENTS!?  What the fudge!?  I love you guys.  Thanks for your comments.  It's double encouragement for my to post the 30 posts I've been meaning to share.  Well, I've typed a lot of them, but I haven't uploaded the pictures, edited them, or added them to the posts.  Soon, I shall!  

Adam's birthday celebration last Friday was great.  Thursday night my great friend and coworker, Kelsi, came over and helped me make some nomnoms for the party.  

(don't know what nomnoms are? Click HERE to be enlightened.)

Kelsi made Oreo Truffles and I made Hostess cream filled cupcakes.  I've posted the links to the recipes before, but I'll post the actual recipes on my blog tomorrow.  I made a LOT of notations and a few changes to the Hostess cupcake recipe to help me out next time and I'll share those with you too.  

IF there is a next time for me, since they take 3 hours to make.  
No, that's not a typo: three hours.  For 20 cupcakes.

Friday, Adam and I ran home from having horrible days at work (maybe more about that some other time... it's an ongoing issue wherein life keeps throwing dirt at us and screaming "I HATE YOU") and we rushed to get the house clean.  I was running around like a mad woman, and Adam was strolling around without a care.  Sometimes that really burns me up inside (my mind screams 'HAVE SOME URGENCY IN YOUR STEPS!' like my mother would say), but when I stop being irrational, I realize I really need to be more like him.  More carefree, enjoying the moments, not sweating the small stuff. 

When people started showing up an hour after we told everyone to come, we were mentally exhausted, but physically relaxed, fed, and completely ready for a night of board games.  T-Plex brought his new game which I played, and I won!  

---------------------------------------------------

Pictures!!!
(Click on picture to enlarge)

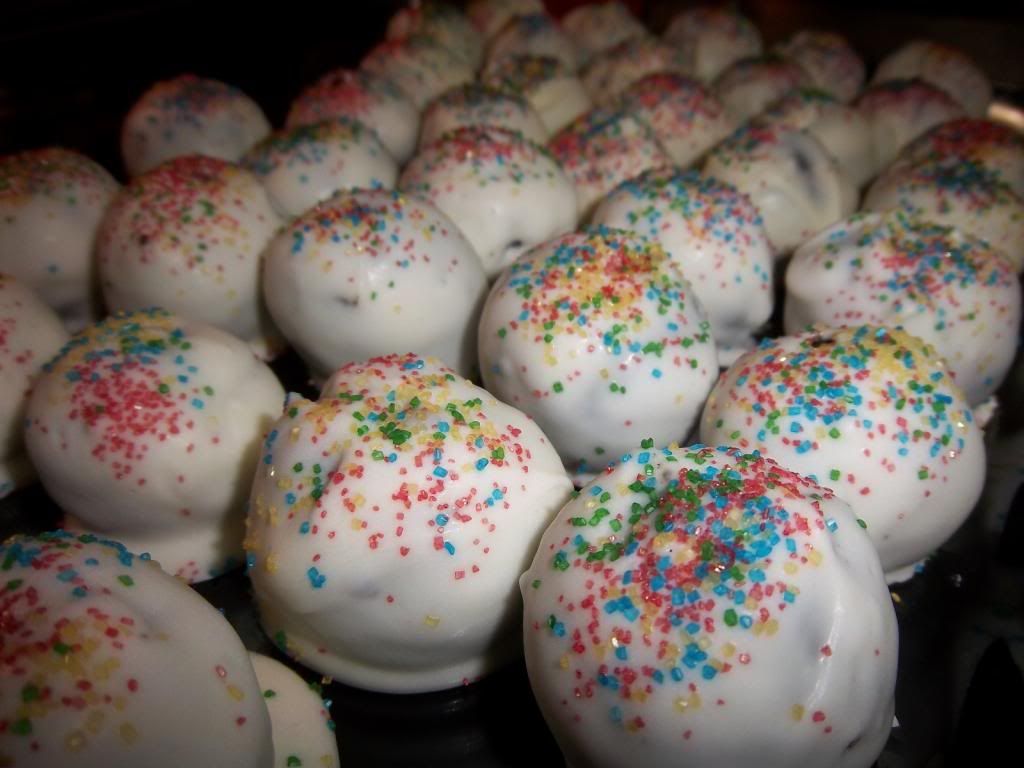
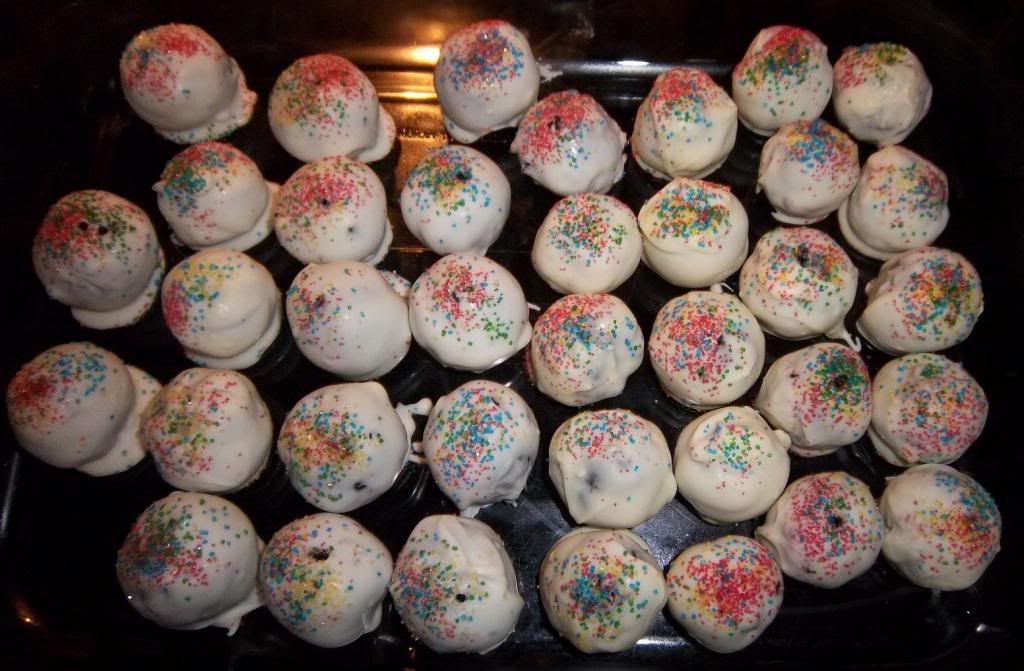
Don't these just look delectable!? 


Because they are.  White chocolate on the outside, and when you bite into it, the oreo and cream cheese filling is so soft and tasty that your eyes close unintentionally from the overwhelming delight in your mouth.   


They got devoured at the party and we didn't have too many left over, even though Kelsi made two batches!  Adam even said yesterday that they are probably one of his favorite treats of all time, ever.  I agree. 

---------------------------------------------------

Yes, these cupcakes took 3 hours to make.  
First you have to make the cupcakes, then the filling, then the Ganache, then the frosting. 
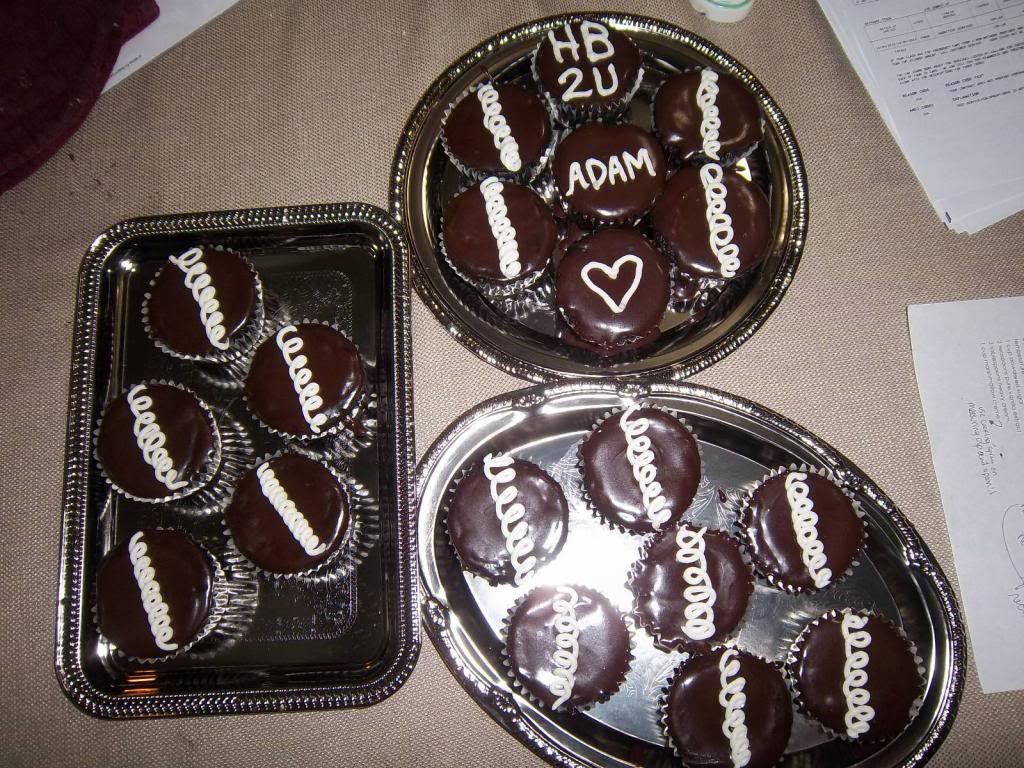
First Batch


I had SO much filling, Ganache and frosting left over after the first batch that I decided to bake a second batch of cupcakes to use it up.  I hate throwing food away!

I must've been really out of it at that point because I forgot that it took at least 15 minutes to make the batter, 25 minutes for the cupcakes to bake (each pan was baked individually, so that's 50 minutes of baking), about 15 minutes for them to cool completely, about 10 minutes to fill the cupcakes, 10 minutes to add the Ganache, and another 5-10 minutes to decorate!  That's almost an additional 2 hours on top of the original 3 hours!  What a dummy lol!
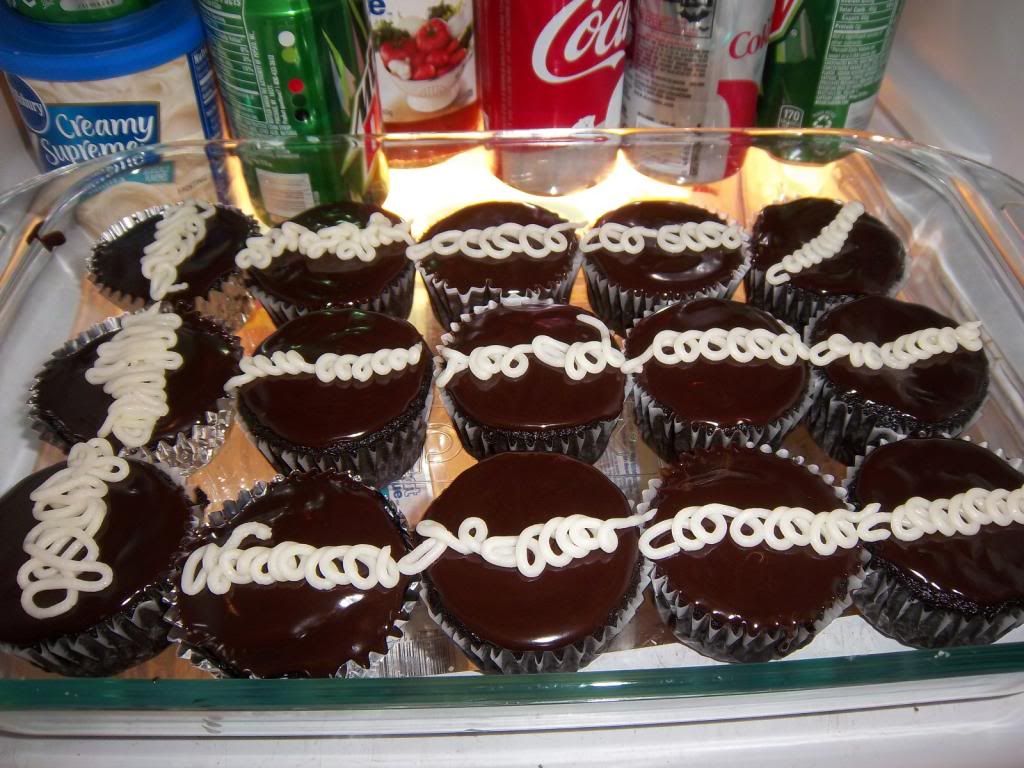

Second Batch

On my second batch of adding the frosting, the excitement had definitely wore off.  
I was really exhausted and I just wanted to get to bed.  
In my hurry, I just squeezed my bag of frosting along the top of the cupcake.  
To my surprise, the frosting decided to swirl all on its own!  
I'm not even lying, this entire second batch was all-natural curls!


I eventually got bored of all the swirls


With my extra batch of cupcakes having to be completed that night, I didn't get to bed until midnight.  They are so intensely chocolate-y that everyone at the party had one each and that was about it.  Saturday I made Adam take 20 or so to his mother's to give away to her neighbors, and I still have a ton in the fridge.  I'll be taking those leftovers to work with me this week and I'll tell them that I brought them for my birthday (which is on Saturday). 

I can't believe my body magically got better on Thursday.  My knees haven't bothered me much at all since then, and my neck, back and shoulders I have hardly noticed until today.  I'm very blessed that I was able to do all that baking and cleaning for Adam's party.  As much as I say that my life is hard and I'm constantly struggling, I know that I am blessed in many ways and I often take things for granted.  Things could be much, much worse.

Have you ever gone through this much trouble for such a casual get-together?  Or for any reason at all?  For just one item, not an entire meal (other than a turkey or roast)?  

Sheesh!  At least I enjoyed myself!

Saturday, December 1, 2012

Inspired.

This is a post mostly about my revelation that I love this blog.

I thought I hated this blog because posting pictures of my crafting feels like work and no one looks at it and no one comments because I'm too lazy to get traffic to my site so blah blah blah, what's the point?

insert: super long post

Monday was Adam's birthday.  This past Sunday, the 25th, we planned to go to his parent's house (as we do every week for Family Night), and we were going to celebrate his birthday.  Adam requested his mother make stroganoff, his favorite meal.  He eats like three servings of it because he loves it so much.  She makes a huge batch of the saucy/soupy stuff and then makes some rice for the saucy/soupy stroganoff to be poured over.  I told him I would make/buy a cake for him and I asked him to tell his mom.  

The (usually) nice thing about Family Night is that it's just us 5.  Every once in a while, a couple (who I won't name) and their baby come over. The majority of the time they come unannounced, uninvited, not knocking, just walking right in and making themselves at home.  It really annoys me because then it's anything but a Family Night.  But I can't do anything about it or say anything about it because it's not my house.  

Sunday was one of those days where the couple and their baby were over... Adam's dad invited them.  Maybe his dad forgot it was Adam's birthday.  Maybe no one told him that we were going to be celebrating his birthday there at that time.  When we arrived, there was enough stroganoff for one serving, and enough rice for half a serving.  The couple and Adam's dad invited ate nearly everything.  The husband of the couple eats like an NFL player, which probably approximates 5x the recommended daily calories.  He devours food - no, he inhales it - so it makes sense that there was almost nothing left.  Also either Adam didn't tell his mom or his mom forgot that I was bringing the cake, because she had cupcakes.

I was pissed.

Adam spooned up half of what was left, trying to save enough for me.  I didn't even bother.  I made a few (loud) snide comments about how there wasn't anything left for the birthday boy.  Then I lied and said I wasn't hungry.  Well, I wasn't hungry because I was so angry that no one had any consideration for my husband, especially that husband of the couple who has a tendency to make me want to punch him in the nose every time he opens his mouth.  

Yes, yes.  I know I have anger issues.  I'm working on it :P

Adam was really irked too, of course not raging mad like I was.  I felt so bad for him.  I felt like his birthday was ruined.  I didn't plan anything for just the two of us because I thought Sunday would be a fun celebration.

Wrong.  

So I started trying to throw together a little birthday get-together for this weekend.  He decided he wanted the Hostess cream-filled cupcakes that I made last year.

Referencing back to the beginning of this post, I mentioned I didn't particularly like my blog.  I thought this blog was nearly pointless.  But while I was looking back at every single post, trying to find that one post with the recipe for the cream-filled cupcakes, I saw a lot of my crafting.  A lot of my projects that I've done in the last year, the cards, some random stuff, inspiration pictures, etc.  I felt inspired.

I FELT INSPIRED BY MYSELF 

I'd never thought that would happen, but I think that's pretty dang cool!
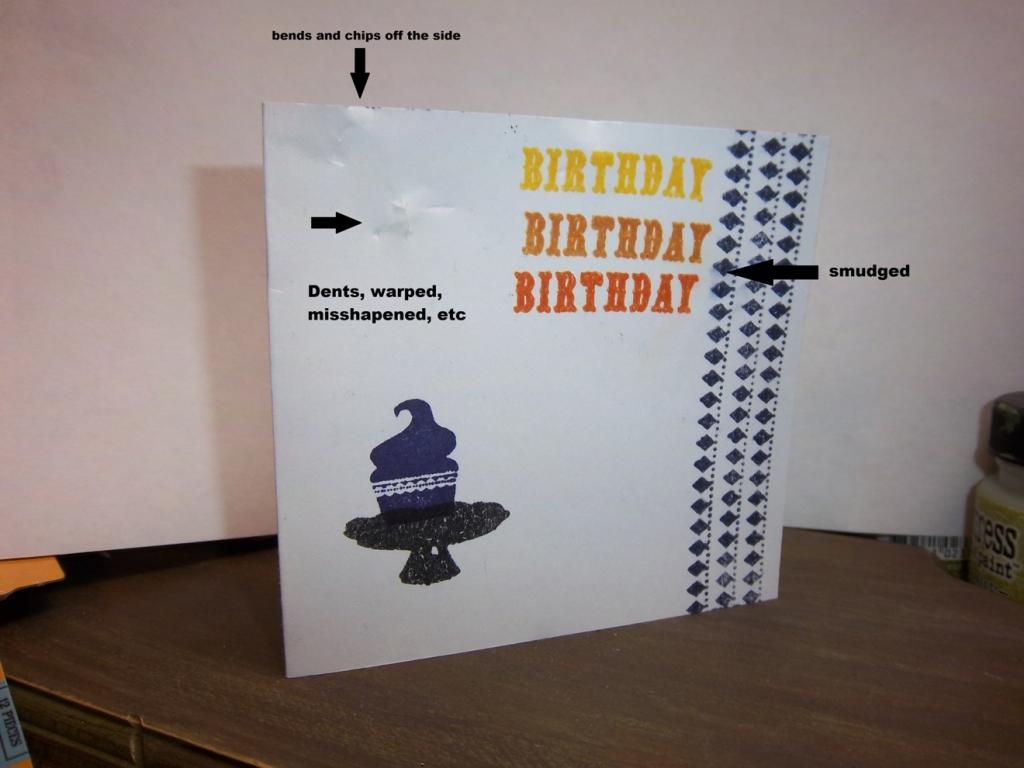
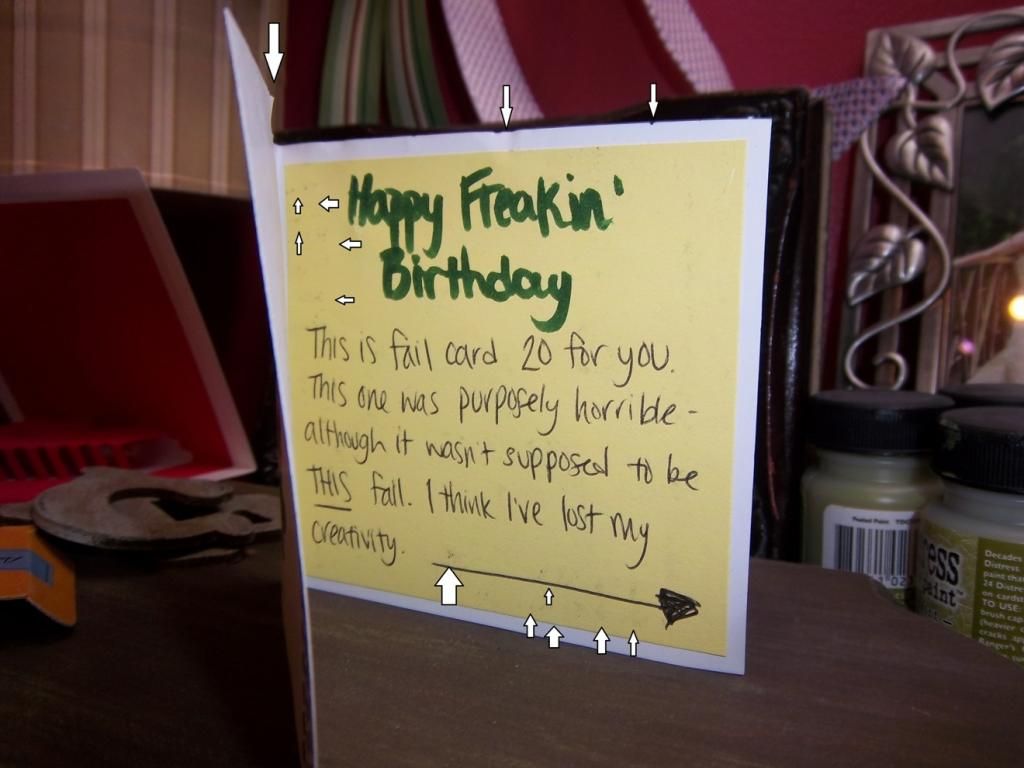
This came at a particular part of the week.  Sunday and Monday night I tried desperately to throw a card together for Adam's birthday.  I tried (read: ruined) about 20 cards before I came up with this atrocity:


Obviously I stopped caring.  I took a beat-up piece of cardstock I had laying around and took a few stamps out and just did whatever.  Honestly I just wanted something on the card so it wasn't just white.  Although I think white would've been a huge improvement on this fugly eyesore.  Anyway, on the above picture, you can see the quality of the cardstock, and on the below picture, you can see the billion smudges on the inside because I forgot to completely clean my non-stick craft mat thing before laying my card down.  


I felt so fail and so uninspired and felt like it would be several months before I make it back into that room again.  Now I want to go create TODAY.

Posts that I particularly liked:  

Also, looking at posts after 2011 made my eyes hurt.  I feel I've come a long way since I started crafting.  I've learned a ton, I've purchased a lot (read: too many) new products, I've watched tons of video tutorials, and viewed hundreds (thousands?) of posts with inspirational stuff (pictures, cards, scrapbook pages, junk journals, multi-media projects, altered/re-purposed/painted household items and furniture, etc.).  I need to use up that inspiration!

I need my brain to focus.  Focus on the here and now, focus on what's important, focus on trying to feel happy and heal and keep my emotions in control.