This post took entirely too long and it's way past bedtime so I'm not going to proofread it. Forgive me.
-------
I've been mostly working on the cauldron as my first project. I thought it would take up the most time and it was the number one project that I wanted to have done out of the entire event. I've run into some hiccups, but have overcome the challenges successfully. Hurrah!
First of all I had to read the tutorials. A lot. And then some more. And then I searched for more tutorials. The first guy that started everything was ScareFX. His cauldron was great, as you can see from the link. He even made an entire witch and a stick that "stirred" the liquid inside the cauldron. Hard core!
I also found some other tutorials:
The Mad Lab - this guy had good pictures and pretty good instructions. Unfortunately, because of this, I followed the beginning part of his tutorial and it created my first hiccup... and to me it was a pretty major hiccup.
Kammoslair - his tutorial is ok. His pictures are tiny, and his grammar and use of punctuation is terrible... therefore was hard for me to understand and read. I also used part of this guy's instructions as far as adhering goes, and it was a total disaster and waste of time. I probably didn't read it right, but that's what I'm saying about his instructions... hard to read, hard to follow, and you can't even see the pictures unless you individually click on each one. UGH!
And I found some pictures of other's cauldrons, also based off of ScareFX's original work:
Unpleasantries. Hellrazor
Amyrosalina78
Spider Rider
Francois Guay
-------
A day or two after I officially decided I was going to do the cauldron, I started looking on Craig's List for someone nearby selling or giving away a 55 gallon barrel. Most people were either giving them away or selling them for $10, which would be great, but most lived at least an hour away. Totally not worth it. However I did find this guy just a few minutes away from Adam's work that was selling LOTS of all different colors (of course I bought a black one) for $15! It was a little more expensive, but I saved more than that with gas money since Adam was willing to pick it up right after work that day. He even cut the barrel to the size I wanted!
Of the supplies I needed, all I had to buy was some sill seal, liquid glue (total waste of money), and some pipe insulation.... all for $15 at Lowe's. I bought some other things from Amazon, like Styrofoam pieces, but I'm not going to end up using those.
As directed, I attached the pipe insulation to the rim. Problem number one: it didn't quite fit. It was just a tiiiiiiny bit too small and was a pain in the butt to adhere. Kammoslair said he used liquid nails. Later I re-read his tutorial 10 times and found out that he used the stuff for a different part of the process.... and on this part he used Super 77 Spray Adhesive or something. Whatever it is, it's like $8 for a can at Walmart and I'm too cheap to buy that. I have 20 different adhesives already and I'd be damned if I couldn't find one that worked!
According to The Mad Lab, hot glue was the answer to attach Styrofoam to the drum. Cool. Look at my work. Fabulous. I still have this eyesore and have an idea of what I'm going to do to cover it.
Next, I did what The Mad Lab suggested - painted the sill seal with black acrylic paint. I already had this, so that saved me a whole dollar. Woo hoo.
BAD. BAD, BAD, BAD. If you ever decide to make this cauldron, do not bother with this step! Not only did this crappy acrylic paint from Walmart (apparently the same stuff he used) flew right off like it was in a tornado when touched by a fly. Seriously, it was such a waste. Not even that, but later it posed another problem which I'll get to in a minute.
Once I wasted my time with painting the sill seal, and before I knew that was a bad idea, I attempted to attach the seal to the drum with liquid nails. I thought that stuff dried faster, but I put painter's tape over it overnight just to make sure it stayed in place.
The next day, about 24 hours later:
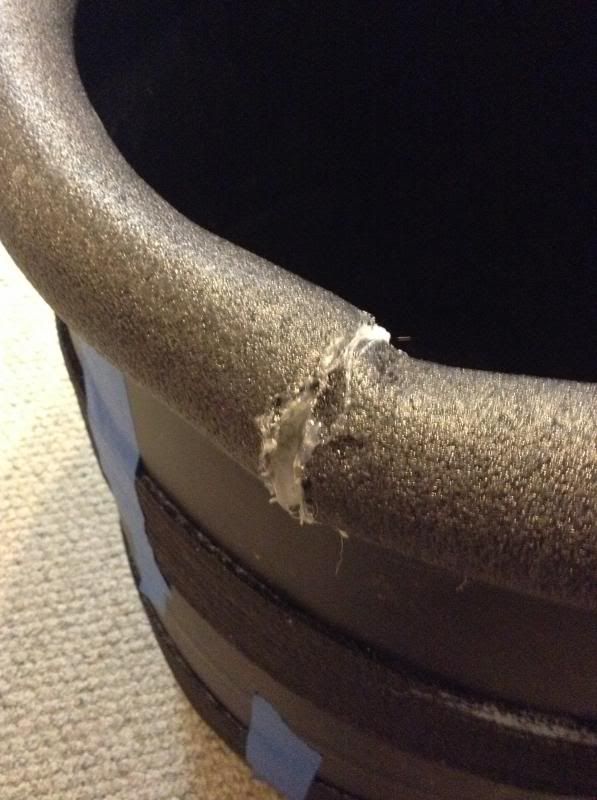
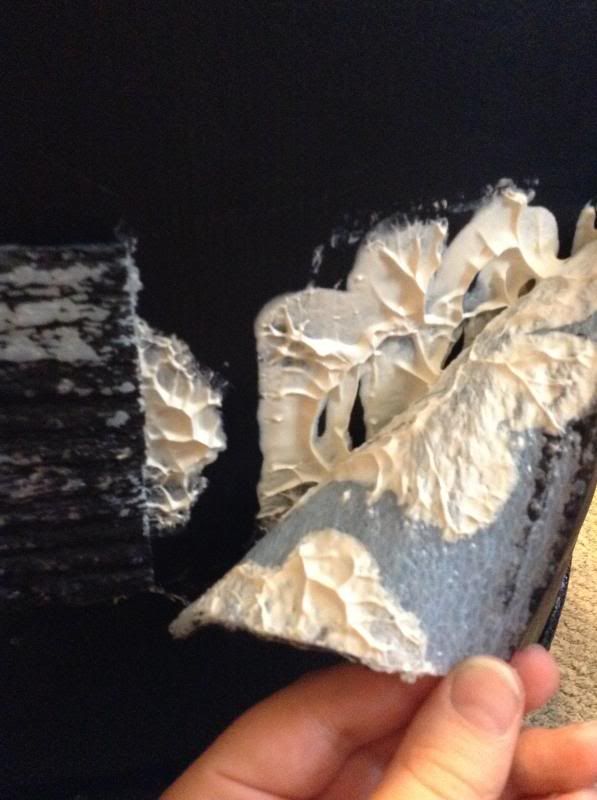
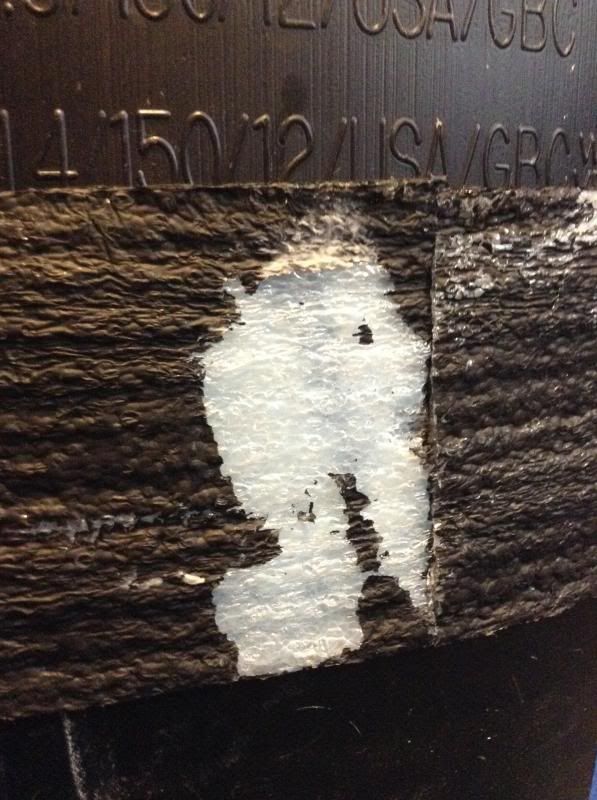
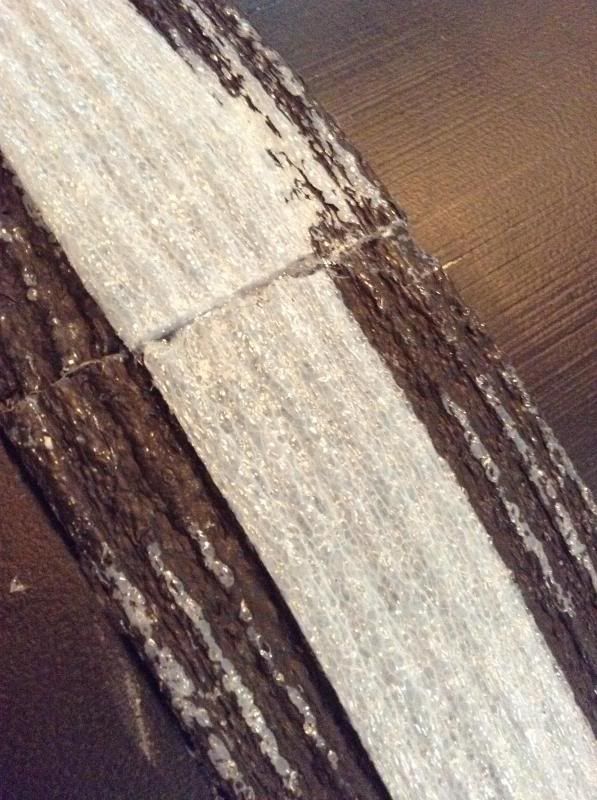
Still wet. Not holding a thing. On top of that, when I took off the painter's tape:
What the fudge?
The paint ripped right off just like I told you before. What. A. Waste.
I researched how to adhere Styrofoam, and found that hot glue was the way to go. That entire night I used hot glue to re-attach what I "already did" the night before.
The next issue I had was the fact that everyone's cauldron looked weird. Nearly all of them had these gigantic balls around the sill seal. I've never seen a cauldron like that. Not in a movie, not a plastic store bought one, not in my head... I have no idea where all these guys thought this up.
Over the last week I've been doing a lot of research on witchcraft supplies and have found no cauldrons that look anything like this. Not at all. The only thing that might resemble it is ONE pentagram on the front.
Since I didn't like the look, I decided to base mine off of an actual cauldron at a wiccan store:
 |
| Amazon.com |
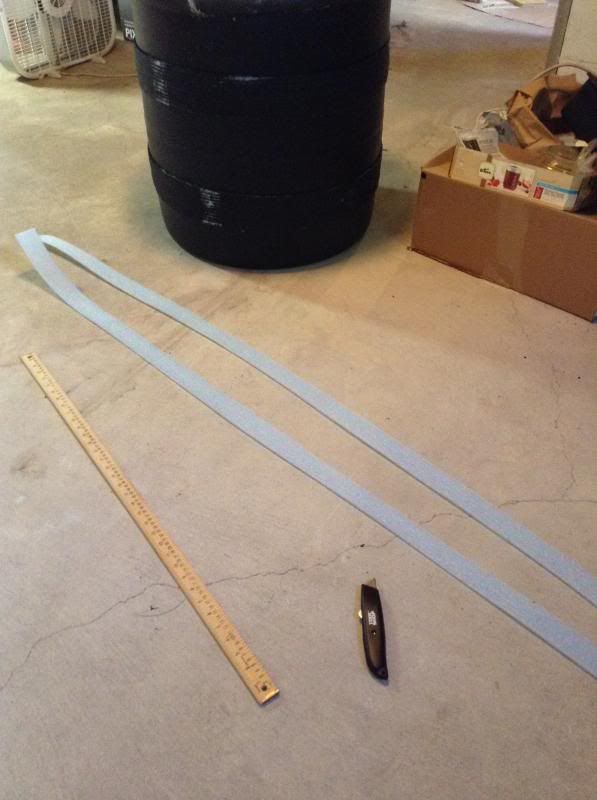
I cut the sill seal in half and attached it on top of the seal that was already glued down.
This is where the next problem came in with the STUPID pre-painting of the seal. The glue stuck to the paint, which of course came right off, because the paint didn't even stick to the seal! AHHH! So I glued the seal, pressed it down, and the glue would attach to the paint and it would just come right up. So I had to glue it down twice. Awesome. Sweet. Best. Idea. Evar.
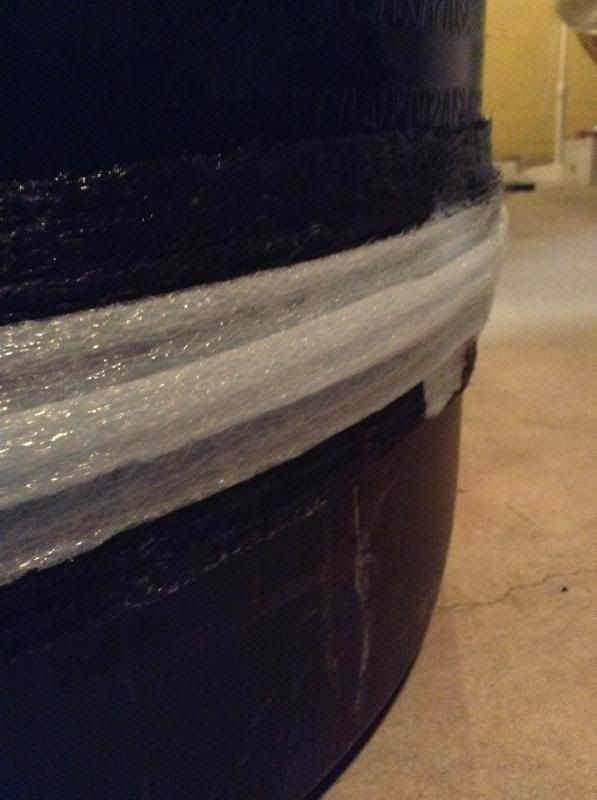
Once that problem was fixed, I decided that having the two bands just wasn't enough. So I added a third band, another size smaller.
You can't really see the first layer because I already painted it black before I remembered to take a picture.
That part went off without a hitch. FINALLY something that went right.
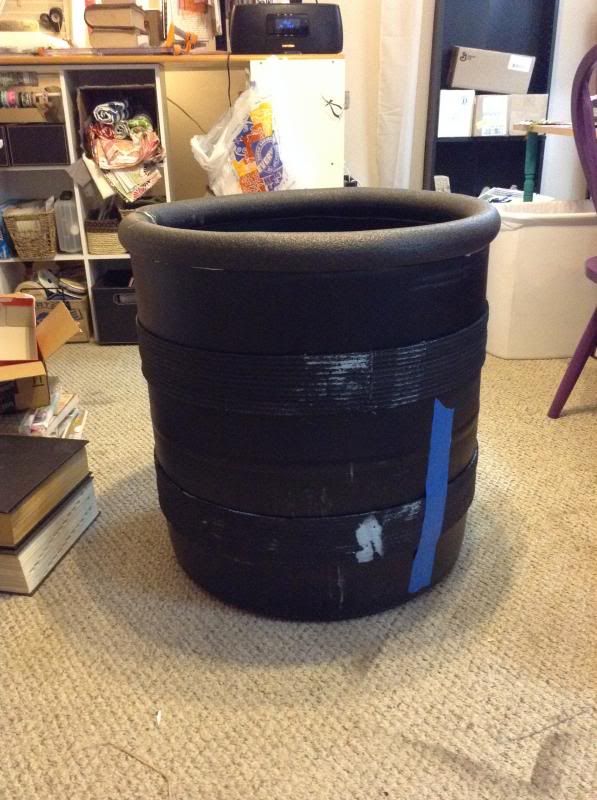
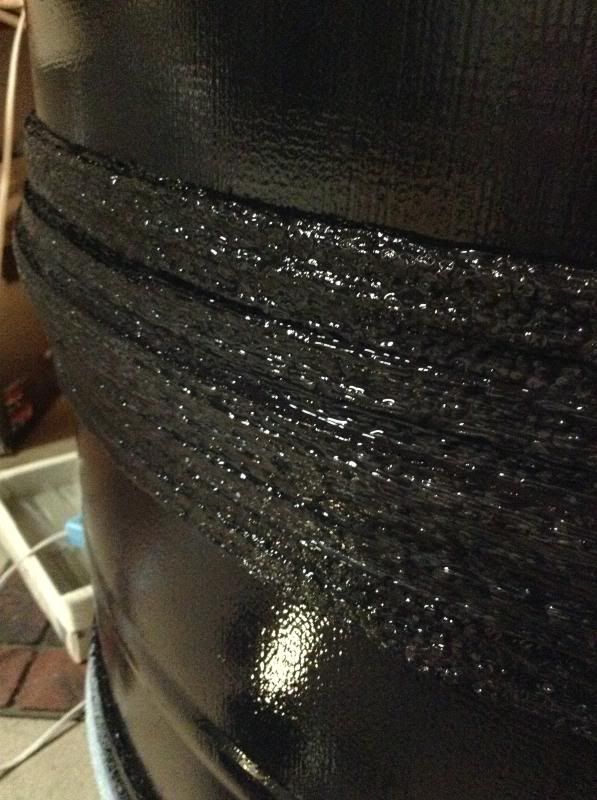
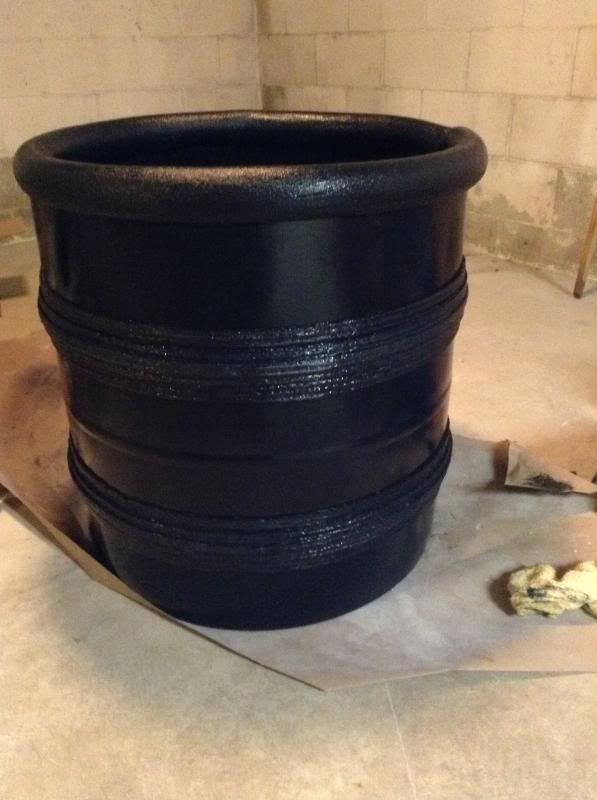
Next was painting. I did a bit of research to make sure that the leftover acrylic latex paint I used for my baseboards wouldn't eat the Styrofoam, and someone said they use it and it works great. Away I went. If something went wrong, I didn't care and I know exactly what I need to do THE FIRST TIME without stupid instructions.
It's perfect! You can't see the layers all that well, but I think it looks a million times better than gigantic boobs popping out everywhere. I'll be painting it again with a matte black (this black has a satin sheen), and then I'll detail it with copper accents or something so hopefully the layers pop out more.
So that's where I am.
I left out the other frustrating part about the "hardware": the part that everyone made to attach the handles to the cauldron which attached to the chain. First of all, NO ONE EVER gave dimensions of what to cut the pink foam to. What am I supposed to do? Guess? Seriously? Why even bother making a tutorial? So what did I do? I guessed. Luckily our friend, Matt, had some extra pink foam he let me have. I don't have a proper knife to cut it with, so I tried a box cutter. It got about halfway through the foam but definitely didn't make the cut. The only other thing other than a kitchen knife was a drywall saw thing, which is jagged and flexible. Not ideal.
I cut some pieces out and tried to eyeball it and omg it was just such a mess. Pink foam was everywhere. Then I cut myself with that stupid blade. Ugh. That was it. I was done. No more hardware. I was going to figure out another way.
I think Erin thought of the solution. I'm going to see about it tomorrow. Cross your fingers for me that it does!!! I think that bad tutorials galore have caused me enough pain for just one project!!!
What's sick is that I still have enjoyed this project. What am I, a masochist?


No comments:
Post a Comment
Thanks, mango! You're a fabulous person and there needs to be more people like you that comment on awesome posts.