Showing posts with label Cooking and Baking. Show all posts

Wednesday, August 14, 2013

*UPDATED*: Flowers.

*UPDATE* I mist-typed and said it was a hydrangea bush in the sad south flower bed, but it was HIBISCUS. Also, added more/better pictures of the lilacs.


I wrote my mother a long email yesterday and told her of all of the plants that I've been nurturing this year. Last year grubs got the best of some of my favorites (and of course they were all expensive!): my butterfly bush, hydrangea, a Red Hot Poker, and a lilac bush, and that's just to name a few. We planted three lilac bushes last year and one and a half survived the holocaust, but one did not. 

In fact, the email was so detailed that I think I'll just copy and paste it.

All images can be clicked on to enlarge.

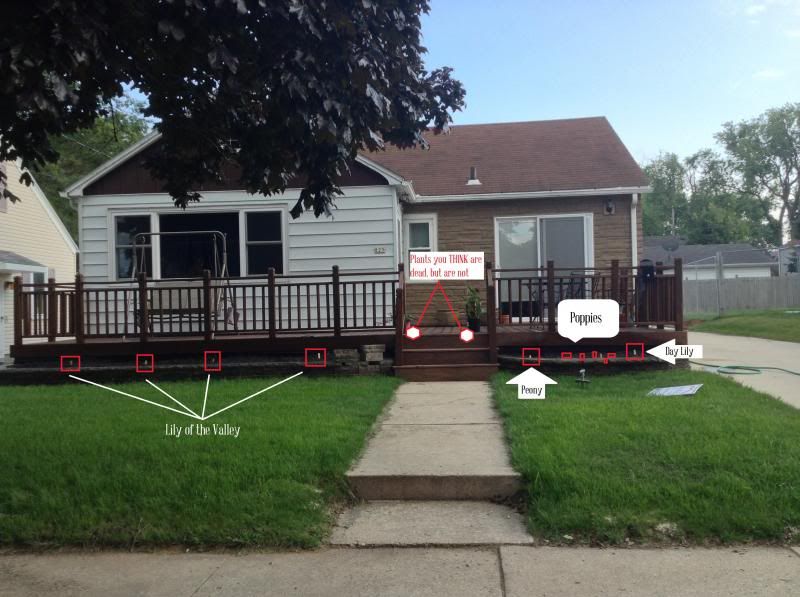
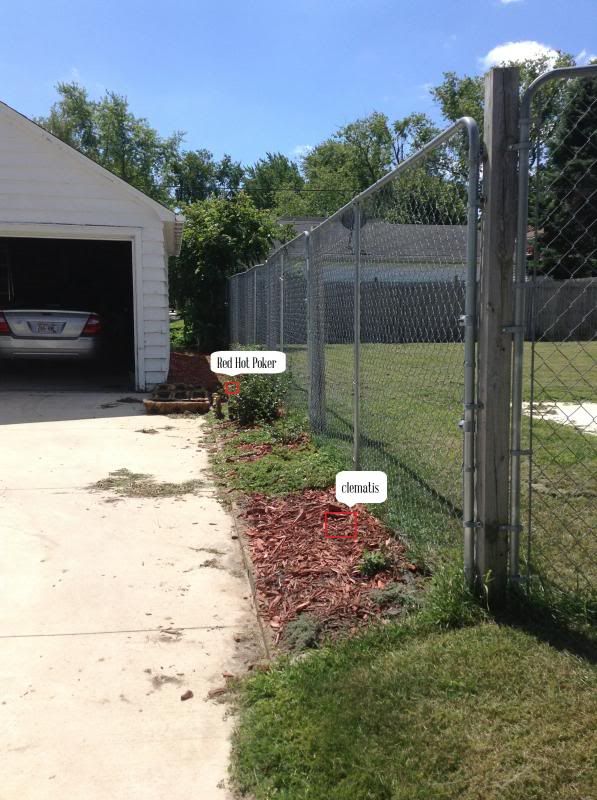
Several weeks ago I bought some plant bulbs and seeds because they were on sale/clearance and of course are a million times cheaper than the grown plants themselves. I finally got around to planting them last week and I've been religious about watering them every day. Cross your fingers for me! I planted a peony, spread some poppy seeds around, 4 lilies of the valley (or is it lily of the valleys?), a Red Hot Poker, a day lily, and a clematis for the ugly wire fence our neighbors have.
Again,  Click on picture to enlarge.
I posted this picture last week of our house but didn't explain the flower planting. I have little markers to tell me where I planted what because my memory is so bad.
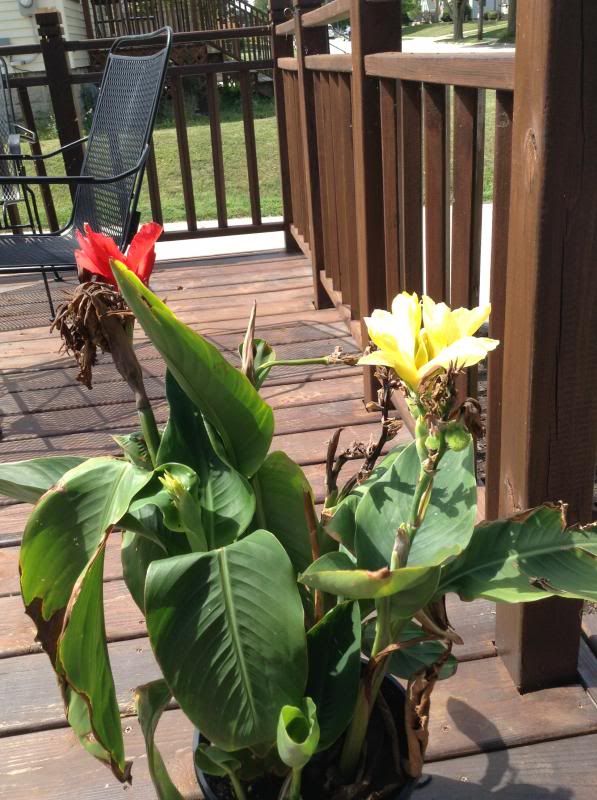
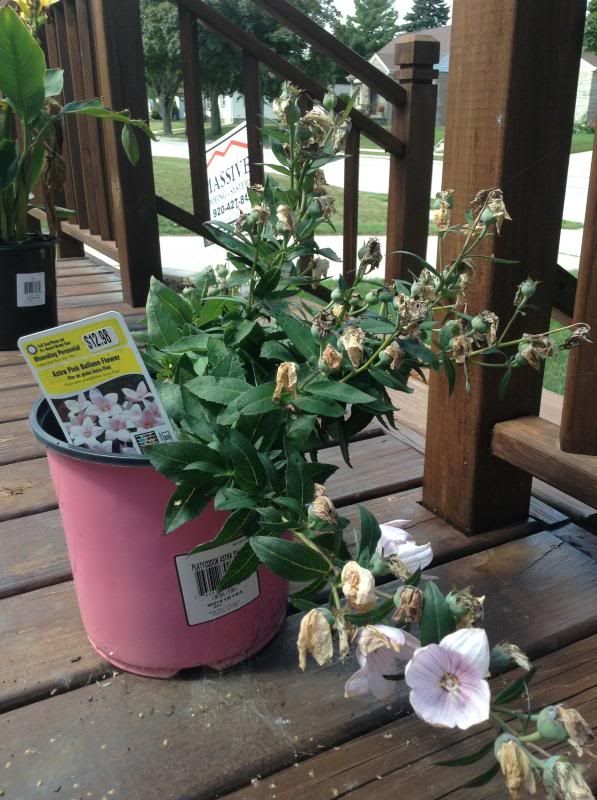
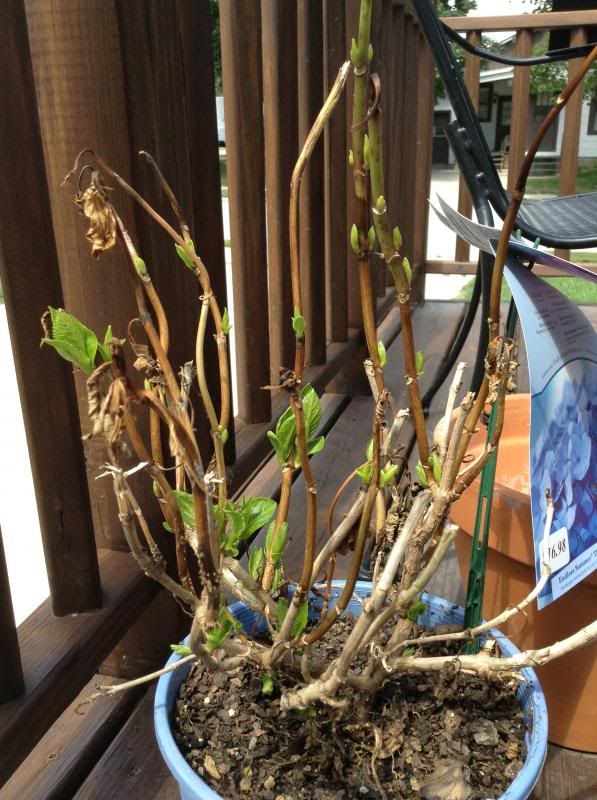
About two months ago we bought full-sized pots of three plants, one being some kind of a lily that grows three colors - red, yellow and another color I haven't seen yet (read on), and I don't remember the name of it, an Astra Pink Balloon Flower, and a Hydrangea. They all died in the heat wave a few weeks back. Shriveled up and looked awful. Even though Adam thought it was useless, I decided to give it a try and water them a whole bunch every day. Guess what!? They've revived! The lily plant has the red and yellow flowers and there's a big pre-bloom thing for the other color! I think it's pink. The hydrangea has exploded into life and will soon have blooms. I'm so excited! 
It's like a phoenix, rising from the ashes.
Only a few blooms on this one, but there's green so I'm happy.
Adam swore this thing was dead, dead, dead. 
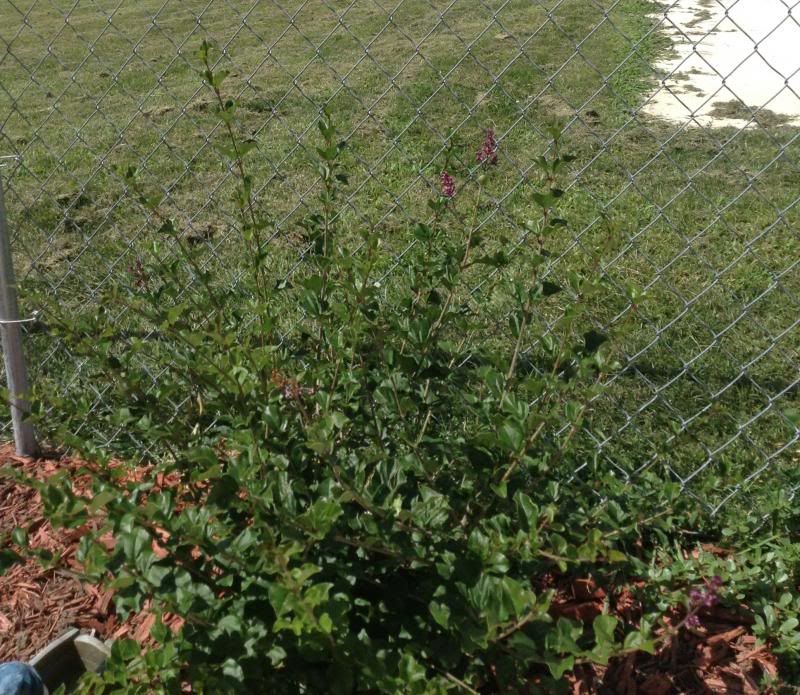
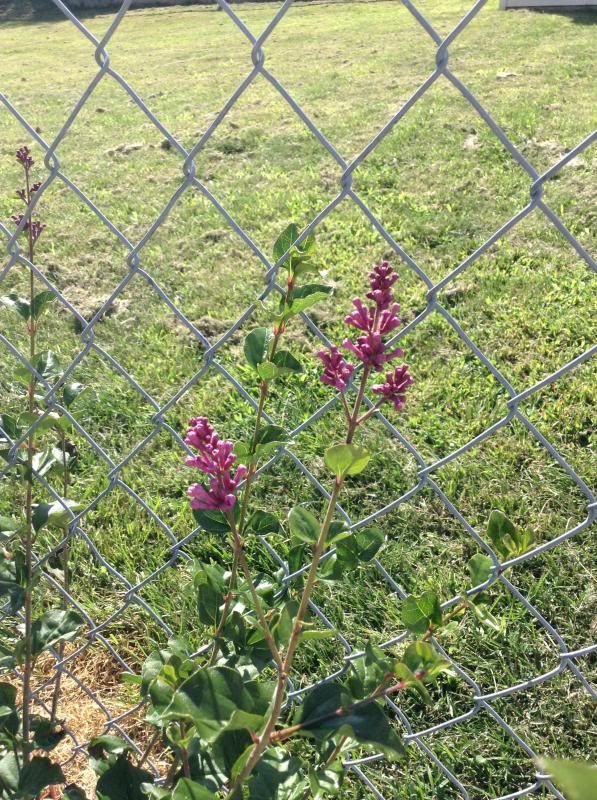
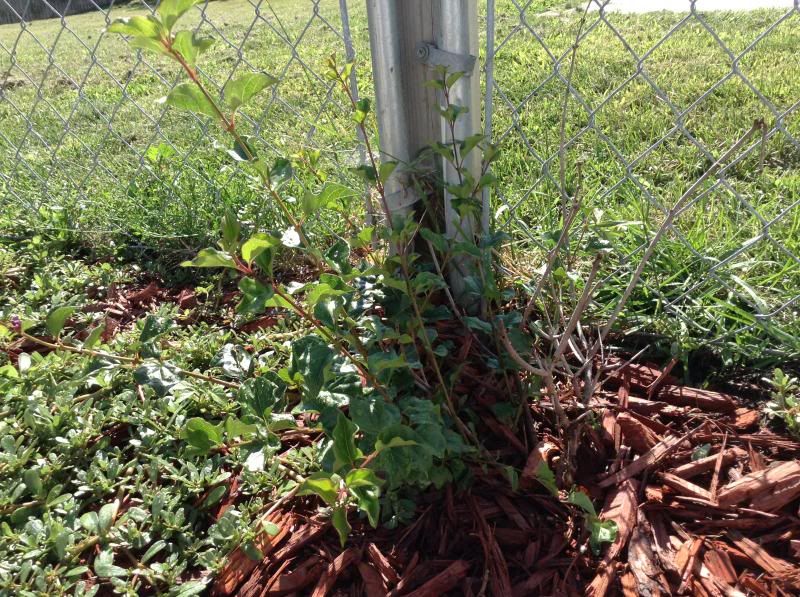
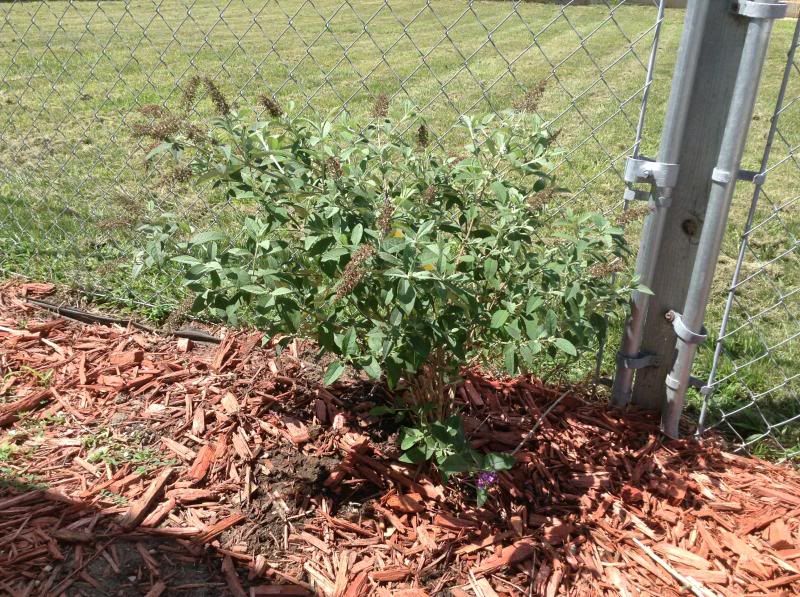
Last year we bought some small lilac bushes. We thought they all died over the winter because my butterfly bush also died, we think from grubs. Adam bought me a new butterfly bush this year, although a lot smaller since we ended up wasting the money last year. Anyway, two of the three lilac bushes came back and one is huge and even has flowers on it! Like, a bunch of flowers! It's not even lilac season (right?) but they're all over! It makes me so happy.
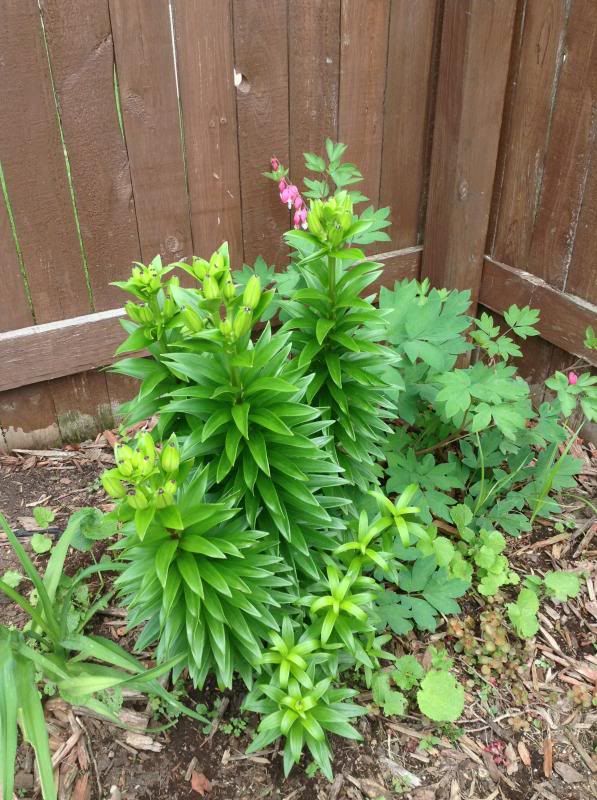
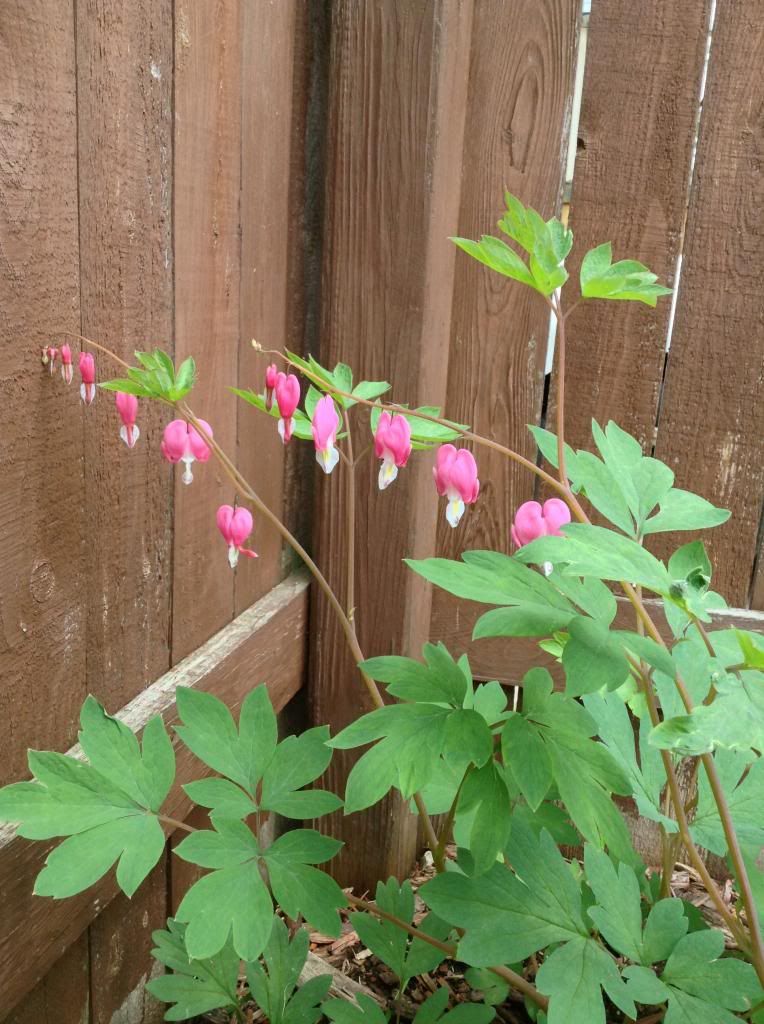
A year or two ago I planted some regular deep red lily bulbs (my favorite) and they finally came up this year and are beautiful. I have one hollyhock left over from when Adam killed all of them. It's growing outwards really nice but it's not tall or blooming yet. The bleeding heart bush Adam's mother pulls out every year that always comes back is blooming beautifully as expected. 
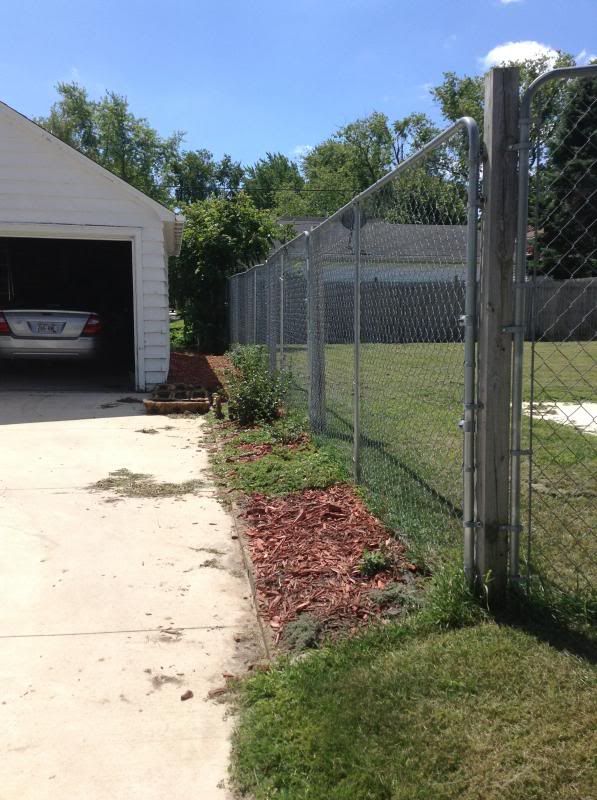
This shot is on the side of our property, the garage on the left is ours, and technically this land I planted in isn't ours, but we couldn't stand looking at the weeds on this side of the fence because the neighbors never take care of their lawn. They haven't complained, and I think they like that they don't have to take care of it. Excuse the mess of weeds I didn't pick up before taking the pic.
I'm hoping to pretty up this ugly fence with the clematis.
8-14 Lilac Bush 1.
8-14 Lilac Bush 1 Flowers.

Lilac Bush 2.
You can see the twigs on the right that never came back to life. I don't have the heart to rip it out yet.

Butterfly Bush.
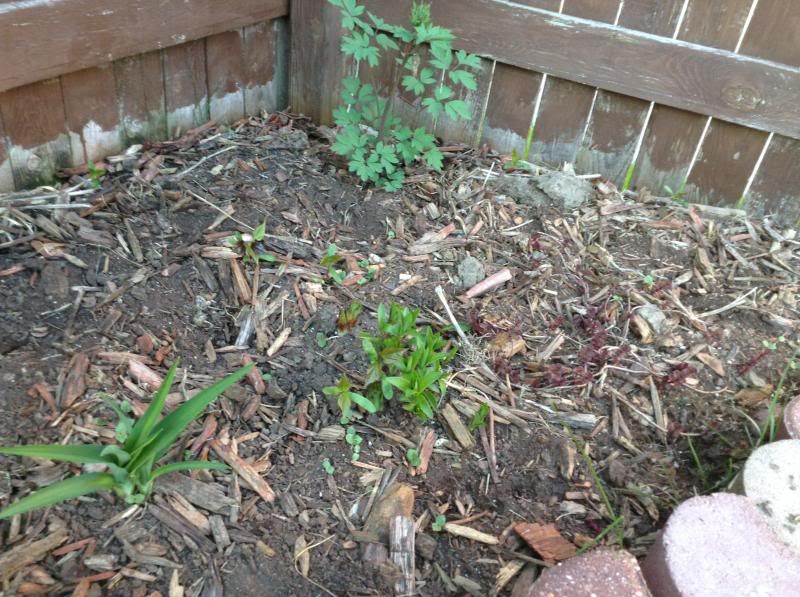
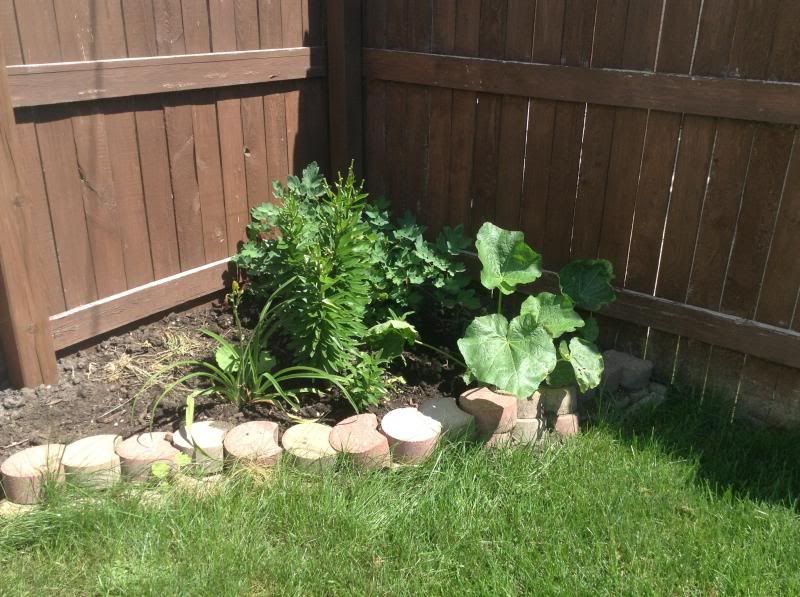
This is the flower bed on the north side of our backyard. I've tried a few things with it, and last year it was a hollyhocks forest. Adam may or may not have dumped a huge amount of soil on top of the bed right as they were coming in this year, and may or may not have killed all but one of them.  Look at the progression this year:

5-15 - pre-killing, see the hollyhocks sprouts.
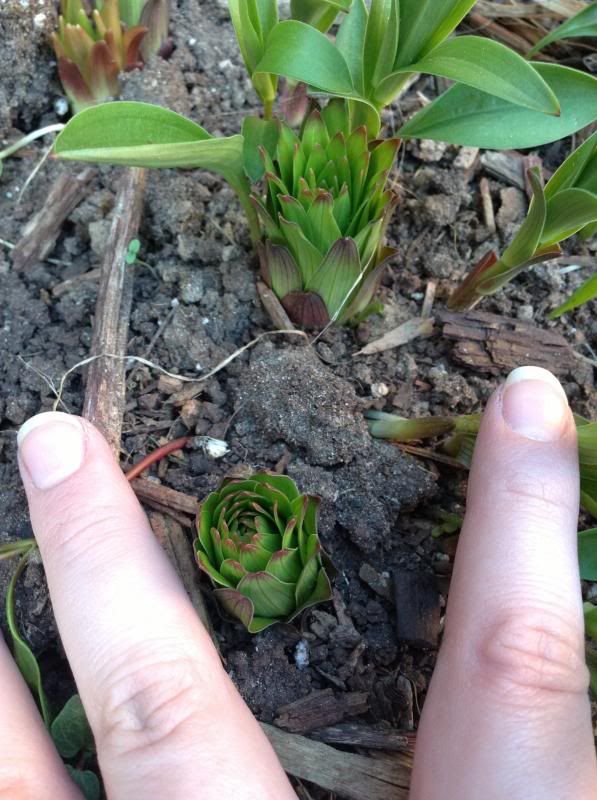
5-15 Lilies.
I couldn't figure out what these were. I planted these bulbs two years ago and I thought they just died and I'd have to plant more or something else. 
6-26 Lilies, bigger hollyhocks leaves.
6-26 Bleeding Heart.
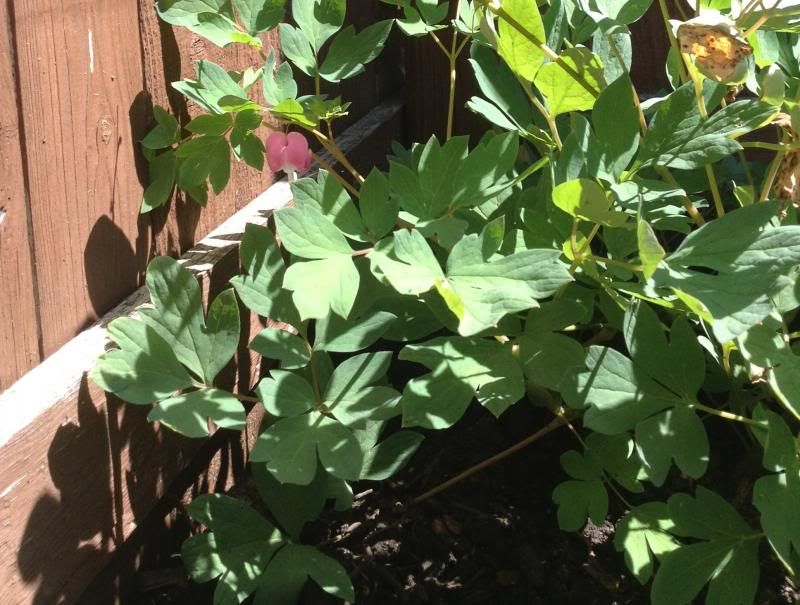
2013-8-14 - no blooms as of right now, but there are some about to come out. Only one hollyhocks left.
One tiny, little heart today.
So many flowers and they remind me of you. I've been weeding the flower beds and I hate it but I'm glad you taught me the value of working hard. 
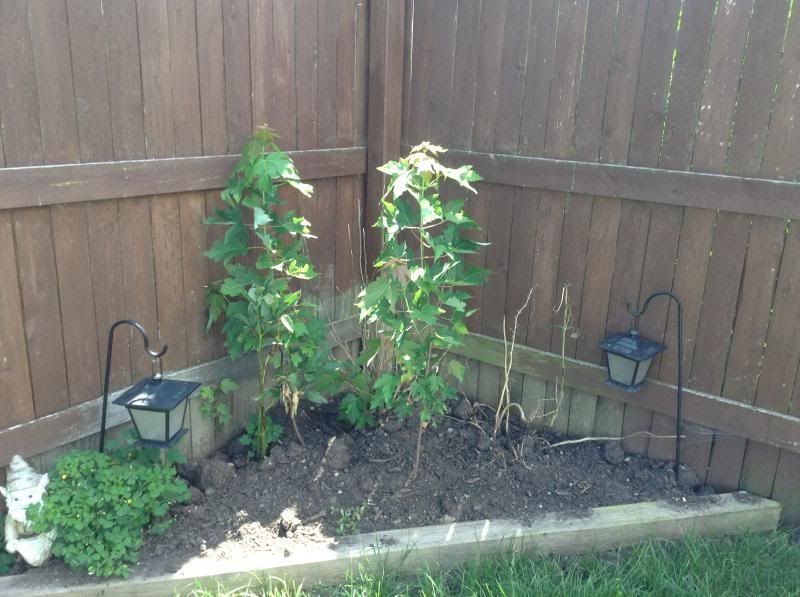
This is the flower bed on the south side of our back yard. I haven't done much to it. I planted a beautiful, expensive hibiscus bush in the corner last year that the grubs ate. Those tall things might even be weeds but this is how much I care about this bed right now: *holds up hand in the shape of a zero*.
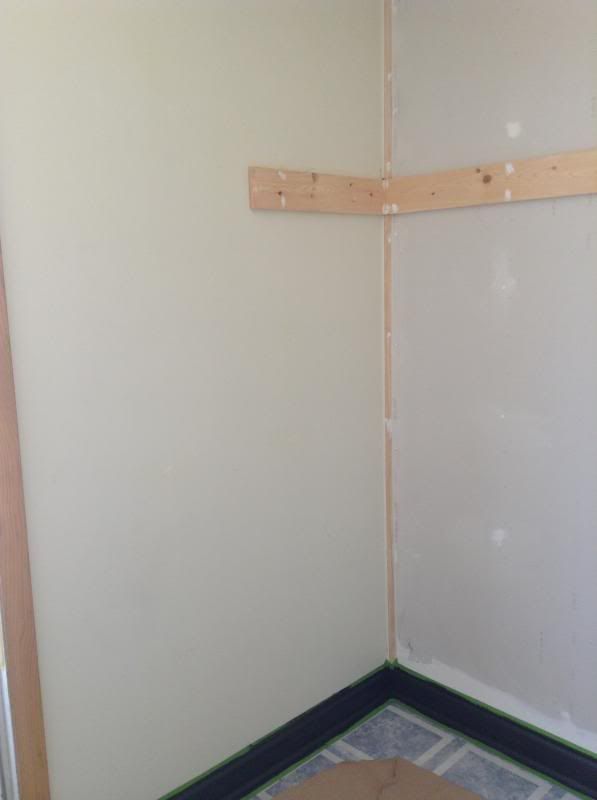
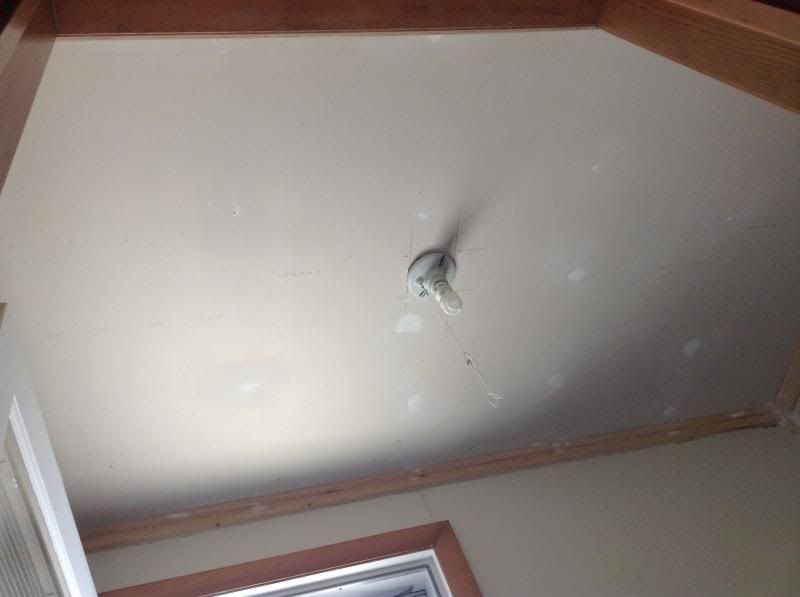
I'm also painting the mud room that we had fixed a few months ago. I'm sure you remember when our ceiling leaked, we had to tear the ceiling out, had to get the roof replaced in that area (flat roof), and then we had to get a new ceiling and wall put up. I have to prime the ceiling and the wall that was replaced and the baseboards (which are new as well). I finally did the first coat of the baseboard yesterday. It's pitch black like most of the rest of the house. Should I have started with the ceiling?
Coat one of baseboards I did yesterday evening.
Ceiling from a weird angle by the floor
I've been scrapbooking my skydiving pictures. I decided to do an 8x8 album instead of a thin 12x12, and it's a challenge! I thought smaller would be easier!  
I went to my psychiatrist today to talk to her about possibly becoming a foster parent. She stressed over and over that it's really hard and that you have to be very emotionally strong. Majority of the time kids are placed back with their parents. They are all troubled and my doctor said that some will curse and scream at you for no reason and you have to be able to take that. She was leery of me doing it, which I am as well. She suggested that we try "respit" fostering, meaning that we take a child for little while if the foster parents need a break, are going on vacation, etc. That way we can get a small idea of what it would be like. She also referred me to a non-profit organization called Catholic Charities of Green Bay. They have an adoption division. It does cost money but she said that their fees would be less than other agencies because they're non-profit. She's going to send me a packet in the mail. I think adoption is upwards of $5k to $10k. If we can ever save that money up, that might be the way to go. It just sucks that we have to go through an agency. I wish that we could find a birth mother without having to use an agency. 
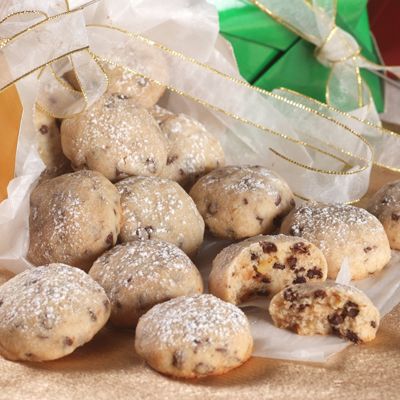
Teddy's parents are in town from Florida this week. We are all going to Deb & Teddy's tomorrow for family night/dinner/etc and I'm bringing dessert - cookies. Mini Chip Snowball cookies. 
(http://www.verybestbaking.com/recipes/29549/mini-chip-snowball-cookies/detail.aspx) 
They are delish and you should make them sometime. They melt in your mouth. EVERYONE that has tried one LOVES them, raves about them, and asks me for the recipe. Even people I don't even know ask me for the recipe. I got it from a Nestle cookbook that Patsy gave us for a wedding gift way back when (ha!).

The pictures are obviously what I added for the post. My mother requested them of the flowers. I think she got a little MORE than what she asked for, but that's what you get when you get me.

I worked too much yesterday when I scrapbooked, painted the baseboards and made cookies. For any normal person that's no big deal, since the cookies took all of 10 minutes, as did the baseboards... but for my body, it's completely NOT ok. I couldn't move this morning, and as a result I'm missing an entire day of work. My pain has steadily gotten better over the past few months and I haven't even realized it until today. Pain scale is at a 6 right now with meds, and in the past I would at least be at an 8 with meds. I don't know how I functioned at all. Someone must've been helping me and answering my prayers.

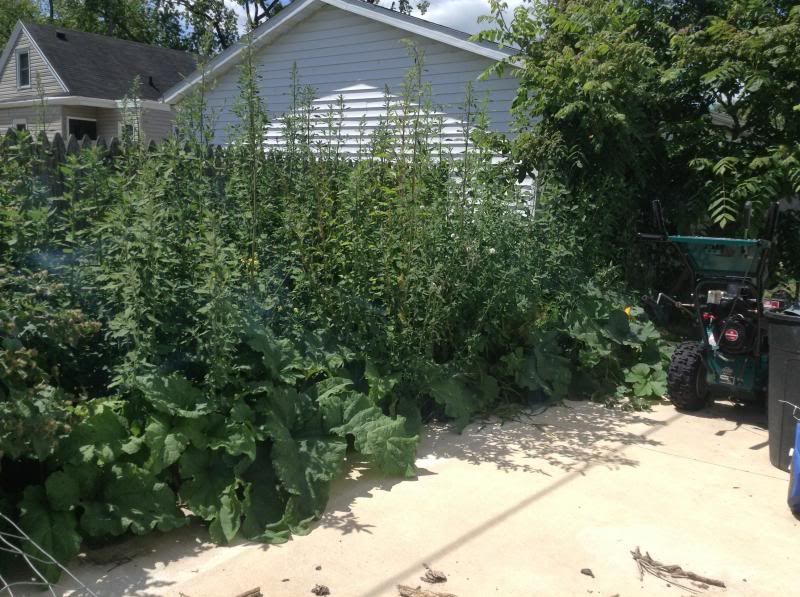
And one more picture for good measure. I don't know if you remember my vegetable garden from last year, but Adam said he was going to grow it this year. Want to see how it turned out?


Those are the largest weeds I think I've ever seen.  The big leaves on the bottom are actual plants, probably a zucchini plant, maybe a cucumber, maybe a pumpkin. Maybe.

Au Revoir! 

Wednesday, December 5, 2012

Balls.

I'm so grateful that Kelsi came over on Thursday and made the Oreo Truffles!  I had all of the ingredients but there was no way I was going to be able to throw them together in the little amount of time I had.

The recipe is pretty straightforward, but also gets your hands messy which would probably make a great activity for kids!

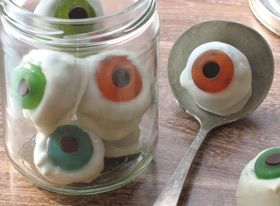
Edible Eyeballs

a.k.a.
Oreo Truffles
(nicknamed by me)


Original photo from source.

Ingredients and Supplies:

Cookie sheet
Waxed paper
Mixing bowl
1/2 cup softened cream cheese
22 chocolate sandwich cookies
Tablespoon
Lifesaver Gummies
A handful of chocolate chips
2 cups white chocolate chips
Microwaveable measuring cup or small, deep bowl
Toothpicks

Instructions:
1. Line the cookie sheet with waxed paper and set it aside.

2. Crush the sandwich cookies into fine crumbs. You can do this in a food processor, or seal them in a plastic bag and crush them with a rolling pin.

3. Combine the cookie crumbs and softened cream cheese in a mixing bowl and stir until the ingredients are well combined.

4. With clean hands, roll half tablespoonfuls of the cookie mixture into balls (about 1 1/4-inch in diameter) and place them on the waxed paper. Use you thumb to make a shallow nickel-size depression in the top of each ball.

5. Chill the cookie balls until firm (about 1 hour).

6. Select a Lifesaver Gummy to use as an iris for each eyeball. Stretch the centers to enlarge the holes a bit and insert a chocolate chip, tip down, in each one. Set the irises aside for now.

7. Pour the white chocolate chips into the measuring cup or bowl and melt them in the microwave according to the directions on the package.

8. Insert a toothpick into one of the chilled cookie balls. Dip the ball into the melted white chocolate and then set it on the tray, using a second toothpick to hold it in place while you pull the first one out. Immediately set one of the irises atop the candy-coated ball and gently press it into the depression. Repeat this step with the rest of the cookie balls.

9. Allow the white chocolate coating to cool and harden before serving the eyeballs. You can speed up the process by chilling them on the tray for a few minutes. Store leftover eyeballs in an airtight container in the refrigerator. Makes a dozen or more.


Obviously we didn't use the Lifesaver Gummies or chocolate chips, but either way they were amazing.

I've said it 615,379 times, but I'll say it again: 
these. are. amazing.

Erin made these for this year's Halloween Party and were a huge hit, so it only made sense to make them again at the very next opportunity.  Maybe I'll make some for Christmas to bring to my in-laws :)

I'm finally getting around to editing my Halloween photos, so look for updates in the coming week!

<3

Tuesday, December 4, 2012

Cupcake.

As promised, here is the recipe for the Hostess Cream-Filled Cupcakes.  I'll post the recipe for the Oreo Truffles tomorrow since this recipe is so long.  When I make recipes that are new, and especially when they have a million steps, I always worry that it's going to turn out bad.  I always second guess myself, constantly thinking that I'm not doing it right.  Because of that, I like to take a lot of notes so that when I make it the next time, I don't feel so unsure.

My personal notes are in red, in case they might help you, too.

I just noticed that I made a few notations when I made these last year, 
but I didn't note my printout of the recipe, 
I only posted them online!  
How silly of me.  

Picture from my original source

Homemade Hostess Cupcakes
(adapted from Food Network magazine, modified by Loves To Eat, Bake at 350, then me)


For the Cupcakes
1 & 1/4 cups unbleached, all-purpose flour
2 teaspoons baking soda
2 teaspoons baking powder
1/4 teaspoon coarse salt
1 & 1/4 cups granulated sugar
4 ounces unsweetened chocolate, chopped (make sure these are chopped before you start)
1 stick unsalted butter, cut into pieces
2 teaspoons pure vanilla extract
2 large eggs, lightly beaten
1 cup water

For the Filling (the halved version)
2 tablespoons unsalted butter, at room temperature
1/2 cup powdered sugar
1 teaspoon pure vanilla extract
1 & 1/2 tablespoons heavy cream
1/2 cup marshmallow creme (hint: use cooking spray on your measuring cup and spoon to prevent sticking!)

For the Ganache (the halved version)
3 ounces bittersweet chocolate, chopped (make sure these are chopped before you start)
1/4 cup heavy cream
1 & 1/2 teaspoons unsalted butter
1 teaspoon pure vanilla extract

For the Icing (the halved version)
4 tablespoons unsalted butter
1  tablespoon milk (give or take)
1 cup powdered sugar (give or take)
1/8 tsp vanilla

(I changed the order of some of these instructions which I found to be more time efficient)

Position a rack in the center of the oven and preheat to 350. Place paper liners in muffin tin for about 20 cupcakes.

Prepare the cupcakes: Sift together the flour, baking soda, baking powder and salt in a medium sized bowl.  Set aside.

Bring the sugar and 1 cup water to a boil in a saucepan, stirring constantly until the sugar dissolves, about 3 minutes. Pour into a large bowl or Kitchen Aid mixer; add the chopped unsweetened chocolate and butter and let sit, stirring occasionally, until the chocolate is melted and the mixture has cooled slightly. Stir in the vanilla.

Using a mixer, beat the eggs into the chocolate, then slowly mix in the dry ingredients.

Divide the batter evenly between the prepared pans (about 1/4 cup batter per cupcake).  I used a large-ish ice cream scoop which filled the liners to the perfect amount. Bake until a toothpick inserted in the center comes out clean, about 25 minutes. Cool in the pans for about 25 minutes, then transfer cupcakes to a rack to cool completely.

(They will sink in the middle...they'll puff up when filled later)

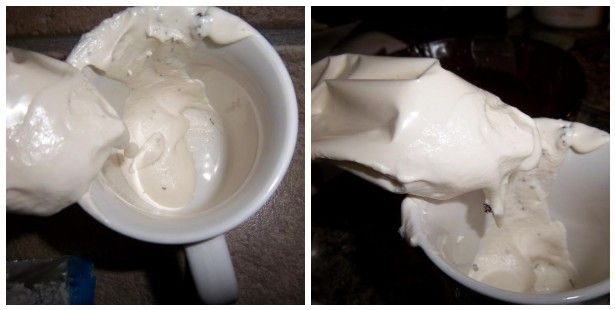
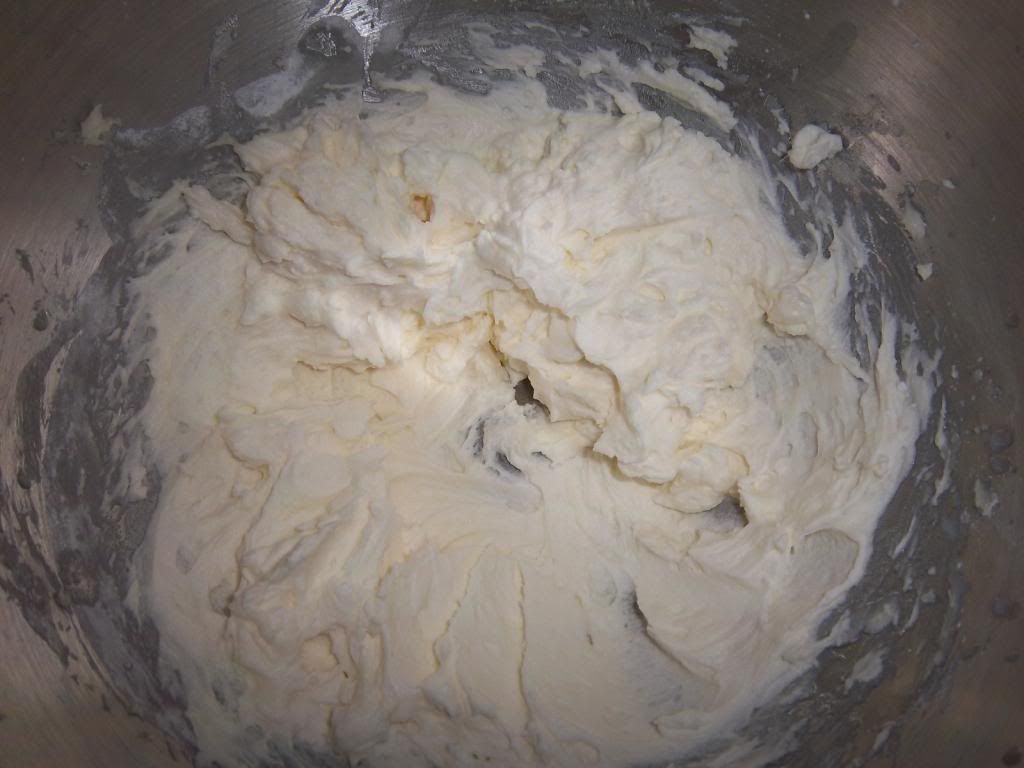
For the filling: Using a mixer, cream the butter until light and fluffy (I mixed it for like 10 minutes)  Use a rubber spatula to scrape the sides often. Beat in 1/4 cup confectioners’ sugar. Add the vanilla and 1/2 tablespoon heavy cream; beat until smooth. Beat in the remaining 1/4 cup confectioners’ sugar and 1 tablespoon heavy cream in batches, alternating after each addition. Beat in the marshmallow creme (hint: use cooking spray on your measuring cup and spoon to prevent sticking!); set aside or refrigerate.

Click image to enlarge.

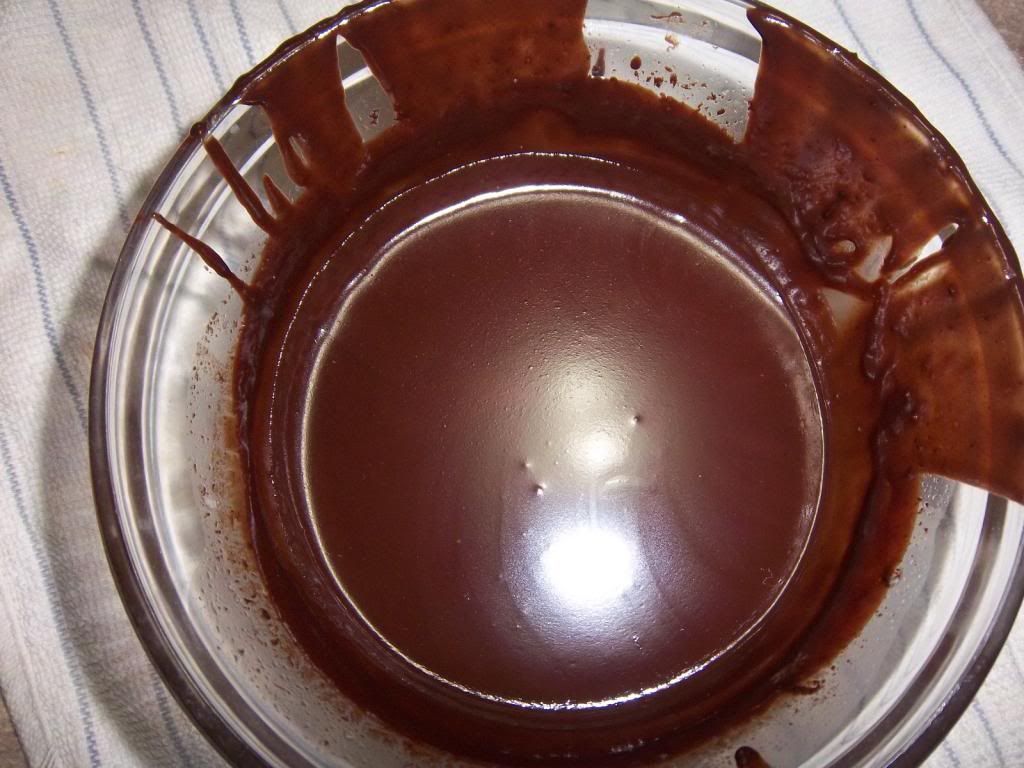
For the Ganache  Place the chopped bittersweet chocolate in a stainless-steel or glass bowl. Heat the cream in a small saucepan and 1 & 1/2 teaspoons butter until just boiling, then pour over the chocolate; let stand for 5 minutes. Whisk until smooth. Add 1 teaspoon vanilla; let stand until cool but still glossy and liquid.

Click image to enlarge.

Spoon the filling into a pastry bag with a medium star tip, or in a Ziploc bag and cut a small hole in the corner of the bag. Insert the tip into the center of each cupcake top; fill until the cupcake is heavier (do not overfill). (It's OK if some of the filling peeks out, it will be covered by the Ganache.)

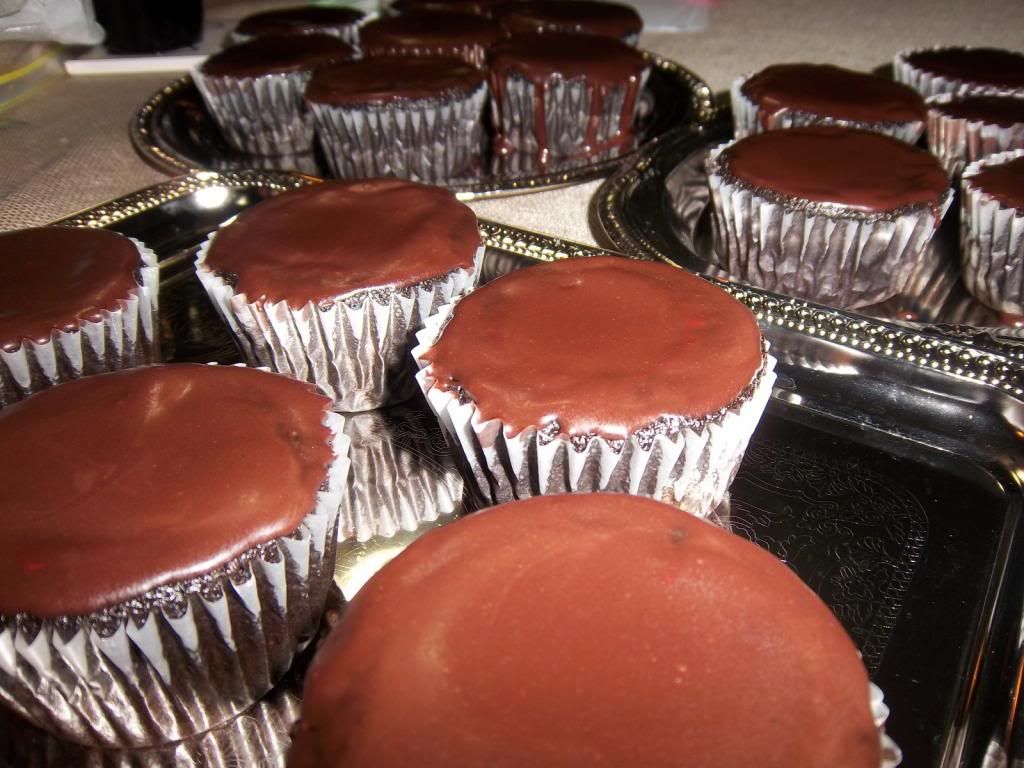
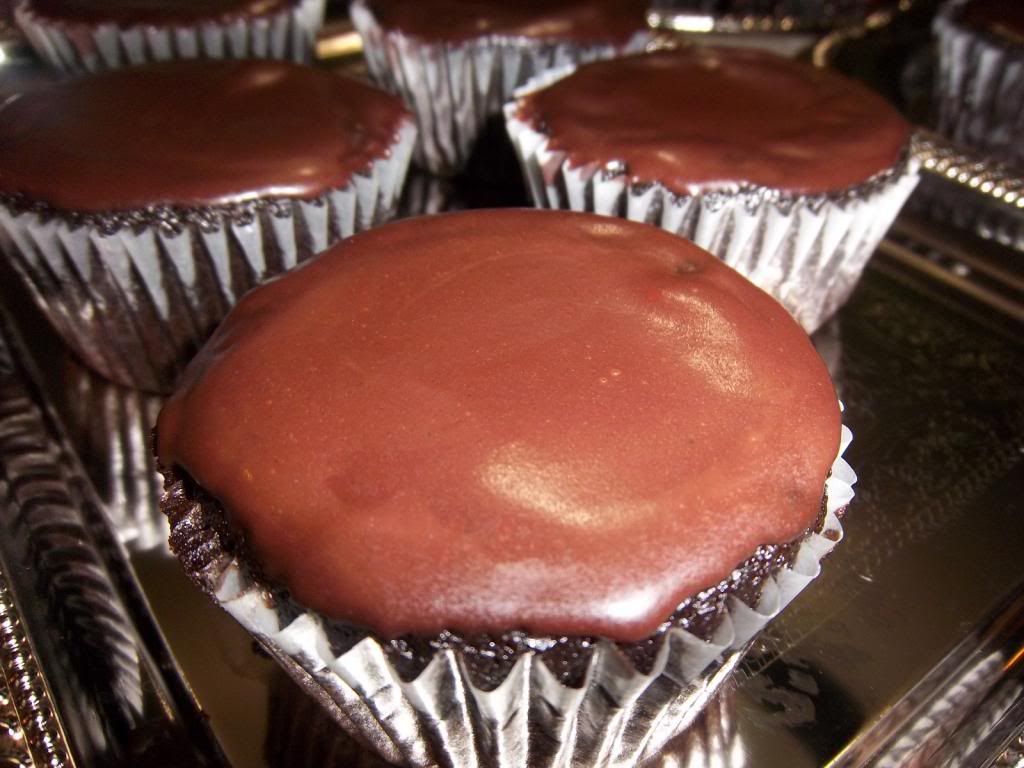
Spoon a little Ganache on each cupcake and lightly spread with an offset spatula or a knife.  I put a dab on top of the cupcake and used the back of a spoon to move the Ganache to the edges, then added more Ganache as needed.  If the Ganache is still liquid like it should be, it will combine and smooth out naturally with the existing Ganache on the cupcake.  If it's starting to harden, mix it and pop it in the microwave for 10 seconds, mix again and it should smooth out naturally like I talked about before. Chill for at least 15 minutes.

Click image to enlarge.

Click image to enlarge.

Meanwhile, prepare the icing: Using a mixer, beat the remaining 1 stick butter, 1/4 teaspoon vanilla, the milk and confectioners’ sugar until smooth. Once smooth, taste test to check if it feels grainy (which means you need more milk), or if it's too runny, add a little bit more confectioner's sugar. REMEMBER: you can always add more of something, but you can't take it out. Once you have the right texture/consistency, whip on a high speed for at least 2 minutes.

Click image to enlarge.

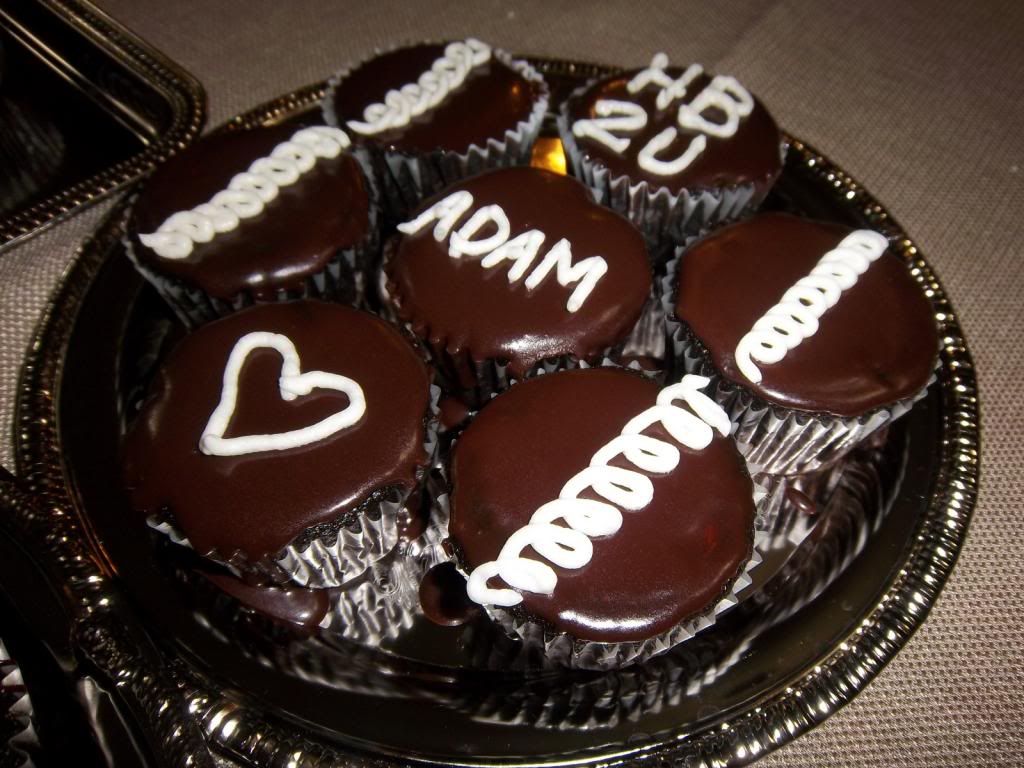
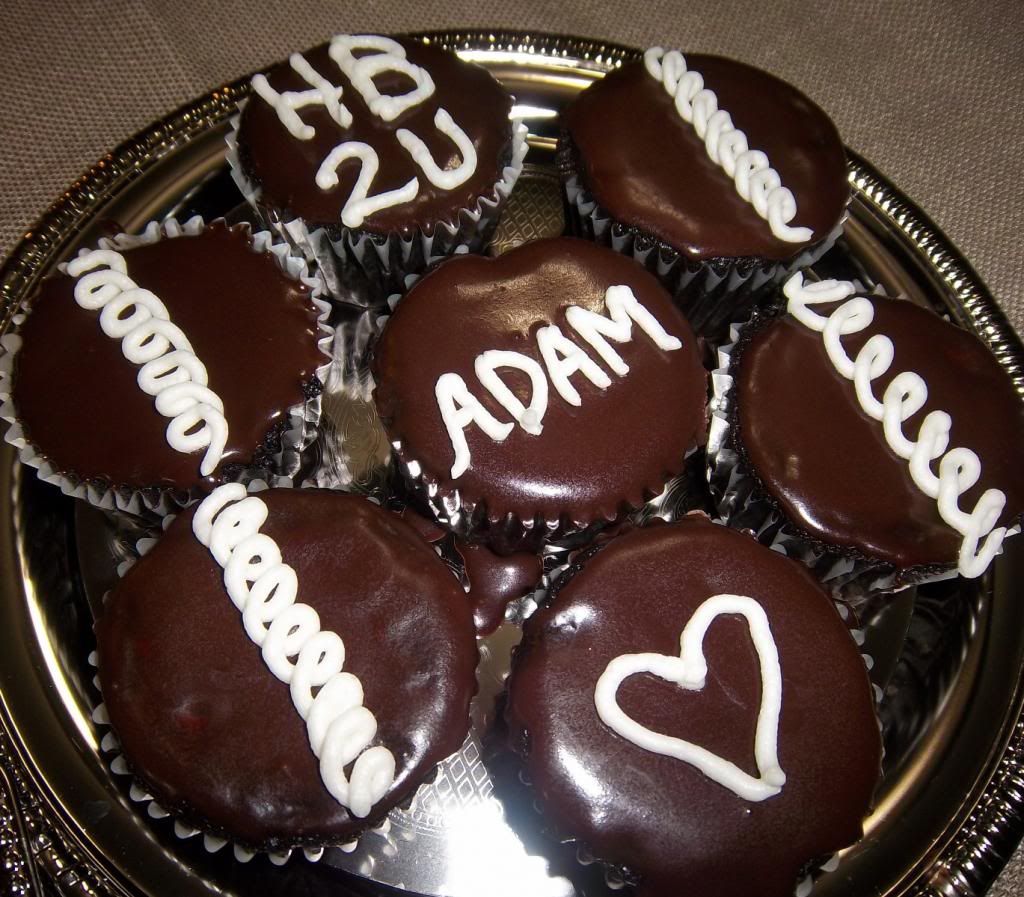
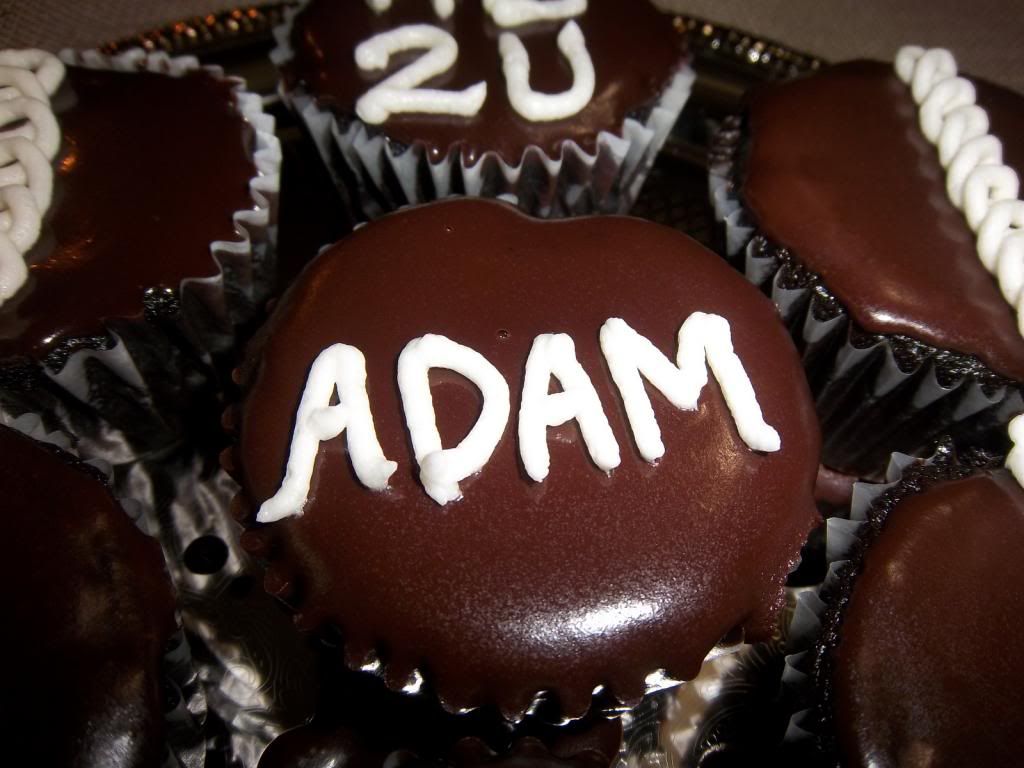
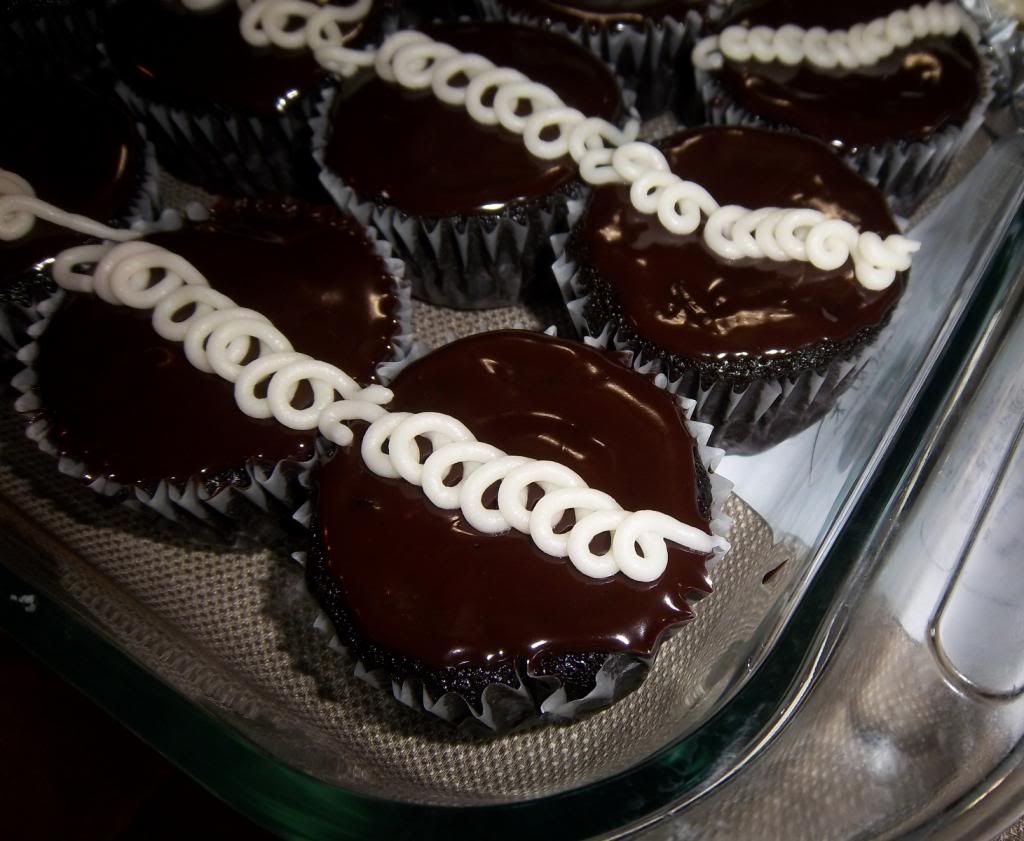
Spoon into a pastry bag with a small tip (I used a #4 plain tip, not a Ziploc bag for this one); pipe onto the cupcakes to decorate.

Click on image to enlarge.

Store in the refrigerator.

Whew!  If you decide to be craaaaazy one day and tackle this super long project, feel free to ask me questions you have along the way.

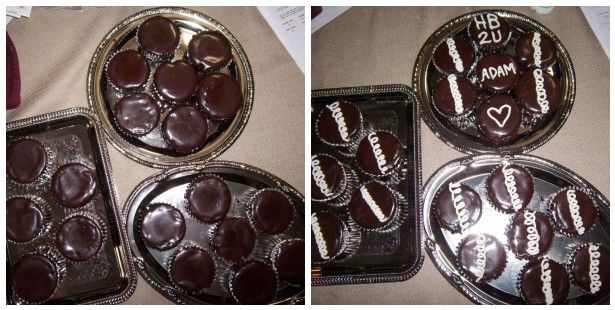
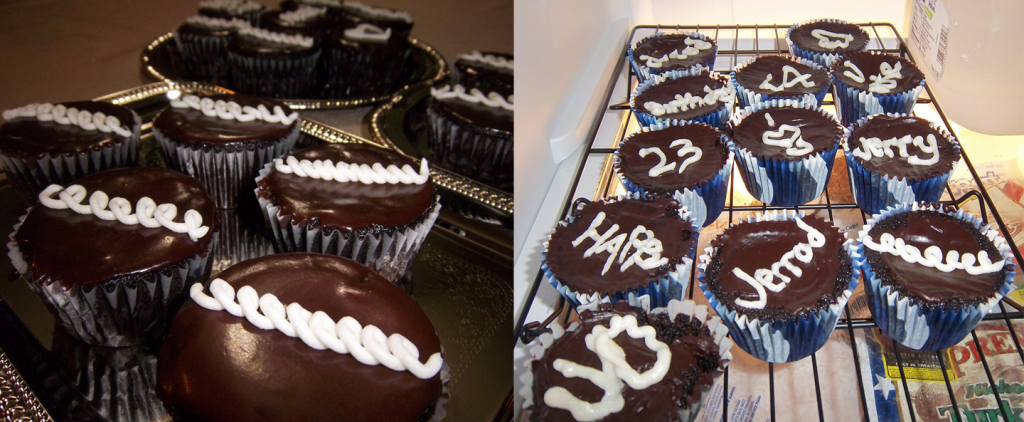
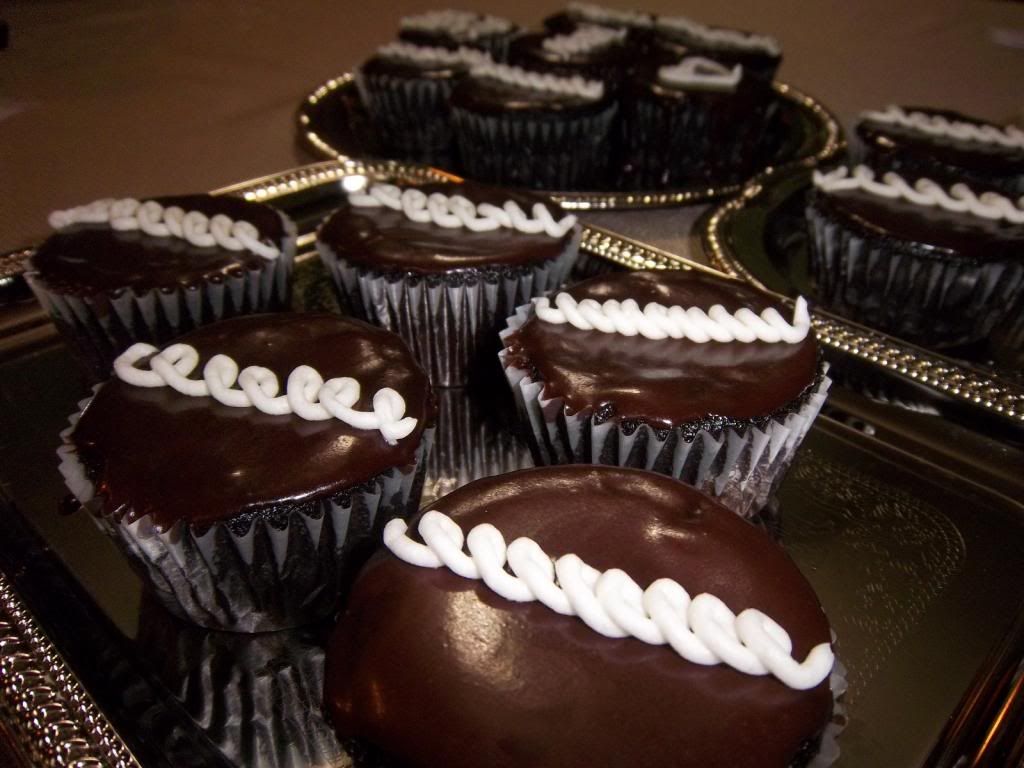
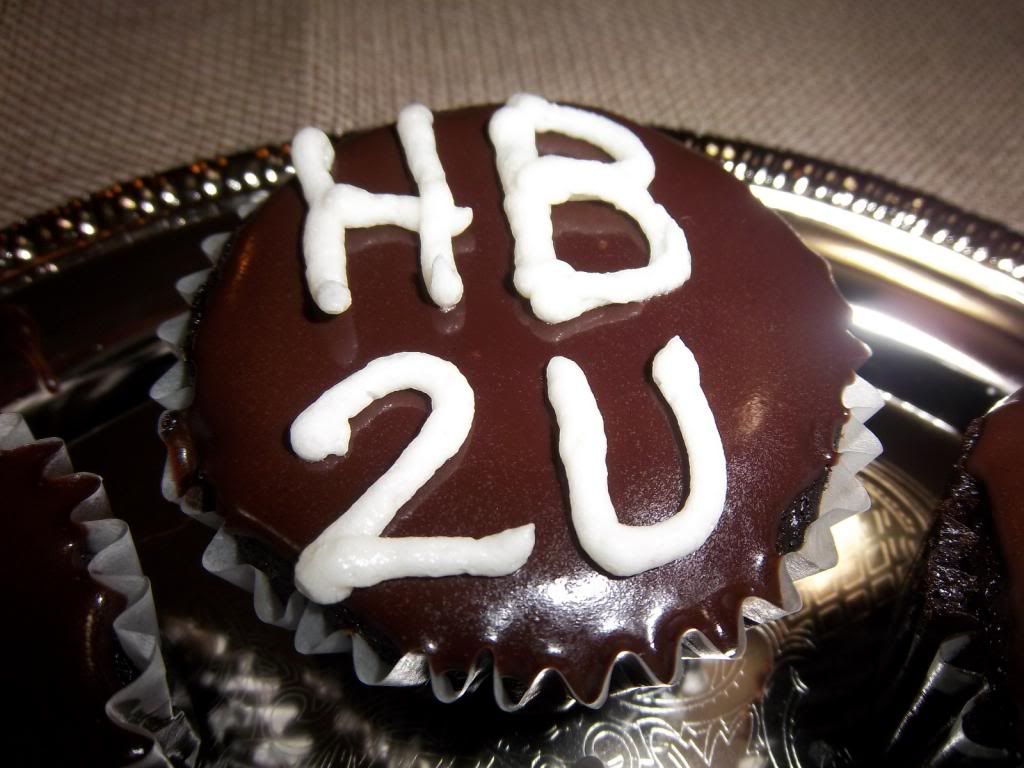
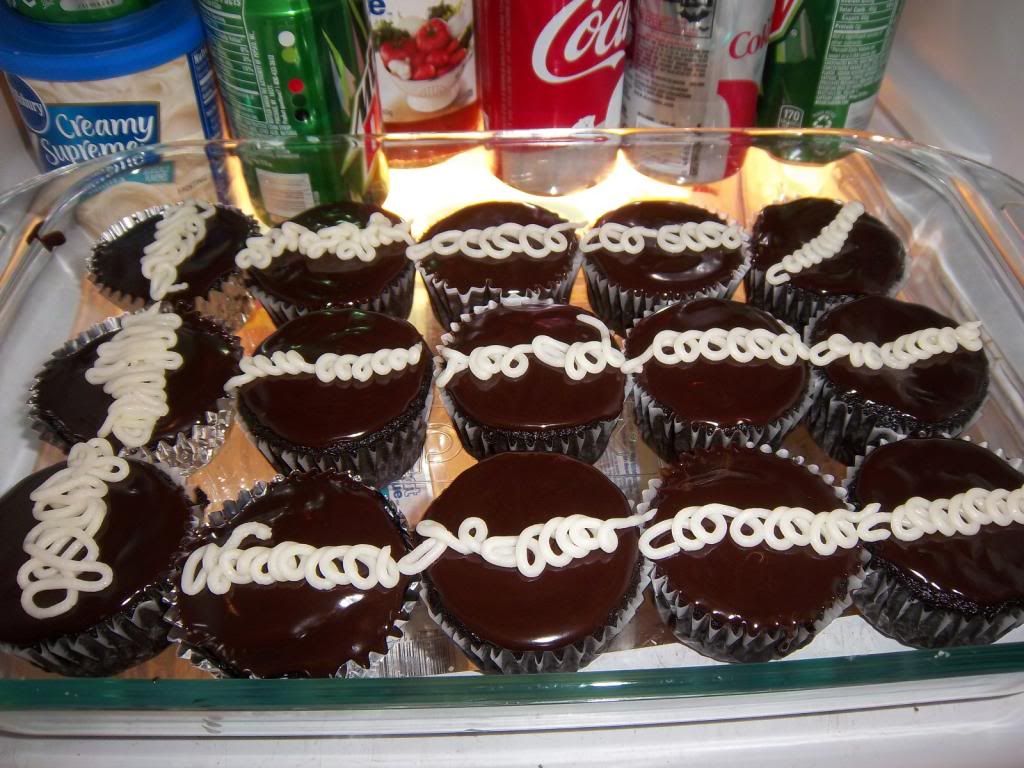
I always like to see that I've made improvements.  Here's my finished product from last year (on the right), compared to this year (on the left).  It might be more impressive if I had a fancy-schmancy camera like the rest of the blogging world ;)

Click on image to enlarge.

Last year, the were very sunken in the middle.  The Ganache was slopped on and a lot of times it wouldn't slide on, instead picking up a layer of cupcake on your spreading utensil.  And they didn't taste so good - they tasted kind of hard.  

Live and learn, right!?

Thanks again for the love over the weekend.  You don't know how much it meant to me :)

Monday, December 3, 2012

Nomnoms.

FOUR COMMENTS!?  What the fudge!?  I love you guys.  Thanks for your comments.  It's double encouragement for my to post the 30 posts I've been meaning to share.  Well, I've typed a lot of them, but I haven't uploaded the pictures, edited them, or added them to the posts.  Soon, I shall!  

Adam's birthday celebration last Friday was great.  Thursday night my great friend and coworker, Kelsi, came over and helped me make some nomnoms for the party.  

(don't know what nomnoms are? Click HERE to be enlightened.)

Kelsi made Oreo Truffles and I made Hostess cream filled cupcakes.  I've posted the links to the recipes before, but I'll post the actual recipes on my blog tomorrow.  I made a LOT of notations and a few changes to the Hostess cupcake recipe to help me out next time and I'll share those with you too.  

IF there is a next time for me, since they take 3 hours to make.  
No, that's not a typo: three hours.  For 20 cupcakes.

Friday, Adam and I ran home from having horrible days at work (maybe more about that some other time... it's an ongoing issue wherein life keeps throwing dirt at us and screaming "I HATE YOU") and we rushed to get the house clean.  I was running around like a mad woman, and Adam was strolling around without a care.  Sometimes that really burns me up inside (my mind screams 'HAVE SOME URGENCY IN YOUR STEPS!' like my mother would say), but when I stop being irrational, I realize I really need to be more like him.  More carefree, enjoying the moments, not sweating the small stuff. 

When people started showing up an hour after we told everyone to come, we were mentally exhausted, but physically relaxed, fed, and completely ready for a night of board games.  T-Plex brought his new game which I played, and I won!  

---------------------------------------------------

Pictures!!!
(Click on picture to enlarge)

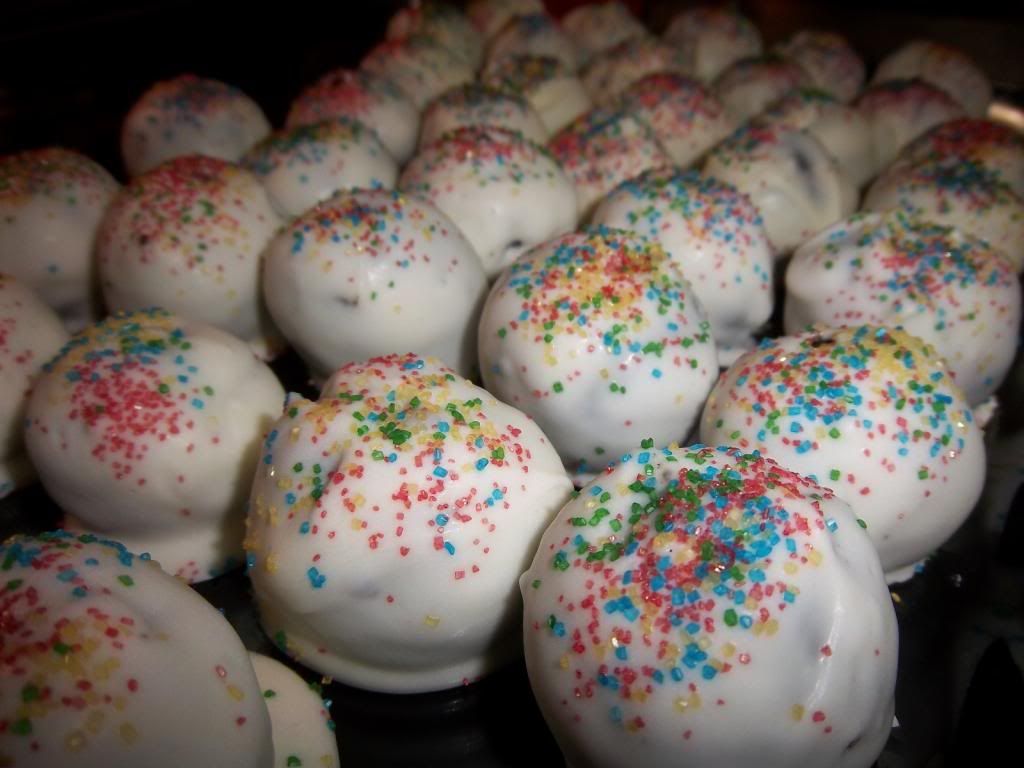
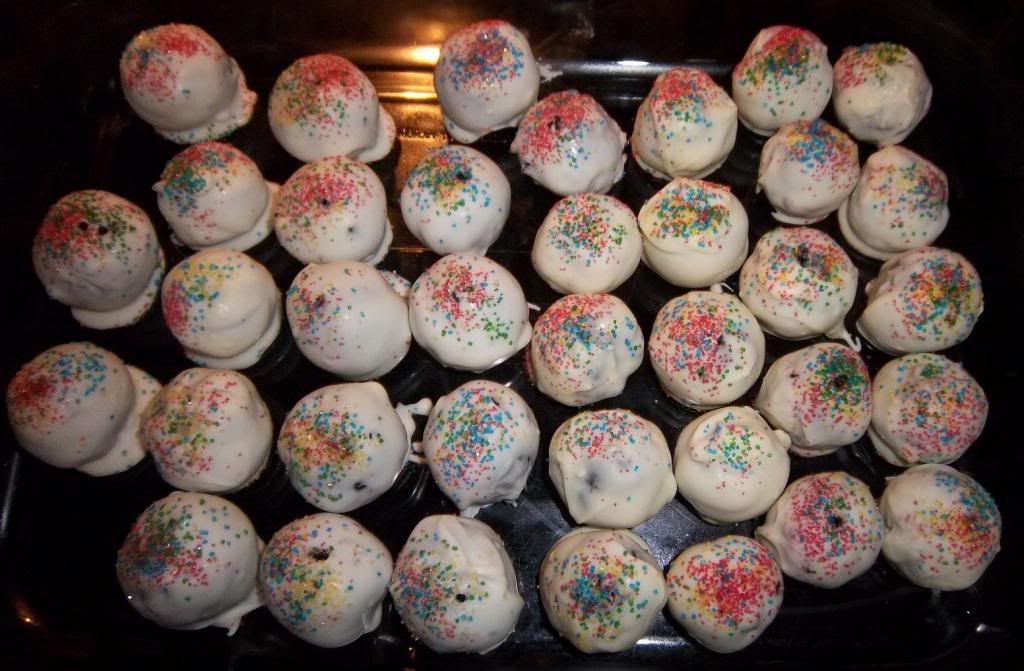
Don't these just look delectable!? 


Because they are.  White chocolate on the outside, and when you bite into it, the oreo and cream cheese filling is so soft and tasty that your eyes close unintentionally from the overwhelming delight in your mouth.   


They got devoured at the party and we didn't have too many left over, even though Kelsi made two batches!  Adam even said yesterday that they are probably one of his favorite treats of all time, ever.  I agree. 

---------------------------------------------------

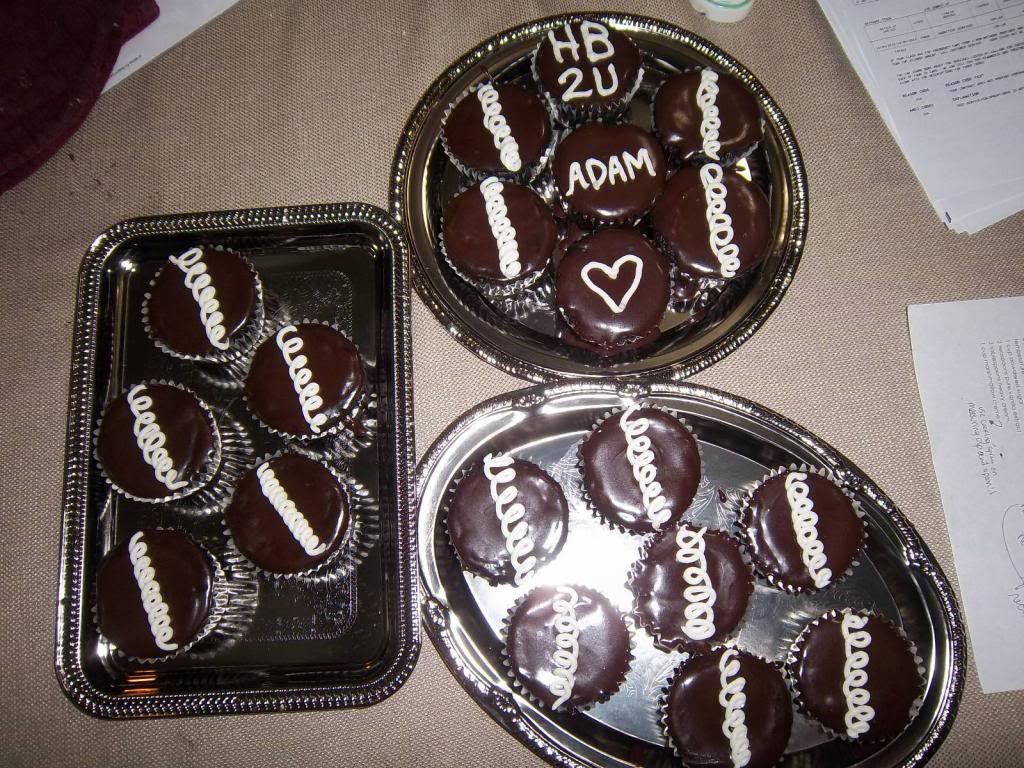
Yes, these cupcakes took 3 hours to make.  
First you have to make the cupcakes, then the filling, then the Ganache, then the frosting. 

First Batch


I had SO much filling, Ganache and frosting left over after the first batch that I decided to bake a second batch of cupcakes to use it up.  I hate throwing food away!

I must've been really out of it at that point because I forgot that it took at least 15 minutes to make the batter, 25 minutes for the cupcakes to bake (each pan was baked individually, so that's 50 minutes of baking), about 15 minutes for them to cool completely, about 10 minutes to fill the cupcakes, 10 minutes to add the Ganache, and another 5-10 minutes to decorate!  That's almost an additional 2 hours on top of the original 3 hours!  What a dummy lol!


Second Batch

On my second batch of adding the frosting, the excitement had definitely wore off.  
I was really exhausted and I just wanted to get to bed.  
In my hurry, I just squeezed my bag of frosting along the top of the cupcake.  
To my surprise, the frosting decided to swirl all on its own!  
I'm not even lying, this entire second batch was all-natural curls!


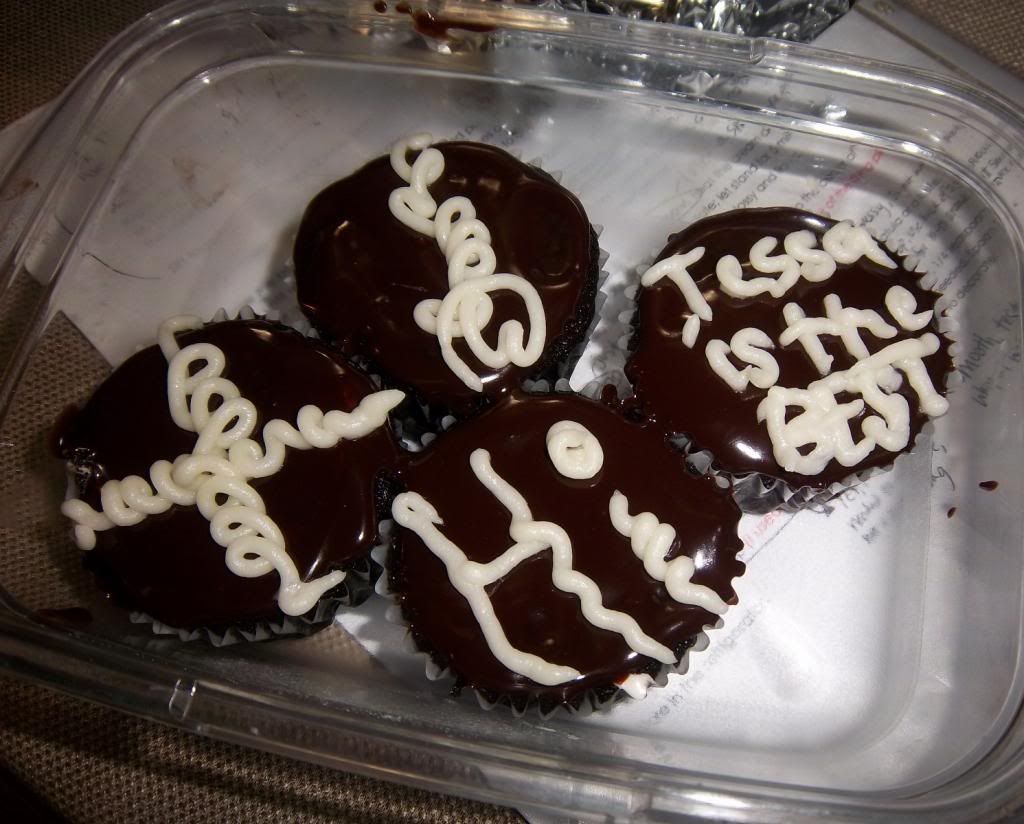
I eventually got bored of all the swirls


With my extra batch of cupcakes having to be completed that night, I didn't get to bed until midnight.  They are so intensely chocolate-y that everyone at the party had one each and that was about it.  Saturday I made Adam take 20 or so to his mother's to give away to her neighbors, and I still have a ton in the fridge.  I'll be taking those leftovers to work with me this week and I'll tell them that I brought them for my birthday (which is on Saturday). 

I can't believe my body magically got better on Thursday.  My knees haven't bothered me much at all since then, and my neck, back and shoulders I have hardly noticed until today.  I'm very blessed that I was able to do all that baking and cleaning for Adam's party.  As much as I say that my life is hard and I'm constantly struggling, I know that I am blessed in many ways and I often take things for granted.  Things could be much, much worse.

Have you ever gone through this much trouble for such a casual get-together?  Or for any reason at all?  For just one item, not an entire meal (other than a turkey or roast)?  

Sheesh!  At least I enjoyed myself!

Monday, May 21, 2012

Review.

I have so much I am going to write about. But first I wanted to post a review about a recipe I found on Pinterest and finally got around to making with Erin this weekend.

Find the recipe here.

Mini Butterfinger Cheesecakes


They looked amazing to me. It smelled amazing when we were making it. I swore it was going to be delectable.

It wasn't. It was awful. Either Erin screwed up hardcore (because I never make mistakes) or this recipe sucks. I'm leaning toward the latter. 

It did not taste anything like cheesecake. It tasted like whipped cream jello with chunks of Butterfinger in it. Which might actually sound good, but it really wasn't. At all. The crust was good, but that's because it was 90% melted Buterfingers.

Next recipe to try:


Friday, November 25, 2011

Nailed It.

I'm starting to hate these awesome recipes I'm finding online. Some people are just too good at making what they bake look good. 

Here's a prime example:


lol. I crack up every time I see it.

That's become Erin and I's baking adventures the past few months. 

Take a look at what happened with the Oreo Eyeball Cookie Pops we attempted for the Halloween party:


NAILED IT.


I consider myself to be a pretty good cook/baker. I may not be the best at making it pretty, but it will be darn tasty. 

I thought for Adam's birthday I would try to make a delicious-looking recipe that I found on Pinterest. Chocolate Chip Cookie Dough Filled Cupcakes with Buttercream Frosting.


Delicious, amirite?

Erin is in town (SURPRISE!) and she helped me make them this evening.


NAILED IT.


See what I mean? I don't understand how this stupid recipe is supposed to make only 24 cupcakes. I know I shouldn't have trusted it and gone with my gut. They taste delicious but they are a hot, hot mess.

Erin and I decided that we are going to open up a bakery and we're going to call it "NAILED IT"


Good thing we made these a day ahead so we can have a 2nd try tomorrow!